


Special offers from our partners!

Find Replacement BBQ Parts for 20,308 Models. Repair your BBQ today.
33
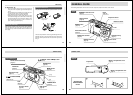
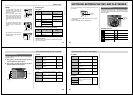
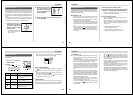
POWER SUPPLY
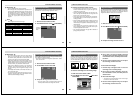
AC power
terminal
Using AC Power
Use the optional AC adaptor (AD-C620) to power the cam-
era from standard AC power.
AC Adaptor precautions
• Never use an electrical outlet whose voltage is
outside the rating marked on the AC adaptor.
Doing so can create the danger of fire or elec-
trical shock. Use only the optional AC adaptor
specified for this camera.
• Should the cord of the AC adaptor become
damaged (exposed internal wiring), request a
replacement from an authorized CASIO ser-
vice provider. A damaged AC adaptor cord cre-
ates the danger of fire or electrical shock.
AC outlet
AC adaptor
CAUTION
Auto Power Off
(Battery Powered Operation Only)
Power automatically turns off whenever you do not perform
any camera operation for a specific period. See page 35 for
details about how you can specify the Auto Power Off time.
• To restore power, simply slide the POWER Switch again.
IMPORTANT!
The Auto Power Off function does not operate under the
following conditions.
• During Slide Show (page 72)
• While the camera is being operated from a computer
or printer over a cable connection (pages 82, 83).
• Whenever the AC adaptor is connected to the camera.
34
• Always be sure to use the AD-C620 AC adap-
tor only. Using any other AC adaptor can cause
damage to the camera not covered by the war-
ranty.
• When unplugging the AC adaptor from the wall
socket, be sure to grasp the adaptor (not the
cord).
• Avoid any undue bending, pulling, and twisting
of the AC adaptor’s cord, and never try to
lengthen the cord by splicing it with other wire.
• Be sure to turn power off before connecting or disconnect-
ing the adaptor.
• Always turn camera power off before disconnecting the AC
adaptor, even if the camera has batteries installed. If you
don’t, the camera will turn off automatically when you dis-
connect the AC adaptor. Even so, you run the risk of dam-
aging the camera whenever you disconnect the AC adap-
tor without first turning power off.
• The AC adaptor may become warm to the touch after ex-
tended periods of use. This is normal and is not cause for
alarm.
• After use turn off the POWER Switch of the camera and
unplug adaptor from the AC outlet.
• The camera automatically switches over to AC adaptor
powered operations whenever the AC adaptor is plugged
into the camera.
• Always use the AC adaptor to power the camera whenever
it is connected to a computer.
CAUTION
POWER SUPPLY
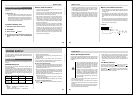
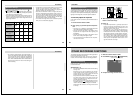
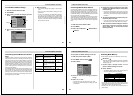
Power Save Settings
The settings described below let you specify sleep and auto
power off trigger times that help to conserve valuable battery
power.
SLEEP .................. The monitor screen enters a sleep state
if no operation is performed for a speci-
fied amount of time in the Record Mode.
Full power is restored when you press
the shutter button. You can specify 30
seconds, 1 minute, or 2 minutes before
the sleep state is triggered, or you can
turn off this setting entirely.
AUTO
POWER OFF........Auto Power Off turns off camera power if
no operation is performed for a specified
amount of time. You can specify 2 min-
utes, 5 minutes, or 10 minutes before
AUTO POWER OFF is triggered, or you
can turn off this setting entirely.
• AUTO POWER OFF takes priority when both SLEEP and
AUTO POWER OFF are both set for a 2-minute trigger
time. This means camera power turns off if no operation is
performed after two minutes.
35
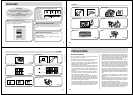
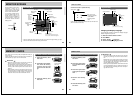
To set SLEEP and AUTO POWER OFF trigger times
1.
Slide the Function Switch to REC.
2.
Press the MODE button and then select .
3.
Select “Power Save”.
4.
Use [+] and [–] to select “Sleep” or “Auto
Power Off”.
5.
Select the trigger time you want to set.
6.
When the settings are the way you want them,
press MENU.
POWER SUPPLY
Initializing Power Save Trigger Times
Use the following procedure to return SLEEP and AUTO
POWER OFF trigger time settings to their initial factory de-
faults (SLEEP: 1 minute, AUTO POWER OFF: 2 minutes).
IMPORTANT!
Note that performing the following procedure to initialize
the power save trigger time settings also initializes
mode memory (page 64).
To initialize power save trigger times
1.
Slide the Function Switch to REC.
2.
Press the MODE button and then select .
3.
Select “Restore”.
36
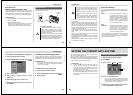
SETTING THE CURRENT DATE AND TIME
Use the following procedures to set the current date and
time, and to select the date format.
When you record an image, the time and date the image was
shot is registered in accordance with data from the camera’s
built-in clock. You can even use the TIME STAMP function to
“stamp” the date and time inside the image.
IMPORTANT!
• If you do not set the camera's built-in clock to the cur-
rent date and time, all images are recorded with the
default date and time, which probably is not your cor-
rect current date and time. Be sure to correctly set the
clock before you use the camera.
• A flashing time display of 0:00 indicates that the time
and date (clock) settings have been cleared. Use the
procedure on this page to make the correct time and
date settings.
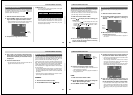
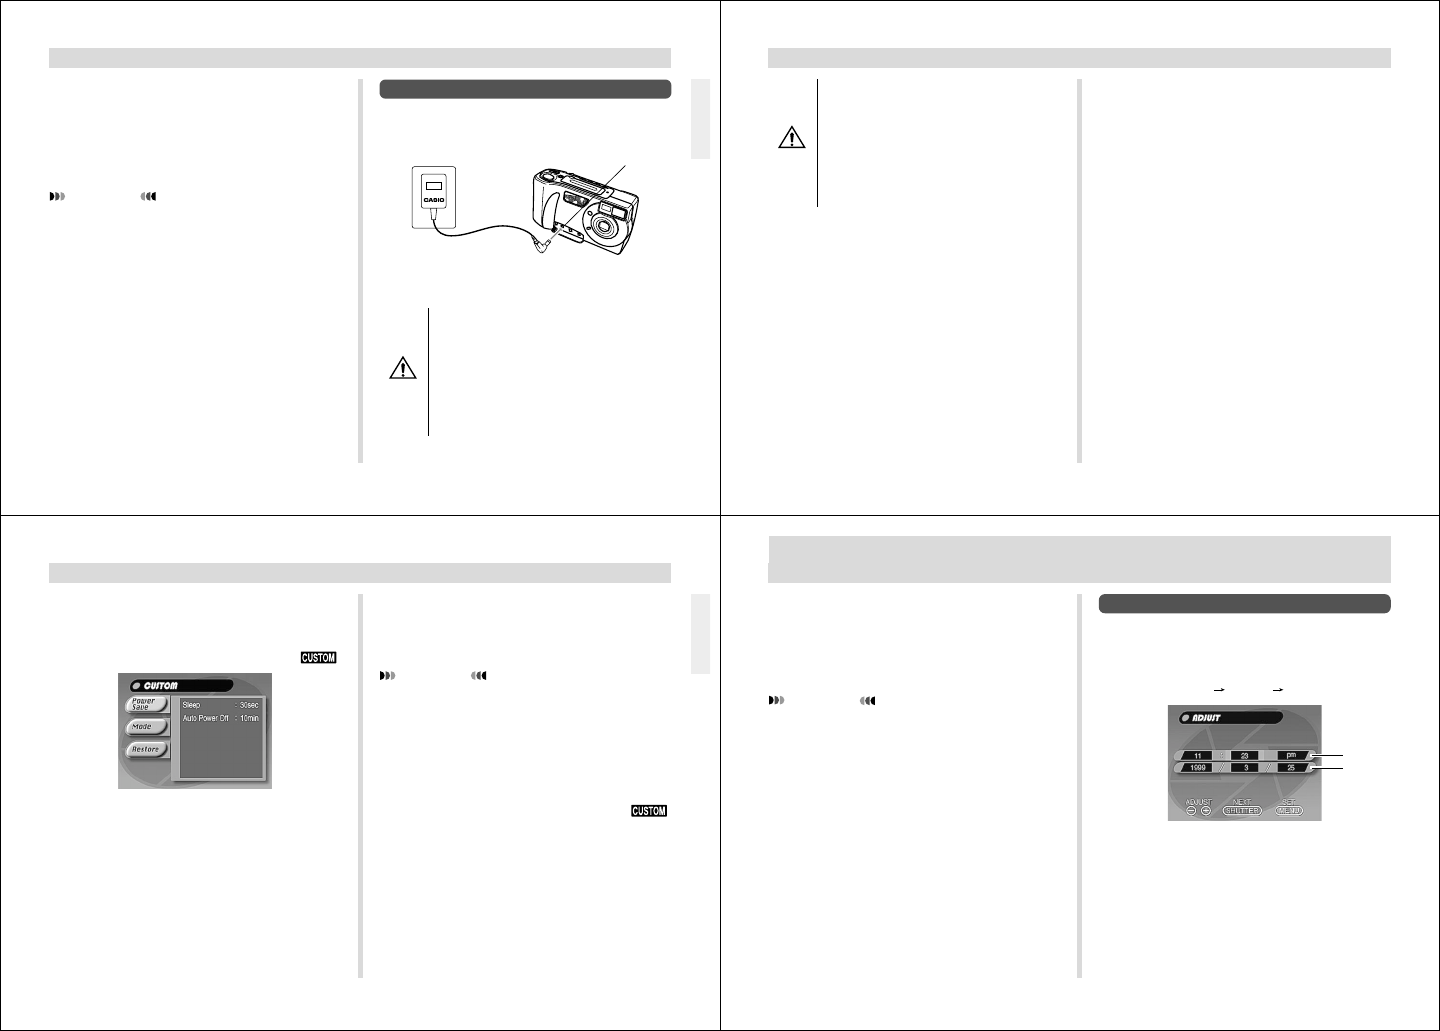
To set the date and time
1.
Slide the Function Switch to PLAY.
2.
Press MENU.
3.
Select “Set Up” “Date” “Adjust”.
4.
Set the current date and time.
• Use [+] and [–] to select the setting that is highlighted
on the monitor screen, and then press the shutter
button to advance to the next setting. Repeat this for
all of the settings on the monitor screen.
5.
After making all the settings on the monitor
screen, press MENU to register them.
time
date