


Special offers from our partners!

Find Replacement BBQ Parts for 20,308 Models. Repair your BBQ today.
57
OTHER RECORDING FUNCTIONS
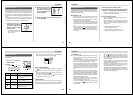
Using the Self-timer
You can use the self-timer for either of the two following re-
cording operations.
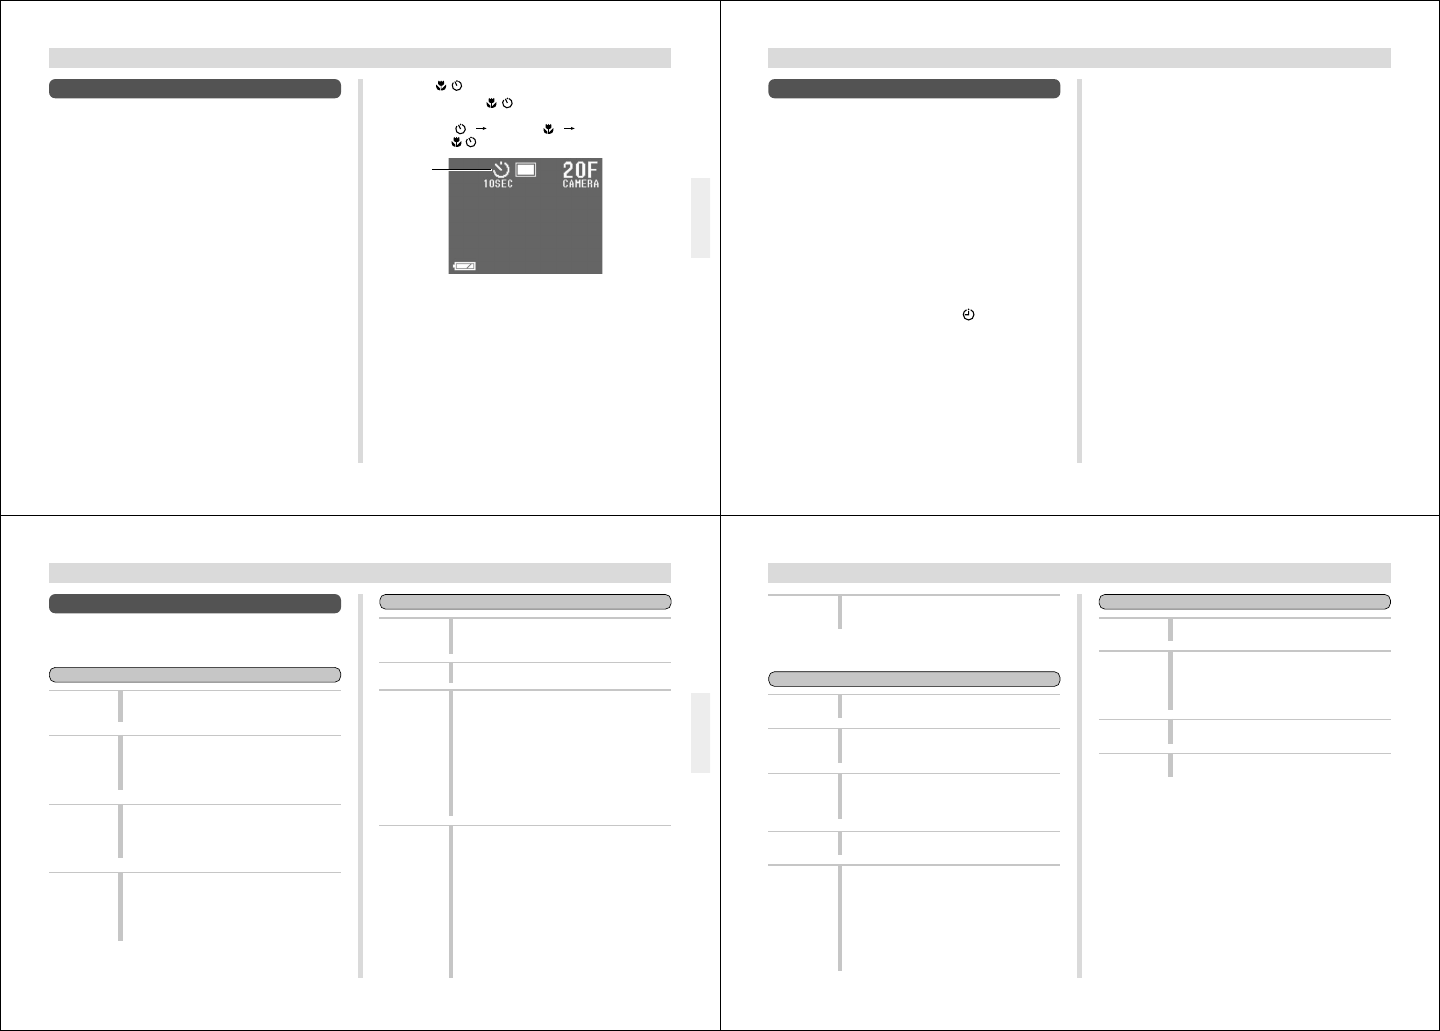
10-second recording.... Records about 10 seconds after
the shutter button is pressed. Use
this method when you want to be
included in the image that is re-
corded.
2-second recording ...... Records about two seconds after
the shutter button is pressed. Use
this method to avoid camera
movement caused when the shut-
ter button is pressed.
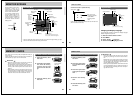
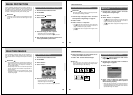
1.
Slide the Function Switch to REC.
2.
Use the Record Menu (page 59) to set the self-
timer trigger time (Record Options 2).
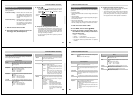
3.
Press · .
• Each press of · cycles through the macro and
self-timer settings in the following sequence: SELF-
TIMER “
” MACRO “ ” MACRO + SELF-
TIMER “
/ ”
4.
Compose the image and then record it.
• The self-timer lamp indicates the seconds as they are
counted down. In the case of 10-second recording,
the monitor screen automatically goes blank when the
countdown is started. The screen will turn back on af-
ter image recording is complete.
• To cancel ongoing Self-Timer operation, press the
shutter button.
Self-timer
setting
58
OTHER RECORDING FUNCTIONS
Using the Timer
You can use the timer to perform any one of the following
operations.
• Interval Recording
Use this method to record a series of images at fixed time
intervals.
• Timer Recording
Use this method to record a single image after passage of
a fixed amount of time.
• Interval Timer Recording
Use this method to record a series of images at fixed time
intervals, starting after passage of a fixed amount of time.
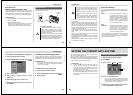
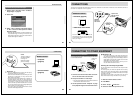
1.
Slide the Function Switch to REC.
2.
Press MODE, and then select (TIMER).
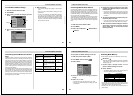
3.
Specify the number of images (Shots), the in-
terval between shots (Interval), and the record
start time (Start time).
• Shots .......... 250 maximum
• Interval........1 to 60 minutes
• Start time .... Current time to current time plus 24
• The Interval cannot be specified when 1 is specified
for Shots.
4.
Compose the image and then record it.
• When the start time you set is reached, the operation
lamp lights and image recording starts.
• The monitor screen of the camera turns off between
shots of a timer operation. If you turn on camera
power during this time, the message “TIMER CAN-
CEL” appears and the timer operation is cancelled.
59
OTHER RECORDING FUNCTIONS
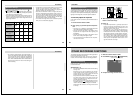
Record Menu
Use the Record Menu to make image quality, white balance,
movie length, and other settings.
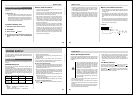
Record Settings
Quality
Sharpness
Saturation
Contrast
Use this setting to specify the quality of the image.
■ Choices: Super Fine, Fine, Normal, Economy
(See page 45).
Use this setting to control the outline of a person's
face when recording a portrait.
■ Choices: Hard, Normal, Soft
Hard ..... Hard outline
Soft ....... Soft outline
Use this setting to control the depth of the colors of
an image.
■ Choices: High, Normal, Low
High ...... High color saturation
Low.......Low color saturation
Use this setting to control the brightness of image
colors. Night Scene images are not affected by
contrast settings.
■ Choices: High, Normal, Low
High ...... High color brightness
Low.......Low color brightness
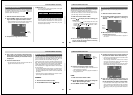
Quick
Shutter
Focus
Metering
White
Balance
Record Options 1
Use this item to toggle Quick Shutter recording on
and off. When turned on, you can take a series of
shots at 0.5 second intervals.
Use this item to toggle between Auto and Manual.
Use this setting to select the metering method.
■ Choices: Multi, Center, Spot
Multi.......Takes readings across the entire im-
age, and provides balanced exposure
settings.
Center...Takes reading at the center of the im-
age.
Spot .......
Takes reading at a very limited spot at
the center of the image. Peripheral
lighting does not affect this reading, so
exposure is based on the subject alone.
Use this item to select the white balance setting
that makes the colors of the subject appear most
natural.
■ Choices: Auto, Day Light, Shade, Tungsten,
Fluorescent, Manual
Day Light........ Outdoors
Shade.............Blue tinted sunlight
Tungsten ........ Red tinted incandescent light
Fluorescent .... Green tinted fluorescent light
Manual........... Sets up the camera for record-
ing of a white sheet of paper un-
der currently available light
(page 62).
60
OTHER RECORDING FUNCTIONS
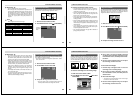
Self-timer
Grid
Time Stamp
Folder
Multiple
Exposure
Use this item to set the self-timer trigger time as
either 10 seconds or 2 seconds.
Use this setting to toggle a display grid on and off.
The grid can be helpful when composing an im-
age.
Use this setting to toggle date and time stamping
of images on and off. Note that the date and time
cannot be deleted from an image once it is
stamped.
Use this item to specify the folder where recorded
images should be stored.
Use this setting to specify the brightness of two im-
ages combined using multiple exposure.
■ Choices:Bright, Dark, Average
Bright uses the brightness of the brighter of the
two images.
Dark uses the brightness of the darker of the two
images.
Average uses the average brightness of the two
images.
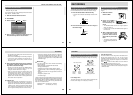
Record Options 2
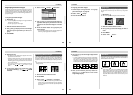
Color Use this setting to select the basic coloring of the
image.
■ Choices: Color, B/W, Sepia
Movie
File Format
Size
Length
Mode
Use this setting to specify the file format of movies.
■ Choices: AVI, JPG
Use this setting to specify the size of each movie
frame.
■ Choices: Normal, Small
Normal...320 x 240 pixels
Small ..... 160 x 120 pixels
Use this setting to specify the length of a movie.
■ Choices: 3.2, 6.4, 9.6 seconds
Use this setting to specify the movie mode.
■ Choices: Normal, Past