


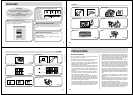

Special offers from our partners!

Find Replacement BBQ Parts for 20,308 Models. Repair your BBQ today.
41
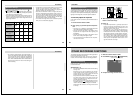
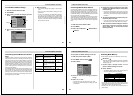
RECORDING
2.
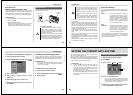
While keeping the shut-
ter button depressed
half way, move the cam-
era and compose the im-
age as you want.
3.
Press the shutter button all the way down to
record the image.
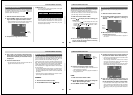
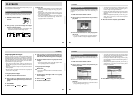
Using Focus Lock
Normally, Auto Focus automatically focuses on the object
that is inside the Auto Focus Frame. Focus lock is a tech-
nique that lets you lock the focus on a subject and then move
the camera so the Auto Focus Frame is pointed at another
subject when you record. This keeps the original subject in
focus, even though a different object is within the Auto Focus
Frame.
• The Auto Focus Frame is shown on the monitor screen
only while the shutter button is being held half way down.
• Locking the focus also locks the exposure setting.
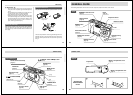
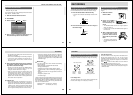
1.
Align the Auto Focus
Frame with the subject
you want to lock on and
press the shutter button
half way down.
• The Auto Focus frame turns
green or white when the im-
age is in focus.
42
RECORDING
Using Quick Shutter
Pressing the shutter button sequentially records images at
0.5-second intervals (when flash is turned off). You can use
quick shutter for recording up to six normal images or five
Night Scene Mode images.
IMPORTANT!
• Note that you can use the viewfinder only (monitor
screen turned off) when recording images at a 0.5-
second interval. The interval is about one second
when the monitor screen is turned on.
• The power/card access lamp flashes while data is be-
ing written to the memory card. Never remove the
memory card from the camera while this lamp is flash-
ing.
• Do not perform an image record operation while the
low battery indicator “
” is displayed. Doing so may
result in failure of part of the image to be recorded.
• It takes about 60 seconds for six images to be stored
in memory.
1.
Slide the Function Switch to REC.
2.
On the Record menu (page 59), select “Record
Options 1” and then turn on “Quick Shutter”.
• Turning on “Quick Shutter” causes “ćććććć” to ap-
pear under the image folder name.
3.
Press the shutter button.
•The ć marks sequentially change to b marks as im-
ages are recorded.
• Initially, images you record using quick shutter are
stored in a buffer. Any of the following conditions
causes images to be transferred from the buffer to the
memory card .
– Sliding the function switch to PLAY
– Pressing MODE or MENU
– When camera memory becomes full
– When the buffer becomes full (six images)
43
RECORDING
• The monitor screen goes blank and the operation lamp
flashes amber while the flash unit is charging.
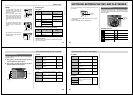
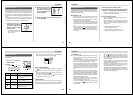
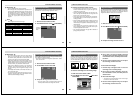
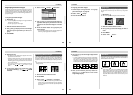
Indicator
None
Flash Mode
Auto Flash
Flash On
Flash Off
Red-eye
Reduction
Description
Flash is automatically enabled and
disabled in accordance with expo-
sure conditions.
Flash is always fired, regardless of
exposure conditions.
Flash is never fired, regardless of
exposure conditions.
Fires a pre-flash followed by re-
cording with flash, which reduces
the chance of red-eye.
Using the Flash
You can use the built-in flash unit to provide illumination dur-
ing recording.
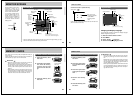
1.
Slide the Function
Switch to REC.
2.
Press / .
• Each press of / cycles
through the flash mode in
the following sequence:
Auto
On Off Red-
eye Reduction.
Operation lamp
/ button
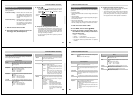
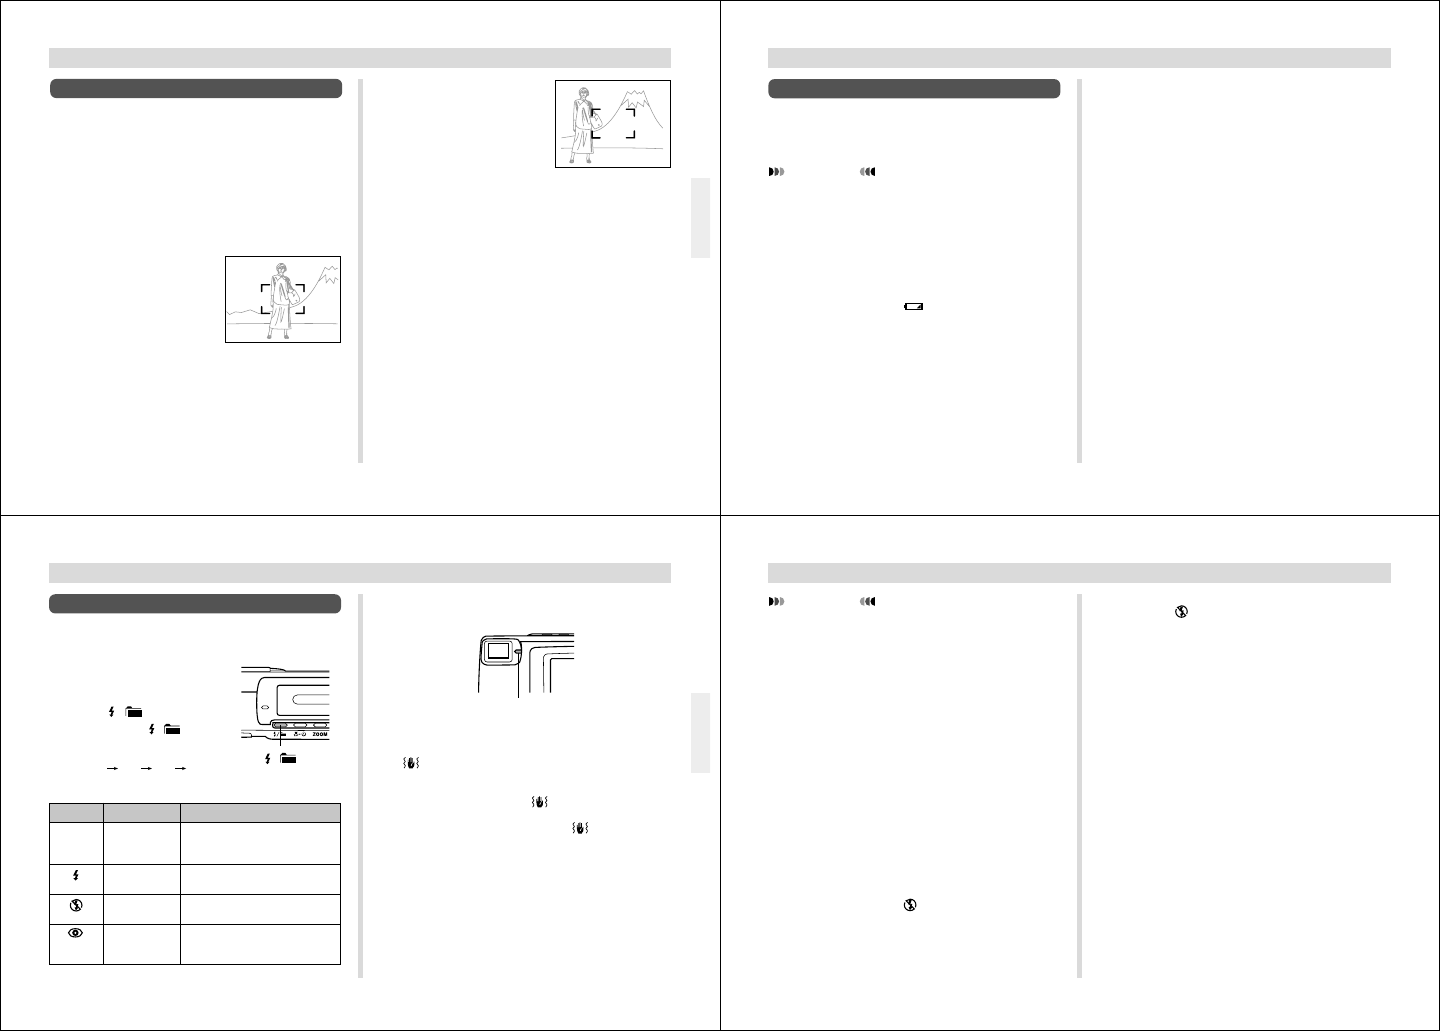
Camera Shake Indicator
The (camera shake indicator) appears on the monitor
screen whenever flash is turned off and shutter speed is
slow.
• If the camera shake indicator
appears, use the flash or
use a tripod to steady the camera.
• Note that the camera shake indicator
does not appear
in the Night Scene Mode (page 54).
Flash Indicator
When you press the shutter button half way, the flash icon
appears on the monitor screen to indicate that the flash will
fire when shutter button is pressed the rest of the way down.
44
RECORDING
IMPORTANT!
• Never use the flash in areas where combustible or ex-
plosive gas is present. Doing so creates the danger of
fire and explosion.
• Never fire the flash in the direction of a person operat-
ing a motor vehicle. Doing so can interfere with the
driver’s vision and create the danger of accident.
• Never fire the flash while it is too close to the subject’s
eyes. Intense light from the flash can cause eye dam-
age if it is fired too close to the eyes, especially with
young children. When using the flash, the camera
should be at least one meter from the eyes of the sub-
ject.
• Make sure that you do not touch or block the flash or
light sensor with your fingers. Doing so can soil these
components and interfere with correct flash operation.
• Flash should be used for distances within the range of
about 0.7 meters to 2 meters (2.3´ to 6.6´). Flash does
not work well outside this range.
• Depending on operating conditions (type of battery
being used, temperature, etc.), it may take up to 10
seconds for the flash unit to charge.
• The flash is disabled during movie, continuous, and
AEB recording. The
indicator flashes to indicate
this condition.
• The flash unit will not charge when battery power is
low. The
indicator flashes red to warn you that the
flash will not fire correctly, which may affect exposure
of the image. Replace batteries as soon as possible
when this happens.
• Red-eye reduction may not work well when the cam-
era is not pointed directly at the subject or when the
subject is far from the camera.
• In the Red-eye Reduction Mode, the flash is fired au-
tomatically in accordance with exposure. Because of
this, the flash will not fire in a well-lit area.
• White balance is fixed while the flash is being used, so
the coloring of the recorded image may be affected by
sunlight, fluorescent lighting, or other sources of illu-
mination in the immediate area.