


Special offers from our partners!

Find Replacement BBQ Parts for 20,308 Models. Repair your BBQ today.
69
PLAYBACK
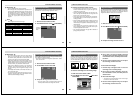
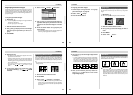
Regrouping Panorama Images
Transferring a panorama to a personal computer causes its
images to become ungrouped. If you download the pan-
orama back to the camera, you will be unable to play it back
as a panorama unless you use the following procedure to re-
group the images.
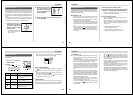
To re-group panorama images
IMPORTANT!
• You cannot group movie images or images of different
quality into a panorama.
• You can group up to nine images.
1.
Slide the Function Switch to PLAY.
2.
Use [+] and [–] to display the first of the images
that make up the panorama you want to re-
group.
3.
Press MENU.
4.
Select “Tools” “Group” “Panorama”.
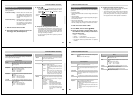
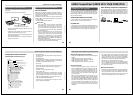
5.
Use [+] and [–] to scroll through the other im-
ages that make up the panorama until the one
you want to use as the final image is on the dis-
play.
6.
Press the shutter button to re-group the pan-
orama images.
• The panorama playback screen (page 68) appears af-
ter the re-grouping operation is complete.
70
PLAYBACK
To ungroup panorama images
1.
Perform steps 1 through 3 under “ To re-group
panorama images” on page 69.
2.
Select “Tools” “Group”.
3.
Press the shutter button.
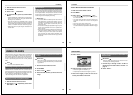
Using Zoom
The following operation lets you magnify an image to twice
its normal size. Note that you can zoom only a single still
image.
IMPORTANT!
Movie and panorama images cannot be zoomed.
1.
Slide the Function Switch to PLAY.
2.
Use [+] and [–] to select the image you want to
zoom.
3.
Press MENU.
4.
Select “View” “Zoom”.
71
PLAYBACK
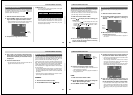
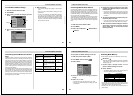
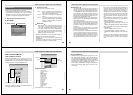
5.
Specify the area.
• The portion of the selected area appears on the dis-
play at twice its normal size.
• Pressing ZOOM at this time increases the displayed
image to four times its normal size. Each press of
ZOOM toggles the image between two times and four
times its normal size.
• Use [+] and [–] to move the area selection frame left
and right. Use
/ and · to move it up and
down.
6.
To return the image to its normal size, press
any button besides [+], [–],
/ , · , ZOOM
and DISP.
1.
Slide the Function Switch to PLAY.
2.
Press MENU.
3.
Select “View” “4 Images” or “9 Images”.
• The first image of the set is the image that was on the
screen when you performed step 2 of this operation.
The other images are those that sequentially follow
the first one.
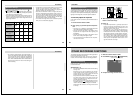
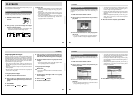
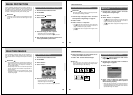
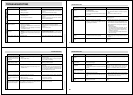
Displaying Multiple Images
The following operation lets you simultaneously view either
four or nine images on the same screen. This capability is
especially useful when playing back to the screen of a con-
nected TV, and can be used to display a catalog of products,
etc.
• The multi-image screen shows all 16 images of a movie on
a single screen.
72
PLAYBACK
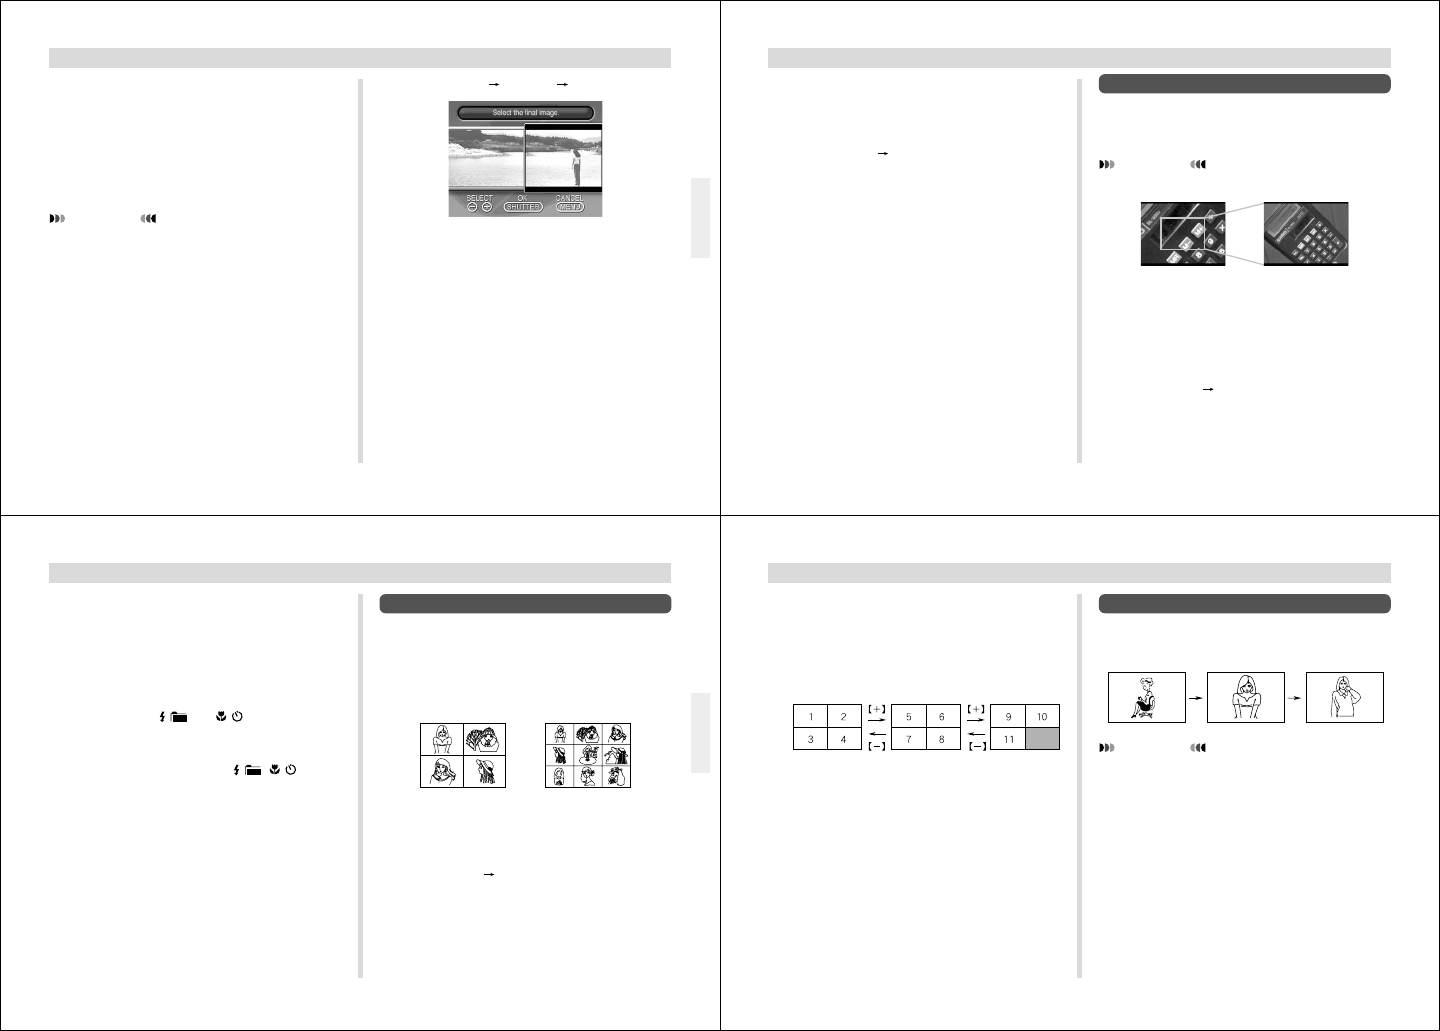
4.
Use [+] and [–] to scroll through images stored
in memory.
• To view a particular image in normal size, press DISP.
This causes an image number to appear in the upper
left corner of the monitor screen. Use [+] and [–] to
change to the number of the image you want to view
and then press the shutter button to display the image.
5.
After you are finished, press any button be-
sides [+], [–], or DISP return to the normal
single-image display.
IMPORTANT!
Auto Power Off (page 33) is disabled whenever Slide
Show is being used. This means you should not leave
Slide Show running when using batteries to power the
camera. Doing so can rundown batteries. Be sure to
stop Slide Show and turn off the camera after you are
finished.
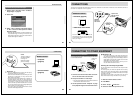
Slide Show
Slide Show automatically scrolls through the images stored
in memory. You can also specify how much time should be
allowed between each image.