


Special offers from our partners!

Find Replacement BBQ Parts for 20,308 Models. Repair your BBQ today.
73
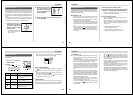
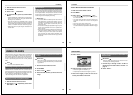
PLAYBACK
1.
Slide the Function Switch to PLAY.
2.
Press MENU.
3.
Select “View” “Slide Show”.
4.
To stop Slide Show, press any button besides
MENU.
• Pressing MENU while a Slide Show is in progress dis-
plays a screen that lets you change the interval within
the range of 5 to 30 seconds.
• Note that all buttons are disabled while an image
change is in progress. Wait until an image is stopped
on the monitor screen before performing a button op-
eration, or hold down the button until the image stops.
• Slide Show shows only the images contained in the
current folder.
Screen Saver
The screen saver function automatically activates Slide
Show (which automatically scrolls through images) when-
ever you do not perform any operation for about five minutes
in the Playback Mode. This protects the camera’s monitor
screen and the screen of a connected TV against “burn in” of
a static image that is left displayed too long.
IMPORTANT!
• The screen saver is enabled only when the camera is
being powered by its optional AC adaptor. If you do
not perform any operation for five minutes under bat-
tery power, camera power automatically turns off
(Auto Power Off).
• The screen saver displays protected images only. The
screen saver is disabled if there are no protected im-
ages in memory.
• PC Link will not send images between the camera and
a personal computer while the screen saver is turned
on. Make sure you turn off the screen saver before
trying to perform any image transfer operation. Note
that the screen saver is turned on when you purchase
the camera.
74
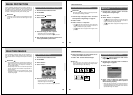
PLAYBACK
To turn the screen saver on and off
1.
Slide the Function Switch to PLAY.
2.
Press MENU.
3.
Select “Set Up” “Screen Saver” “On”.
• To turn off the screen saver, perform the above proce-
dure and select “Off”.
• The screen saver activates if you do not perform any
operation for about five minutes in the Playback
Mode.
• Press any key to exit the screen saver.
• When changing between images, the screen saver
uses the interval that is specified for Slide Show (page
72).
75
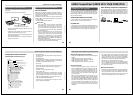
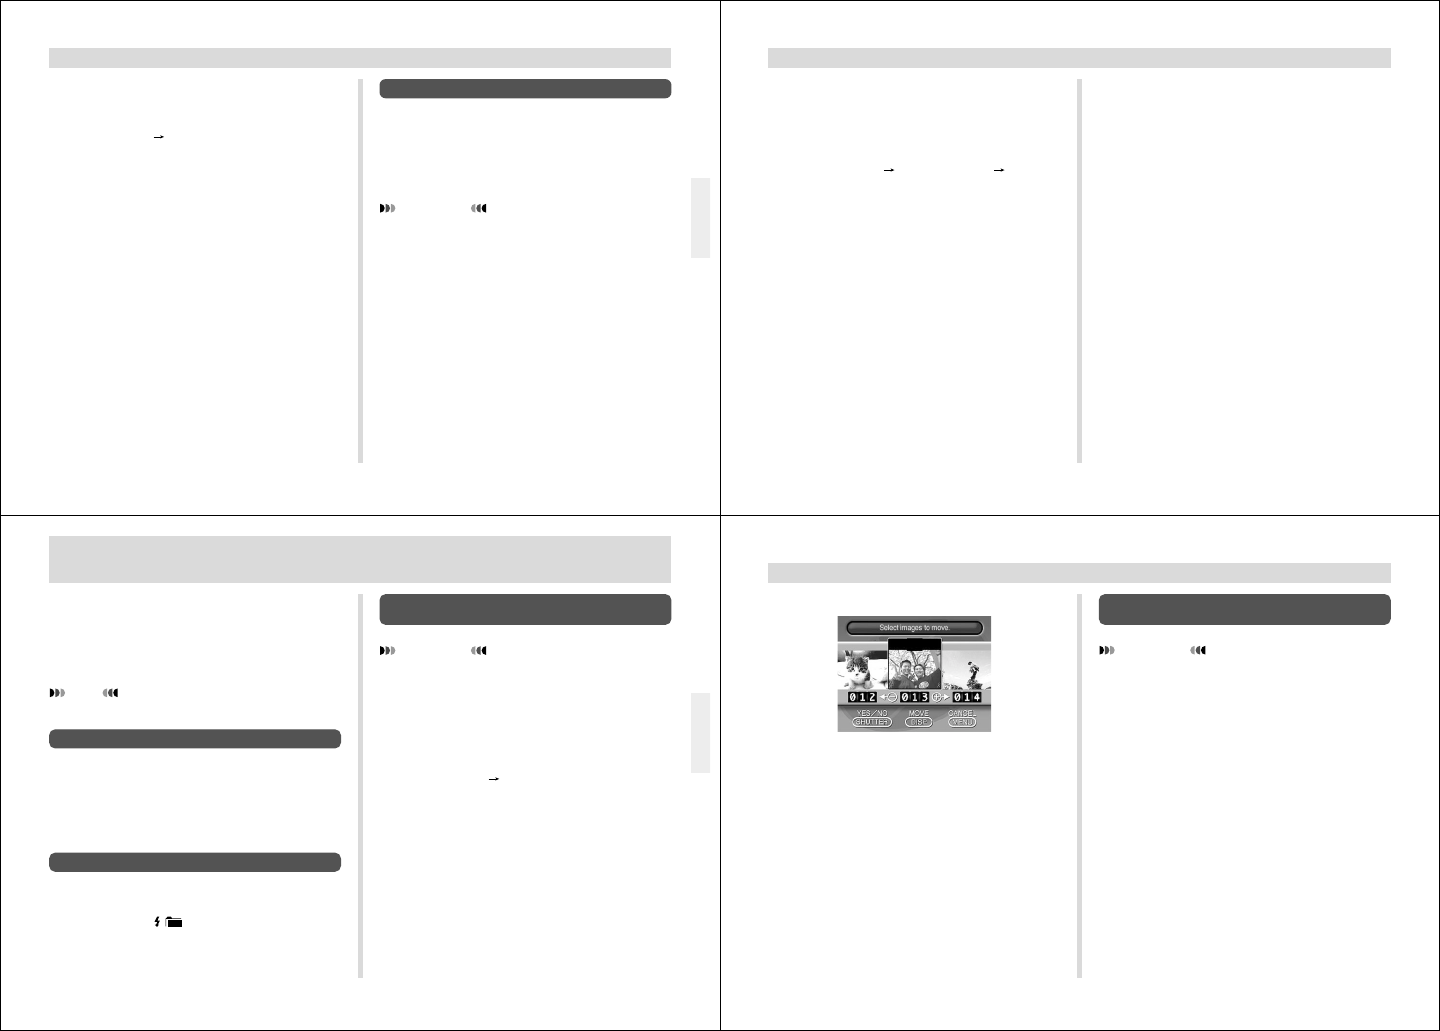
USING FOLDERS
USING FOLDERS
To Move a Single Image from One Folder to
Another
IMPORTANT!
Make sure the folder that contains the image you want
to move is currently selected before you start the follow-
ing procedure.
1.
Slide the Function Switch to PLAY.
2.
Press MENU.
3.
Select “Tools” “Move”.
4.
Select the folder to which you want to move the
image.
Folders help you to group your images into any arrangement
you like. You can use folders, for example, to keep your per-
sonal images separate from images you need for business.
There are six folders from which to choose. Any image you
record is automatically placed into the currently selected
folder.
NOTE
You cannot create additional folders.
Recording an Image in a Specific Folder
Images you record are normally stored in the folder named
CAMERA. Movies recorded when AVI is selected as the
movie file format are always stored in the folder named AVI.
See “Record Menu” on page 59 for information about how
you can change to another folder to store images.
• Up to 250 images can be stored in a single folder.
Selecting a Folder to Playback Images
1.
Slide the Function Switch to PLAY.
2.
Each press of / sequentially selects avail-
able folders.
76
USING FOLDERS
5.
Select “Select”.
6.
Select the image you want to move.
• Selected images are indicated by ★.
• Repeat step 6 to select other images if you want.
7.
After all the images you want to move are se-
lected, press DISP to move them.
To Move All the Contents in One Folder to
Another Folder
IMPORTANT!
Select the folder whose images you want to move be-
fore starting the following procedure.
1.
Perform steps 1 through 4 under “To Move a
Single Image from One Folder to Another” on
page 75.
2.
Select “Folder”.