


Special offers from our partners!

Find Replacement BBQ Parts for 20,308 Models. Repair your BBQ today.
53
OTHER RECORDING FUNCTIONS
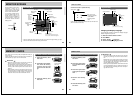
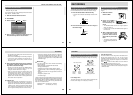
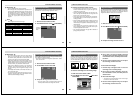
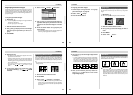
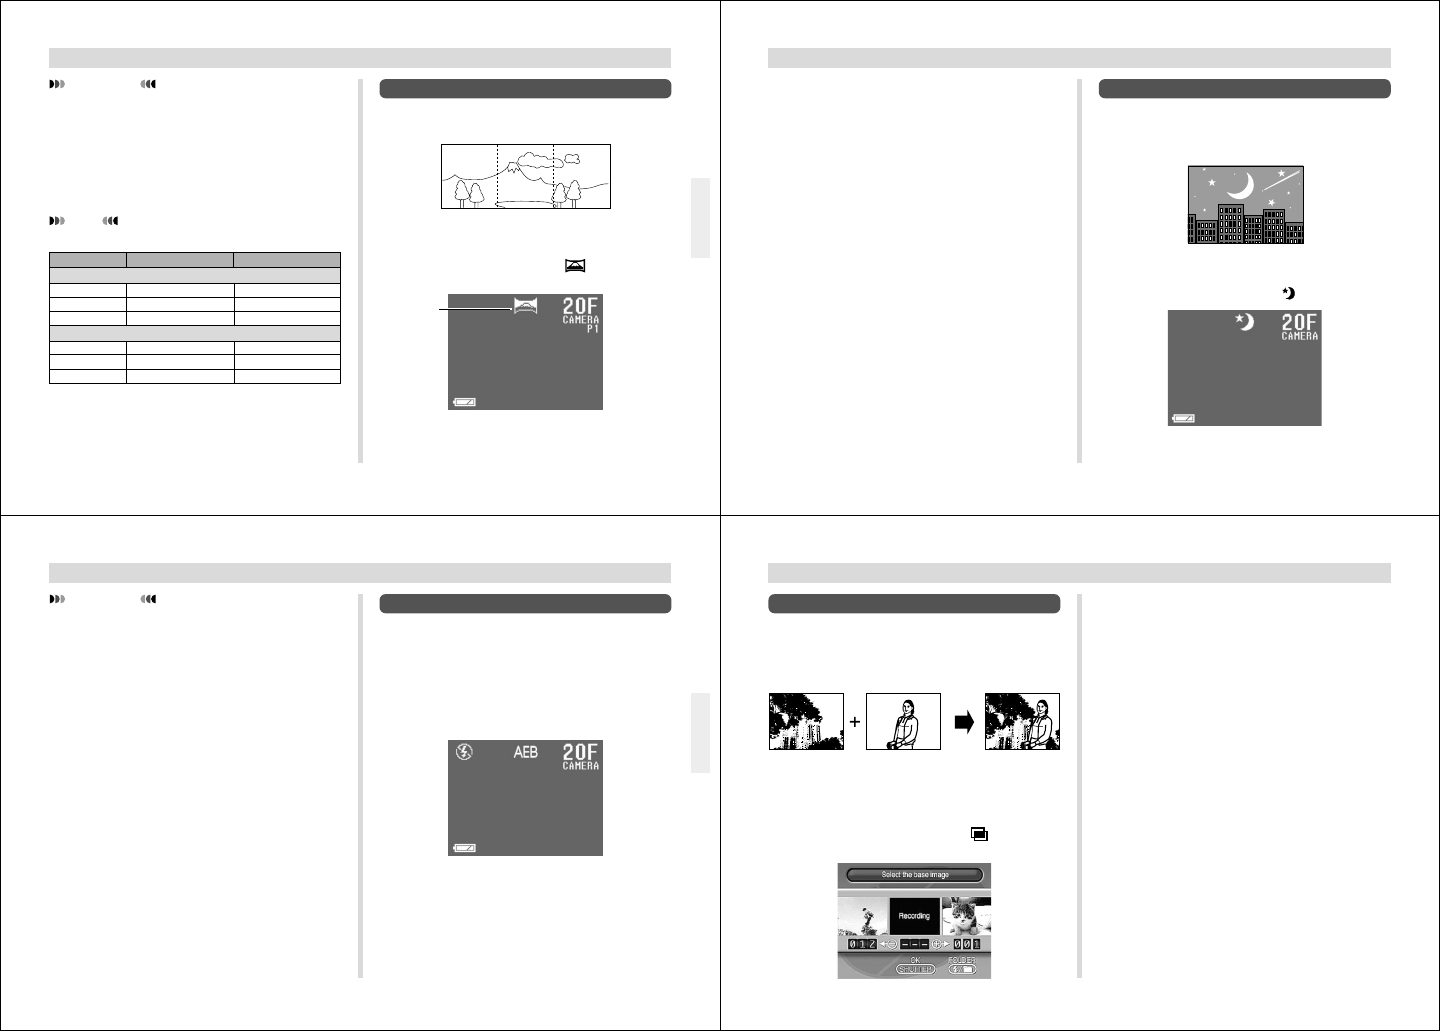
Panorama Recording
With panorama recording you record a series of images and
then link them to create a single panoramic effect.
1.
Slide the Function Switch to REC.
2.
Press MODE and then select (PANORAMA).
Panorama
Recording
Mode
IMPORTANT!
• Flash is disabled during movie recording.
• Movie images that are uploaded to a personal com-
puter and then download back to the camera cannot
be played back as a movie. Uploading a movie image
to a computer ungroups it, so you will not be able to
play it back when you download it back to the camera
unless you re-group them using the procedure on
page 67.
NOTE
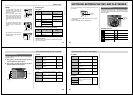
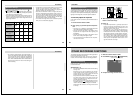
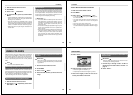
Movie Length and Number of Images
320 x 240 160 x 120
6 sets (1088KB)
3 sets (2176KB)
2 sets (3264KB)
27 sets (272KB)
13 sets (544KB)
9 sets (816KB)
3.2 seconds
6.4 seconds
9.6 seconds
File Format: JPEG
Length
File Format: AVI
3.2 seconds
6.4 seconds
9.6 seconds
8 sets (896KB)
4 sets (1792KB)
3 sets (2100KB)
30 sets (224KB)
16 sets (448KB)
10 sets (672KB)
* When using 8MB CF card.
54
OTHER RECORDING FUNCTIONS
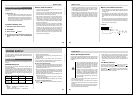
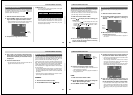
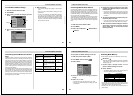
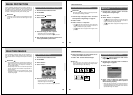
Night Scene Mode
The Night Scene Mode is for recording images in dark areas.
When recording images of people on a twilight or night time
background, you can use the flash in combination with the
Night Scene Mode for slow synchro recording.
1.
Slide the Function Switch to REC.
2.
Press MODE and then select (NIGHT SCENE).
3.
Compose the image and then record it.
3.
Compose the image and then record it.
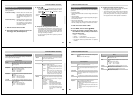
• The right edge of the previous image you recorded re-
mains on the monitor screen, so you can align it cor-
rectly with the next image.
• From the second image onwards, aim the camera fur-
ther to the right and overlap the next image with the
previous one on the monitor screen.
• Up to nine images can be grouped into a panorama.
Press MENU when you want to stop a panorama re-
cording operation.
• Aperture setting and white balance settings are locked
when you record the first image of a panorama, and
these settings are applied to all subsequent images in
that panorama.
• If you want to link more than 9 images into a pan-
orama, upload the images to a computer and use your
computer application to link them.
• See “Panorama Playback” on page 68 for details on
playing back panoramas.
55
OTHER RECORDING FUNCTIONS
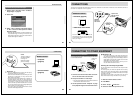
Using AEB (Auto Exposure Bracketing)
When AEB is turned on, the same image is recorded using
three different exposure settings.
• This feature records three images at exposures of –0.5EV,
±0EV, and +0.5EV.
1.
Slide the Function Switch to REC.
2.
Press MODE, and then select
AEB
.
3.
Compose the image and then record it.
• Since the same image is recorded three times, the
record operation takes a bit longer than normal.
IMPORTANT!
• The shutter speed is quite slow in the Night Scene
Mode, so you should be sure to use a tripod to hold
the camera steady. Note that the camera shake indi-
cator does not appear in the Night Scene Mode.
• Slow shutter speed also causes slow monitor screen
refresh. Because of this, the image recorded may be
slightly different from the image that was on the moni-
tor screen when you pressed the shutter button.
• Auto Focus is difficult in the dark. If you experience
problems, use manual focusing (page 50). There may
be some blurring of the image if the subject is fast
moving.
• In the Night Scene Mode, Quick Shutter records up to
five consecutive shots.
• The contrast of Night Scene Mode images is not af-
fected by changes made using the Record Menu's
Contrast (Record Settings) settings.
56
OTHER RECORDING FUNCTIONS
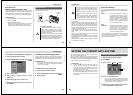
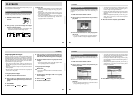
Using Multiple Exposure
Multiple exposure lets you record an image over another
one. You can record over an existing image already in
memory, or you can record two new images. You can also
use the Record Menu (page 59) to specify the brightness of
the combined images.
To record a new image over an existing image
1.
Slide the Function Switch to REC.
2.
Press MODE, and then select (MULTIPLE
EXPOSURE).
3.
Use [+] and [–] to move the image over which
you want to record another image to the center
of the monitor screen, and then press the shut-
ter button.
4.
Use the semi-transparent image to compose
the new image, and then record it.
To record two new images
1.
Perform steps 1 through 2 under “To record a
new image over an existing image”.
2.
Use [+] and [–] to move “Recording” to the cen-
ter of the monitor screen, and then press the
shutter button.
3.
Record the first image.
• This causes a semi-transparent version of the image
to remain on the monitor screen.
4.
Use the semi-transparent image to compose
the new image, and then record it.