


Special offers from our partners!

Find Replacement BBQ Parts for 20,308 Models. Repair your BBQ today.
65
PLAYBACK
PLAYBACK
The following describes the different techniques that you can
use to playback recorded images.
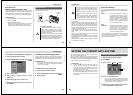
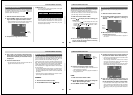
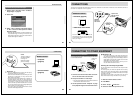
Basic Playback Operation
The built-in monitor screen of the camera lets you play back
recorded images without connecting an external monitor.
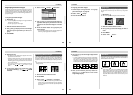
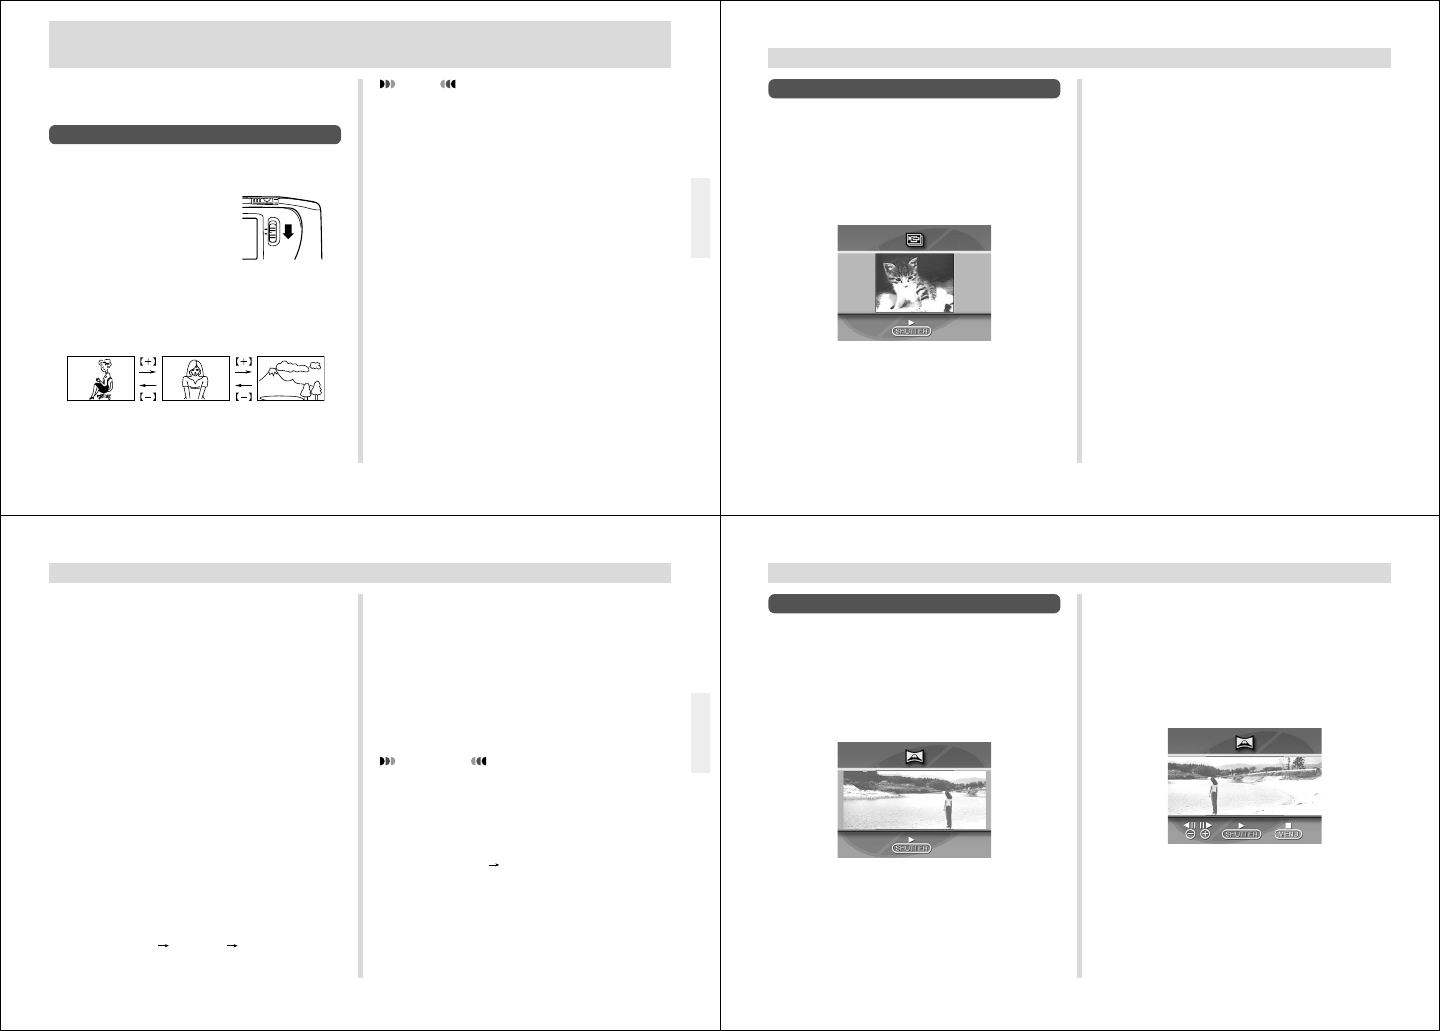
1.
Slide the Function Switch
to PLAY.
2.
Use [+] and [–] to scroll through the images
stored in camera memory.
• Press [+] to scroll forward and [–] to scroll back. Hold-
ing down either button scrolls at high speed.
NOTES
• Sliding the Function Switch to PLAY immediately after
recording an image displays the image you just re-
corded first.
• Pressing the shutter button while a movie or pan-
orama image is on the monitor screen starts playback
of the movie or panorama .
• The image that initially appears on the monitor screen
in the PLAY mode is a preview image. The full of im-
age appears after a few seconds.
REC
PLAY
66
PLAYBACK
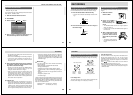
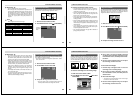
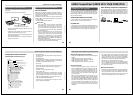
Playing Back a Movie
Use the following operation to play back a movie that was
recorded using the operation under “Movie Recording” on
page 51.
1.
Slide the Function Switch to PLAY.
2.
Use [+] and [–] to select the movie you want to
play back.
3.
Press the shutter button to start playing back
the movie.
• You can use [+] (forward) and [–] (reverse) while play-
ing back a movie to change the playback direction.
• To enlarge the movie image so it fills the entire moni-
tor screen, press DISP. Pressing the DISP again re-
turns the image to its original small size.
• Pressing the shutter button during movie play pauses
playback. Press the shutter button again to resume
playback.
• While movie playback is paused, you can use [+] (for-
ward) and [–] (reverse) to move frame-by-frame
through the movie.
4.
After the movie is complete, press MENU.
67
PLAYBACK
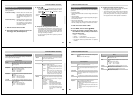
5.
Use [+] and [–] to scroll through the other im-
ages that make up the movie until the one you
want to use as the final image is on the display.
6.
Press the shutter button to re-group the movie
images.
• The movie playback screen (page 66) appears after
the re-grouping operation is complete.
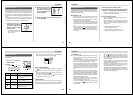
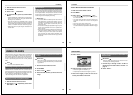
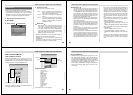
Regrouping Movie Images
When you record a movie, the camera automatically groups
images that make up the movie. Transferring a movie to a
personal computer causes its images to become ungrouped.
If you download the movie back to the camera, you will be
unable to play it back as a movie unless you use the follow-
ing procedure to re-group the images.
• Only images recorded while “JPEG” is selected for the
Record Menu (page 60) “File Format (Movie)” item can be
grouped.
• Only images recorded using Economy Mode resolution
can be grouped.
• Non-movie from a computer or other source are grouped at
a size of 160 x 120 pixels.
To re-group movie images
1.
Slide the Function Switch to PLAY.
2.
Use [+] and [–] to display the first of the four
images that make up the movie you want to re-
group.
3.
Press MENU.
4.
Select “Tools” “Group” “Movie”.
To ungroup movie images
IMPORTANT!
AVI format movie files stored in the AVI folder cannot be
ungrouped.
1.
Perform steps 1 through 3 under “To re-group
movie images”.
2.
Select “Tools” “Group”.
3.
Press the shutter button.
68
PLAYBACK
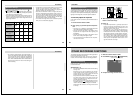
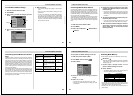
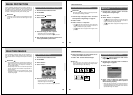
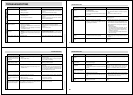
Panorama Playback
Use the following operation to playback panoramas re-
corded using the operation under “Panorama Recording” on
page 53.
1.
Slide the Function Switch to PLAY.
2.
Use [+] and [–] to select the panorama you
want to play back.
3.
Press the shutter button to start panorama
playback.
• You can change the direction of a panorama that is
playing back by pressing [+] or [–].
• To enlarge the panorama image so it fills the entire
monitor screen, press DISP. Pressing the DISP again
returns the image to its original small size.
• Pressing the shutter button during panorama play
pauses playback. Press the shutter button again to re-
sume playback.
• While panorama playback is paused, you can use [+]
(forward) and [–] (reverse) to move frame-by-frame
through the panorama.
4.
Press MENU to stop panorama playback.