


Special offers from our partners!

Find Replacement BBQ Parts for 20,308 Models. Repair your BBQ today.
37
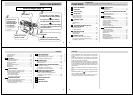
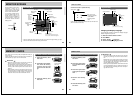
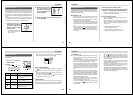
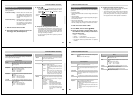
To select the date format
Example: May 12, 1999
You can select any one of the following formats for the above
date: 99/5/12, 12/5/99, 5/12/99.
1.
Slide the Function Switch to PLAY.
2.
Press MENU.
3.
Select “Set Up” “Date” “Style”.
4.
Use [+] and [–] to select the date format you
want, and then press the shutter button.
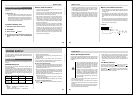
SETTING THE CURRENT DATE AND TIME
38
RECORDING
RECORDING
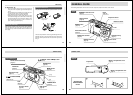
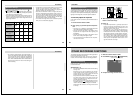
Basic Recording Operation
The following describes the basic operation for recording
images.
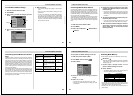
1.
Slide the Function
Switch to REC.
2.
Slide the POWER
Switch in the direc-
tion indicated by the
arrow.
• The POWER Switch returns to its original position
when you release it.
• If power turns off, slide the POWER Switch again to
turn it back on.
3.
After composing the image
on the monitor screen,
press the shutter button
about half way and hold it
there.
• The camera’s Auto Focus fea-
ture automatically focuses the
image.
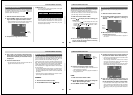
Using the Shutter Button
The following steps describe how to operate the shutter but-
ton so that Auto Focus has a chance to focus the image.
1.
Press the shutter button about half way.
• The Auto Focus feature automatically focuses the im-
age.
2.
Press the shutter button as far as it will go to
record the image.
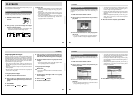
REC
PLAY
39
RECORDING
• The operation lamp lights green when the Auto Focus
operation is complete.
• Take care to avoid blocking the lens with your fingers.
• If you plan to use the viewfinder to compose the im-
age, press DISP several times until the monitor
screen turns off.
4.
After confirming that the Auto Focus operation
is complete, press the shutter button all the
way down to record the image.
• Images you record are stored in the CAMERA folder.
See page 75 for information about how you can
change to another folder to store images.
• After you record an image, the camera takes a few
seconds to store it in memory. If you try to change to
the Playback Mode while a save operation is in
progress, the message “Press DISP to cancel save”
appears on the monitor screen. Pressing DISP at this
time cancels the save operation.
CAUTION
• Never open the battery compartment cover, discon-
nect the AC adaptor from the camera, or unplug the
adaptor from the wall socket while the operation lamp
is flashing green. Doing so will not only make storage
of the current image impossible, it can also corrupt
other image data already stored in camera memory.
• Fluorescent lighting actually flickers at a frequency
that cannot be detected by the human eye. When us-
ing the camera indoors under such lighting, you may
experience some brightness or color problems with
recorded images.
IMPORTANT!
Auto Focus tends not to work well with the following
types of subjects.
• Solid color walls or objects with little contrast
• Strongly backlit objects
• Polished metal or other brightly reflective objects
• Venetian blinds or other horizontally repeating pat-
terns
• Multiple images that are varying distances from the
camera
• Subjects in poorly lit areas
• 4X zoom images
These cases may make it impossible for Auto Focus to focus
properly, which is indicated by the red operation lamp. When
this happens switch to the Manual Mode for focusing (page
50). The following are the fixed focusing distances when
Auto Focus is unable to focus.
Well-lit Location: 1.5 meters (4.9´) minimum
With Flash: 1 to 2 meters (3.3´ to 6.6´)
40
RECORDING
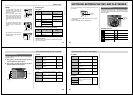
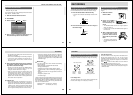
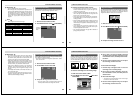
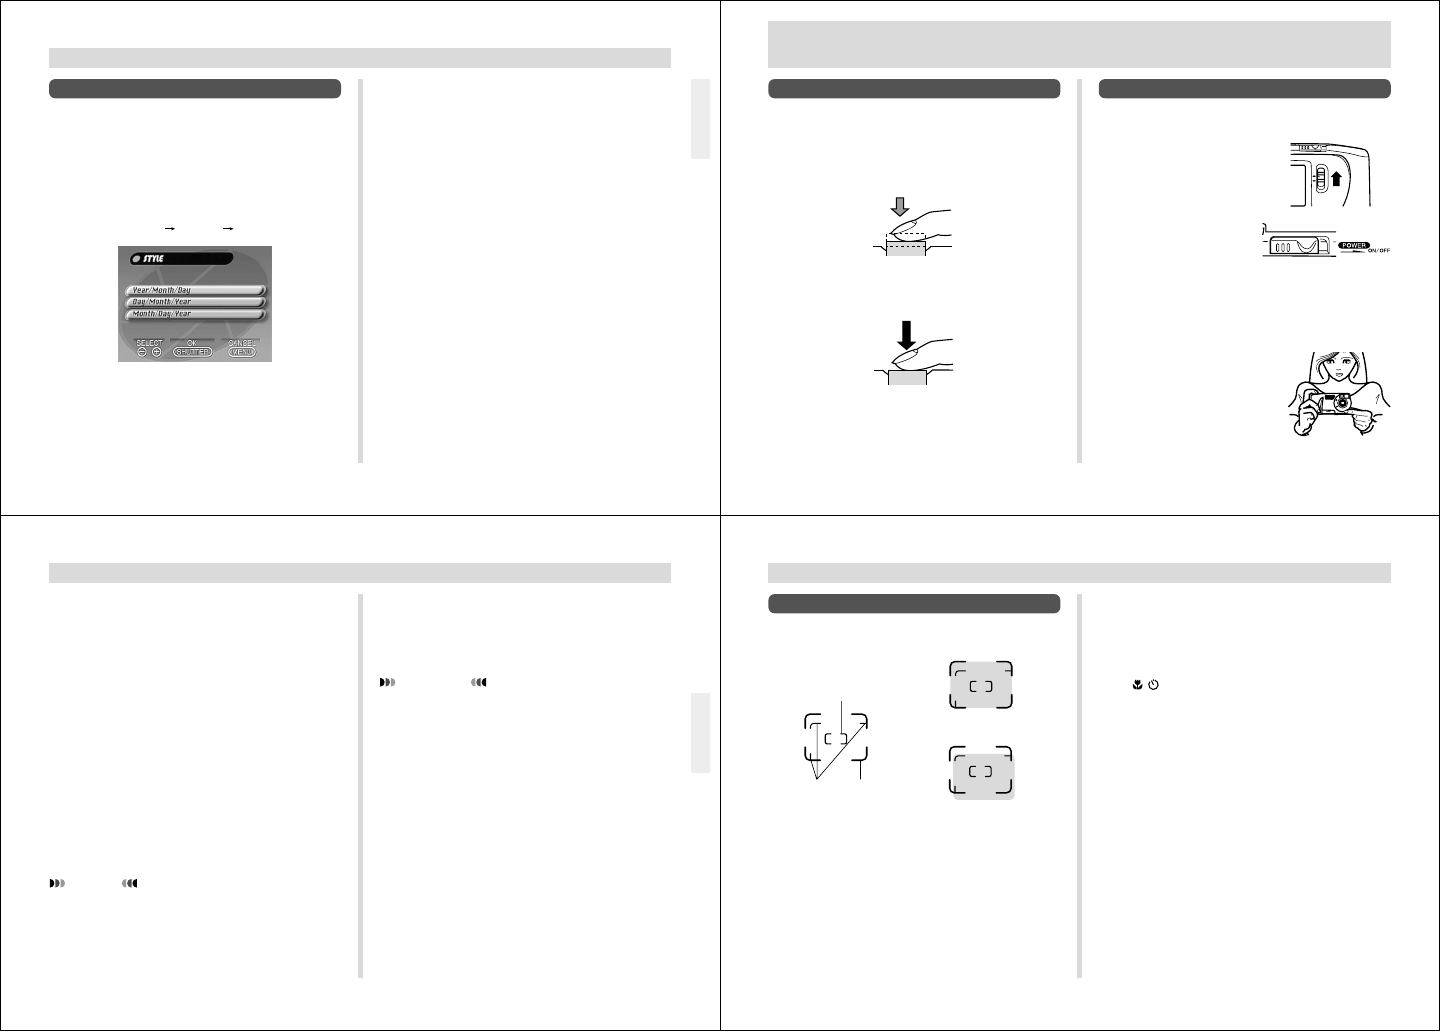
Using the Viewfinder for Recording
The illustrations below show what you see when you look
through the viewfinder to compose an image for recording.
Focus Range Frame
This frame shows the focus range when the distance from
the lens to the subject is 1 meter (3.3´) to infinity.
Focus range for 30cm
Focus range for 1m to
∞
Auto Focus Frame
Close Up
Range
Frame
Focus
Range
Frame
Close Up Range Frame
This frame shows the focus range when the distance from
the lens to the subject is 30 cm (11.8˝). You can use the
viewfinder for distances from 30 cm (11.8˝) to infinity. When
using Auto Focus, compose the subject so it is within the
Auto Focus Frame.
Press
· to enter the Macro Mode or use the Manual
Mode for distances less than 30 cm (11.8˝).
• Entering the Macro Mode automatically turns on the moni-
tor screen. Use the monitor screen to compose images in
the Macro Mode.