


Special offers from our partners!

Find Replacement BBQ Parts for 20,308 Models. Repair your BBQ today.
49
OTHER RECORDING FUNCTIONS
IMPORTANT!
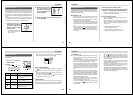
• The focus range for Auto Focus depends on the digital
zoom setting as shown below.
Digital Zoom Focus Range
OFF 0.3m to ∞ (1.0´ to ∞)
2X 0.5m to ∞ (1.6´ to ∞)
4X 0.8m to ∞ (2.6´ to ∞)
• The camera may not be able to focus on an image
within the Auto Focus frame if the subject is closer
than the distances noted above. In such a case, the
Auto Focus frame changes to white when you press
the shutter button half way.
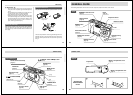
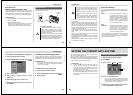
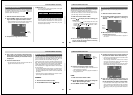
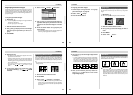
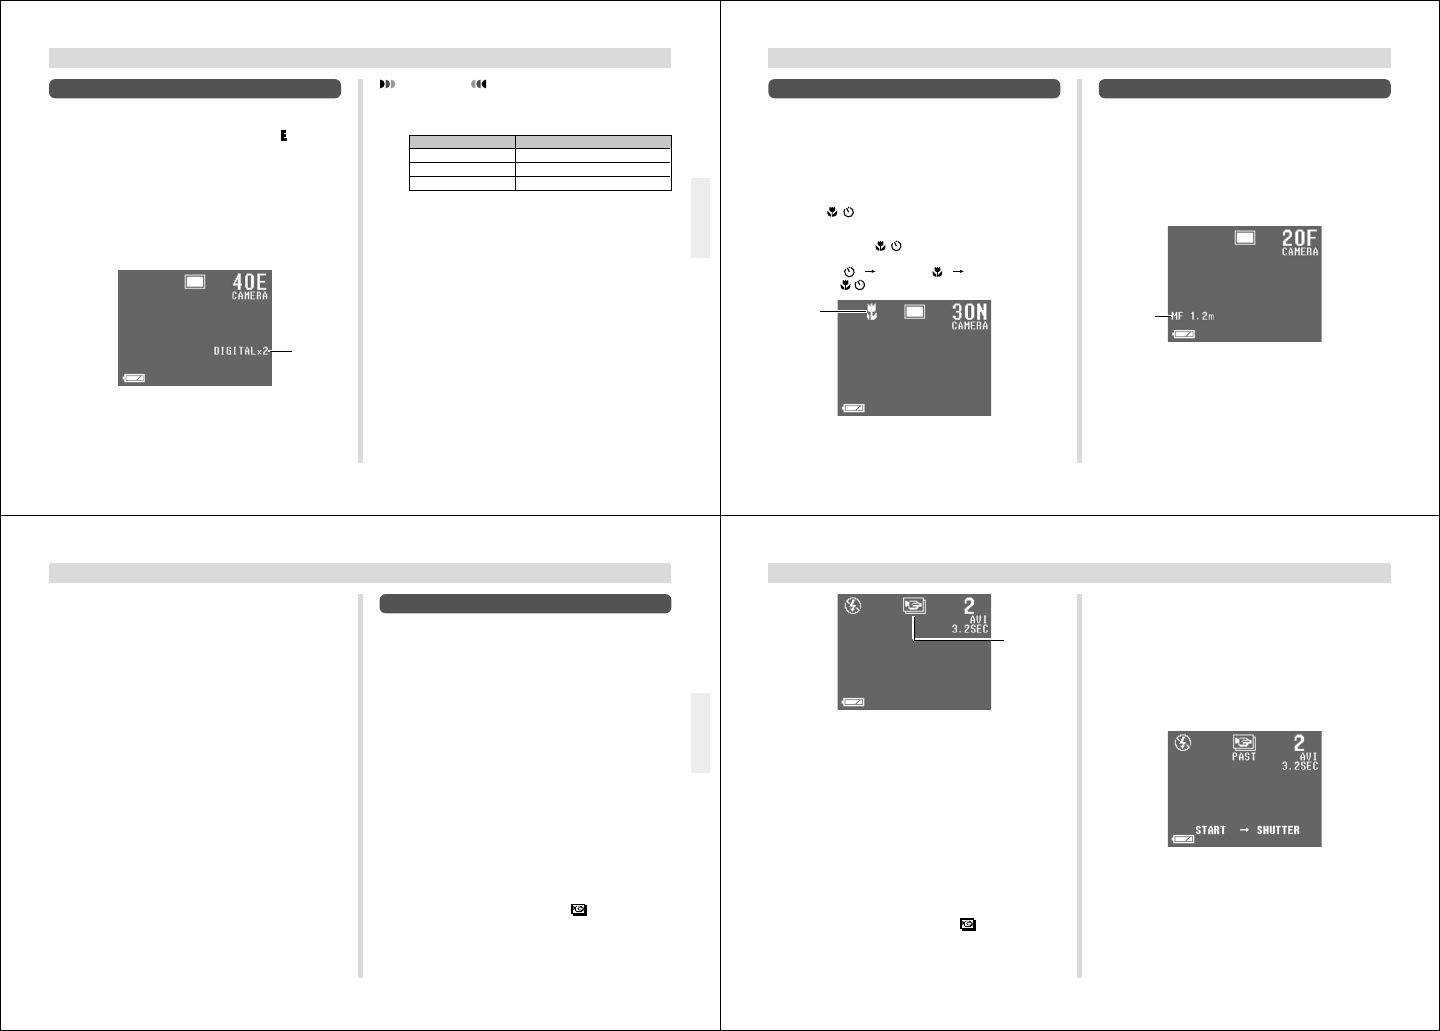
Using the Zoom Feature
The zoom feature lets you move in closer on subjects that
are located far from the camera. You can select either 2X or
4X zoom. In both cases, images are Economy “
” resolution
[VGA size (640 x 480 pixels)].
1.
Slide the Function Switch to REC.
2.
Press ZOOM to display the current zoom set-
ting in the lower right of the monitor screen.
• Press ZOOM again to cycle through the zoom settings
until the one you want is on the monitor screen.
3.
Compose the image and then record it.
Zoom
setting
50
OTHER RECORDING FUNCTIONS
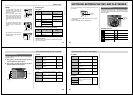
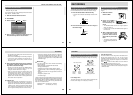
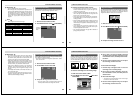
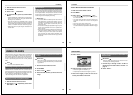
Manual Focus
Manual Focus lets you manually adjust the focus of an im-
age.
1.
Slide the Function Switch to REC.
2.
Use the Record Menu (page 59) to change the
“Focus” (Record Options 1) setting to
“Manual”.
3.
Manually measure the distance to the subject,
and then press [+] or [–].
• This causes the current focus distance to appear on
the screen.
Manual
Focus
indicator
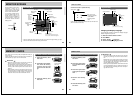
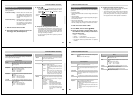
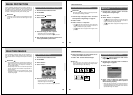
Using the Macro Feature
With the macro feature, you can record close up images of
subjects locate only 10cm (3.9˝) from the lens.
• Auto Focus is disabled while the Macro feature is in use.
• With the macro feature, use the monitor screen to com-
pose the image. Do not use the viewfinder.
1.
Slide the Function Switch to REC.
2.
Press · to display the macro setting you
want to use.
• Each press of · cycles through the macro and
self-timer settings in the following sequence: SELF-
TIMER “
” MACRO “ ” MACRO + SELF-
TIMER “
/ ”
3.
After composing the image on the monitor
screen, press the shutter button all the way
down to record the image.
Macro
setting
51
OTHER RECORDING FUNCTIONS
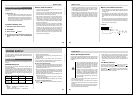
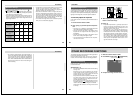
Movie Recording
You can record movies that are approximately 3.2, 6.4, or
9.6 seconds long. You can also specify the file format (JPEG
or AVI), and the image size (320 x 240 pixels or 160 x 120
pixels). For details, see “Record Menu” on page 59.
There are two types of movie recording: PAST and NOR-
MAL. PAST lets you capture images of events that occurred
before you pressed the shutter button while NORMAL
records what happens after you press the shutter button.
See “Record Menu” on page 59 for details on how to select
the movie length.
• AVI files can be displayed and saved on a computer that is
set up to support use of CompactFlash cards. For such a
computer, install QuickTime 3, which comes bundled with
the camera.
• AVI format movies cannot be displayed or saved on a com-
puter using the bundled PC link software.
NORMAL
1.
Slide the Function Switch to REC.
2.
Press MODE and then select (MOVIE).
4.
Use [+] and [–] to increase or decrease the dis-
tance value on the monitor screen, until the
one closest to distance you measured in step 3
is displayed.
5.
Press the shutter button.
• The operation lamp and the Auto Focus frame do not
appear while manual focus is in use.
52
OTHER RECORDING FUNCTIONS
4.
Compose the image on the monitor screen and
then press the shutter button about half way.
• Auto Focus automatically adjusts in accordance with
the movement of the subject.
• The message “STAND BY” remains on the monitor
screen for a period that is equal to the movie length
you select (3.2, 6.4, or 9.6 seconds).
Recording is not performed if you press the shutter
button while this message is on the monitor screen.
5.
Keep the camera pointed at the action you
want to record, and press the shutter button all
the way down when you want to end recording.
• If you selected a movie length of 9.6 seconds, for ex-
ample, pressing the shutter button records everything
that went on in front of the lens from about 9.6 sec-
onds ago up to the point you pressed the shutter but-
ton.
3.
Compose the image and then record it.
• Auto Focus automatically adjusts in accordance with
the movement of the subject.
• See “Playing Back a Movie” on page 66 for details on
playing back a movie.
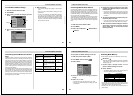
PAST
1.
Slide the Function Switch to REC.
2.
Use the Record Menu (page 59) to change the
“Mode” (Movie) setting to “Past”.
3.
Press MODE and then select (MOVIE).
Movie
Recording
Mode