Special offers from our partners!

Find Replacement BBQ Parts for 20,308 Models. Repair your BBQ today.
GAS BRAISING PANS - SERVICE PROCEDURES AND ADJUSTMENTS
F25121 (February 2003)
Page 23 of 32
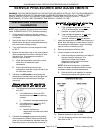
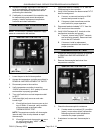
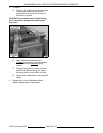
LEFT SIDE VIEW SHOWN
LEFT SIDE VIEW SHOWN
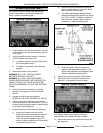
RIGHT SIDE REAR VIEW SHOWN
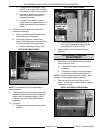
1) If main burners do not light, verify
24VAC input to the switch, and that
the voltage is output from the switch.
2) If voltage is present on the output
side of the switch, the switch is
functioning properly.
3) If voltage is not present, install a
replacement pan position/down limit
switch and repeat this procedure to
adjust.
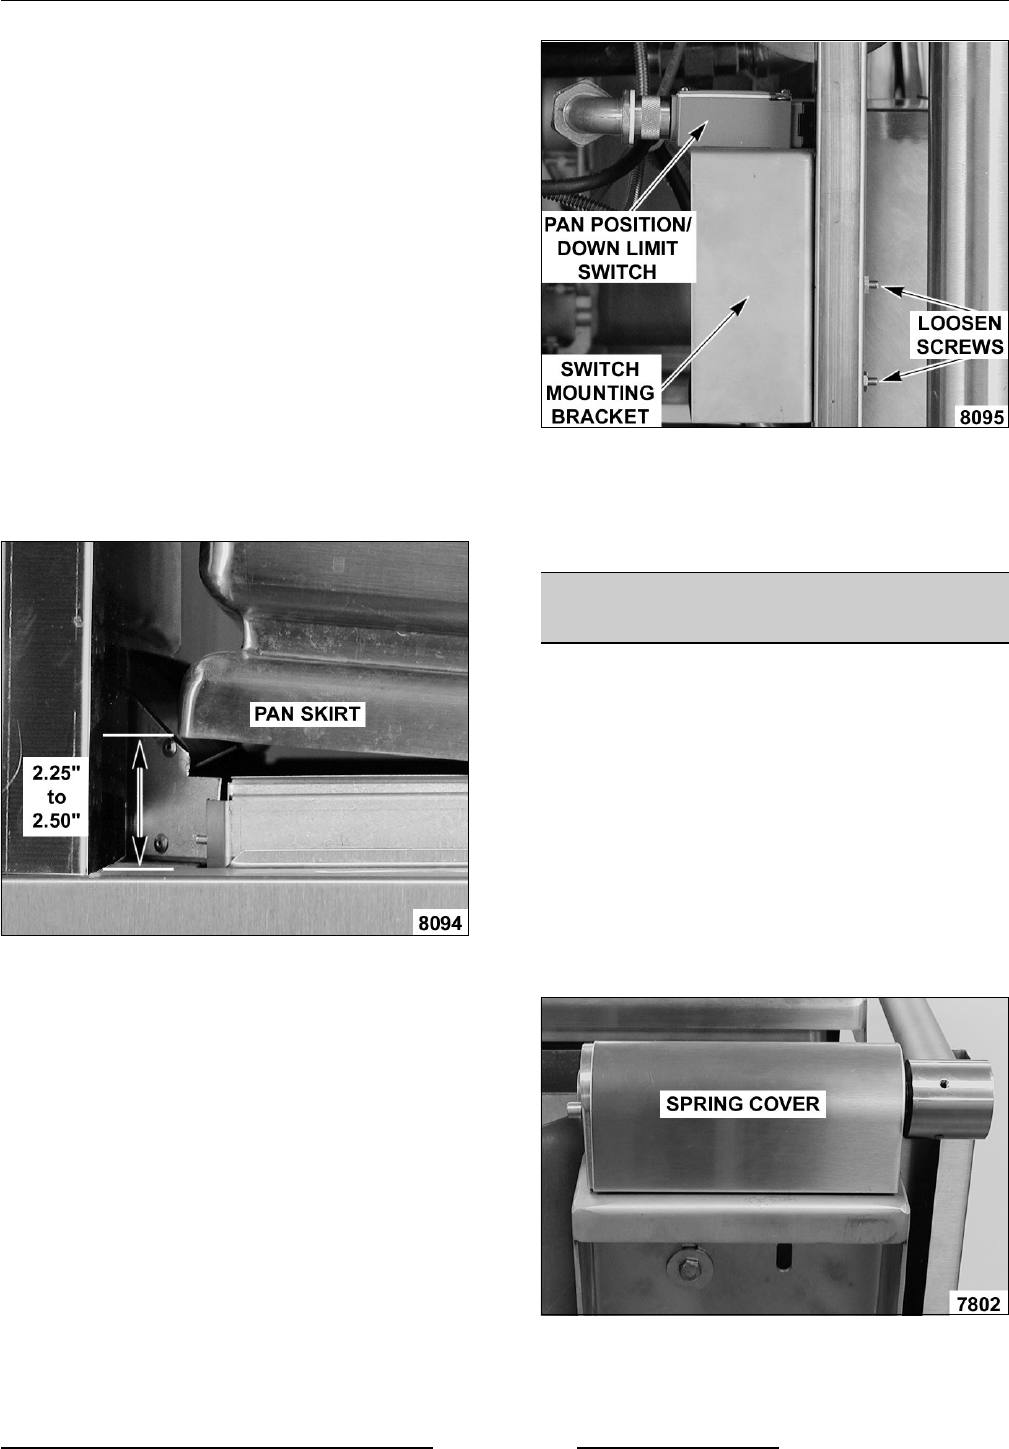
8. Verify pan position/down limit switch N.O.
contacts are opening.
A. Slowly raise the pan until the heat light
and burners go out then stop.
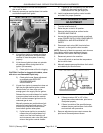
B. At the rear of the pan, measure the
distance from the bottom of the pan skirt
to the flat surface covering the frame.
1) Distance should be 2.25" to 2.50".
NOTE: For reference, this is approximately 5
angular degrees.
9. If heat light and main burners go out and the
measured distance is within the acceptable
range, switch is adjusted properly. If both
conditions are not satisfied, adjustment is
necessary.
10. To Adjust:
A. Loosen screws on the mounting switch
bracket.
B. Adjust mounting switch bracket up or
down (as necessary) to obtain the rear
pan dimension of 2.25" to 2.50".
11. Repeat steps 5 thru 9 to check for proper
operation.
LID SPRING TENSION
ADJUSTMENT
1. Raise the lid and release at several positions
thru the range of travel.
A. If lid remains in place, no adjustment is
necessary.
B. If lid does not remain in place (springs up
or falls down), continue with procedure.
NOTE: For spring tension to be set correctly, each
spring must be adjusted the same amount.
2. Remove spring covers by prying up at the
bottom. The covers are held in place by tabs on
the bottom of cover.


