


Special offers from our partners!

Find Replacement BBQ Parts for 20,308 Models. Repair your BBQ today.
GAS BRAISING PANS - SERVICE PROCEDURES AND ADJUSTMENTS
F25121 (February 2003) Page 16 of 32
12. Repeat the average temperature calculation for
up to three attempts. Allow the pan to cycle at
least two times between adjustments before
performing the calculation.
13. If calibration is unsuccessful, the controller may
be malfunctioning and cannot be adjusted
properly. Install a replacement temperature
controller and check calibration.
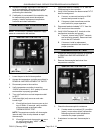
TEMPERATURE CONTROLLER
TEST
NOTE: The controller is powered whenever supply
power is connected to the machine.
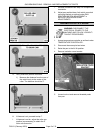
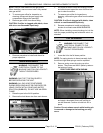
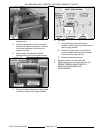
1. Lower the pan to the full down position.
2. Access the temperature controller as outlined in
REMOVAL AND REPLACEMENT OF PARTS.
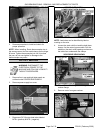
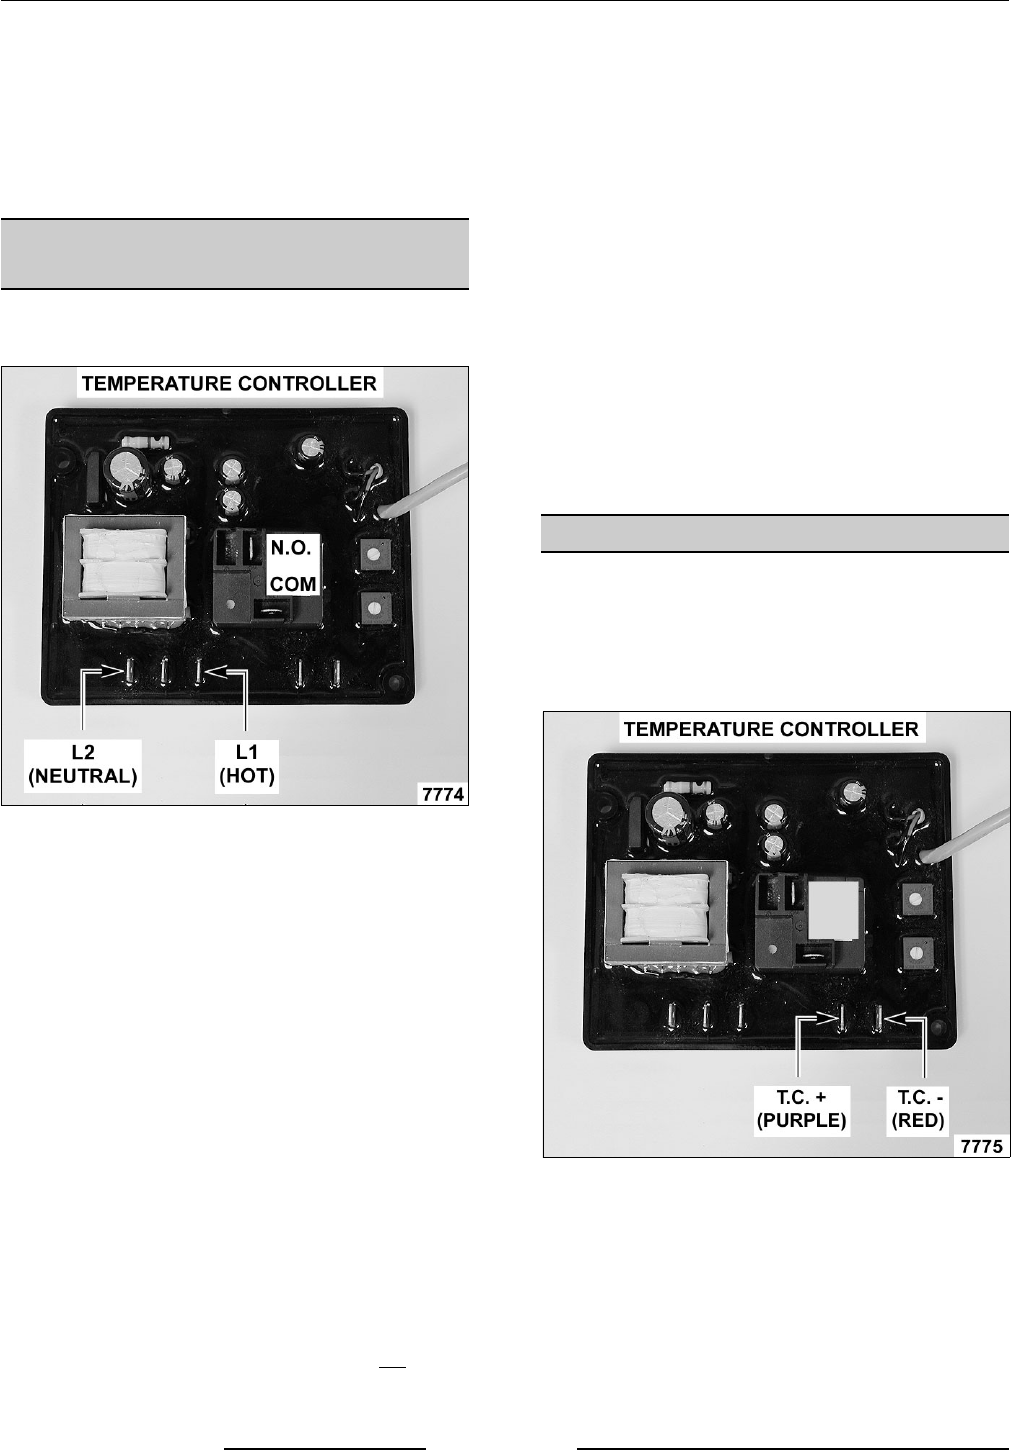
3. Re-connect power to the machine.
4. Verify temperature controller is receiving
120VAC at terminals L1 & L2, polarity is correct
and machine is properly grounded.
5. Turn on/off switch on and set temperature dial
to 250/F.
6. Verify heat light (red) comes on and main
burners light.
A. If heat light and main burners come on but
turn off within 10 seconds, verify condition
of thermocouple as outlined under
THERMOCOUPLE TEST.
NOTE: Temperature controller will de-energize
internal relay if the circuitry detects an open
thermocouple.
B. If heat light and main burners do not
come
on, verify internal relay "HEAT" contacts
are operating properly.
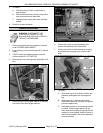
7. Disconnect lead wire labeled "HT.0" from the
COM terminal on the controller.
8. Verify 24VAC between the disconnected "HT.0"
lead wire and ground.
A. If correct, re-connect lead wire to COM
terminal and proceed to step 9.
B. If incorrect, check transformer and the
on/off switch for proper operation.
9. Disconnect lead wire labeled "HT.1" from the
N.O. terminal on the controller.
10. Verify 24VAC between N.O. terminal on the
temperature controller and ground.
A. If correct, internal relay "HEAT" contacts
are functioning properly. Reconnect lead
wire to the N.O. terminal.
B. If incorrect, install a replacement
temperature controller and check for
proper operation.
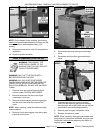
THERMOCOUPLE TEST
1. Access the temperature controller as outlined
in REMOVAL AND REPLACEMENT OF
PARTS.
2. Remove thermocouple lead wires from
temperature controller.
3. Check the thermocouple for resistance.
A. If meter reads an overload (OL) condition
(open), or zero ohms (short) replace the
thermocouple and check temperature
controller for proper operation.
4. If resistance is measured, thermocouple is
good.