


Special offers from our partners!

Find Replacement BBQ Parts for 20,308 Models. Repair your BBQ today.
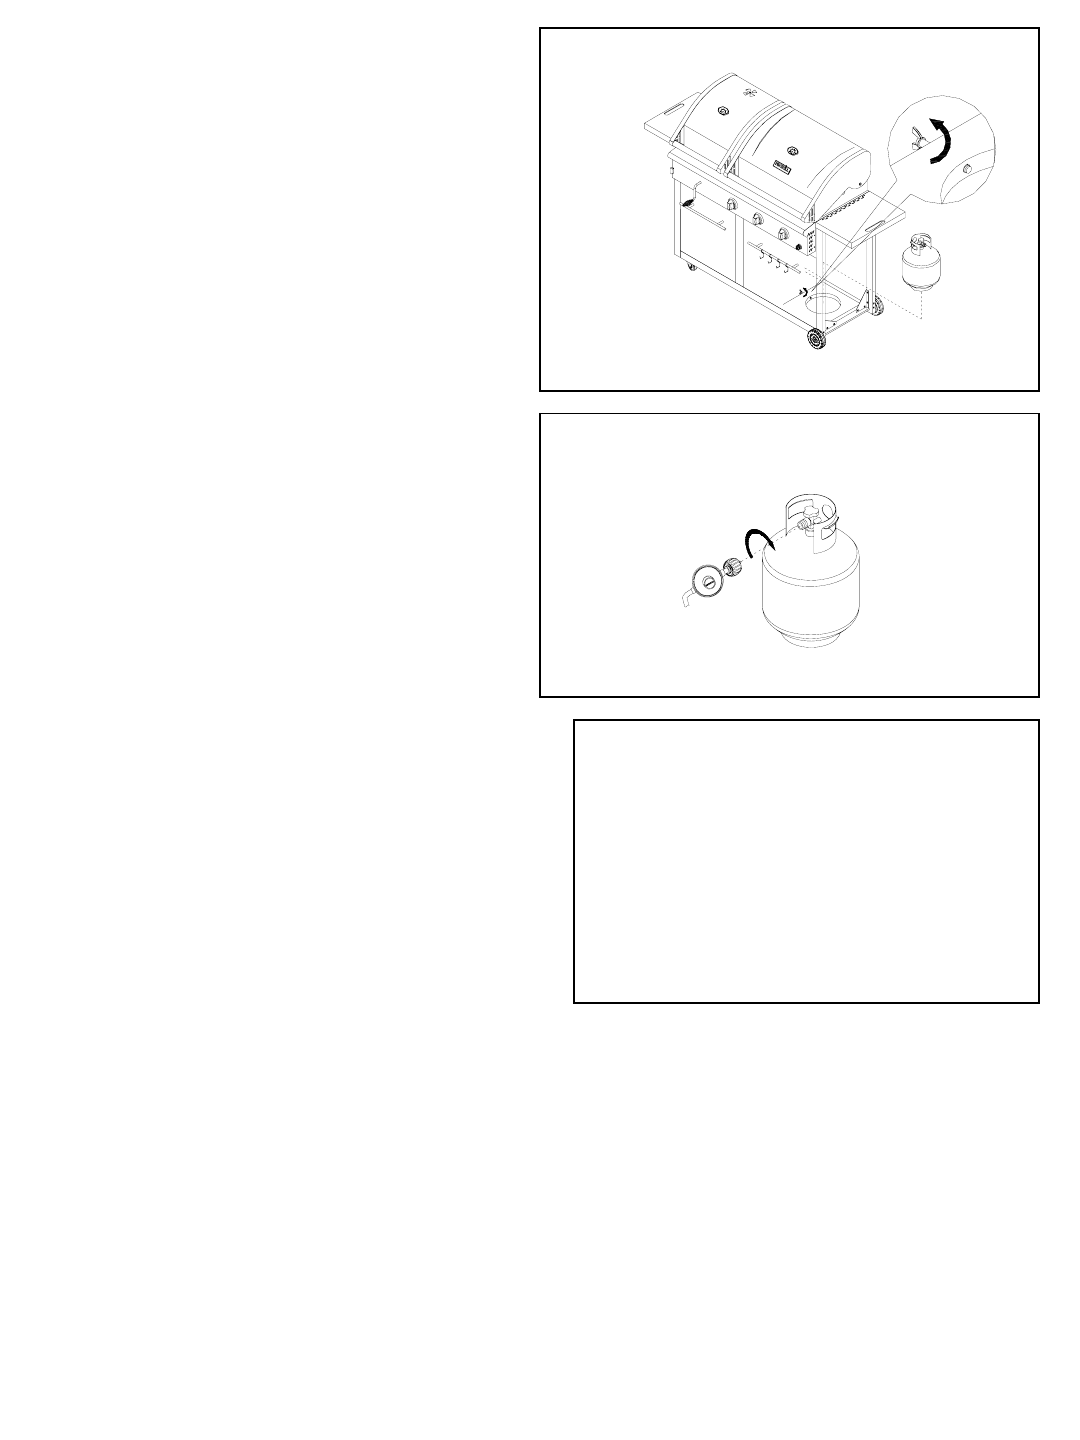
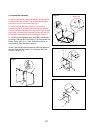
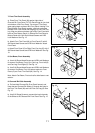
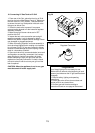
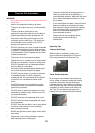
18. Connecting LP Gas Tank to LP Grill
1. From rear of the Cart, place the foot ring of 20-lb
tank into the hole of the Bottom Panel (J). Make sure
the tank valve is in OFF position. Use the tank bolt
to secure the tank in a fixed position with tank valve
facing out to side of Cart.
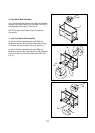
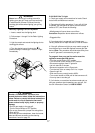
2. Check the tank valve to ensure it has proper
external mating threads to fit the hose and regulator
assembly provided.
3. Make sure all grill burner valves are in OFF
position with Grill.
4. Inspect the tank valve connection port and grill
regulator assembly. Look for damage or debris.
Remove any debris. Inspect hose for damage. Never
use damaged or plugged equipment.
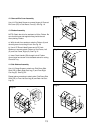
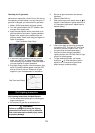
5. When connecting regulator and hose assembly to
tank valve hand tighten quick coupling nut clockwise
to a full stop (Fig.27) Do not use a wrench to tighten
because it could damage the quick coupling nut and
result in a hazardous condition.
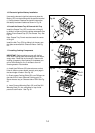
6. Open tank valve fully (counterclockwise) once tank
and regulator are securely connected. Use a soapy
water solution to check all connections for leaks
before attempting to light your grill once tank and
regulator are securely connected. If a leak is found,
turn tank valve off and do not use your grill until the
leak is repaired.
CAUTION: When the appliance is not in use, gas
must be turned off at the supply tank.
15
Fig. 26
Fig. 27
Regulator Connection
Congratulations
Your Nexgrill gas grill is now ready for use.
Before the first use and at the beginning of each
season (and whenever the LP gas tank has been
changed):
1. Read all safety, lighting and operating
instructions.
2. Check gas valve orifices, burner tubes and
burner ports for any obstructions.
3. Perform gas leak check according to
instructions found on next page of the manual.