


Special offers from our partners!

Find Replacement BBQ Parts for 20,308 Models. Repair your BBQ today.
30
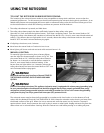
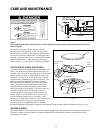
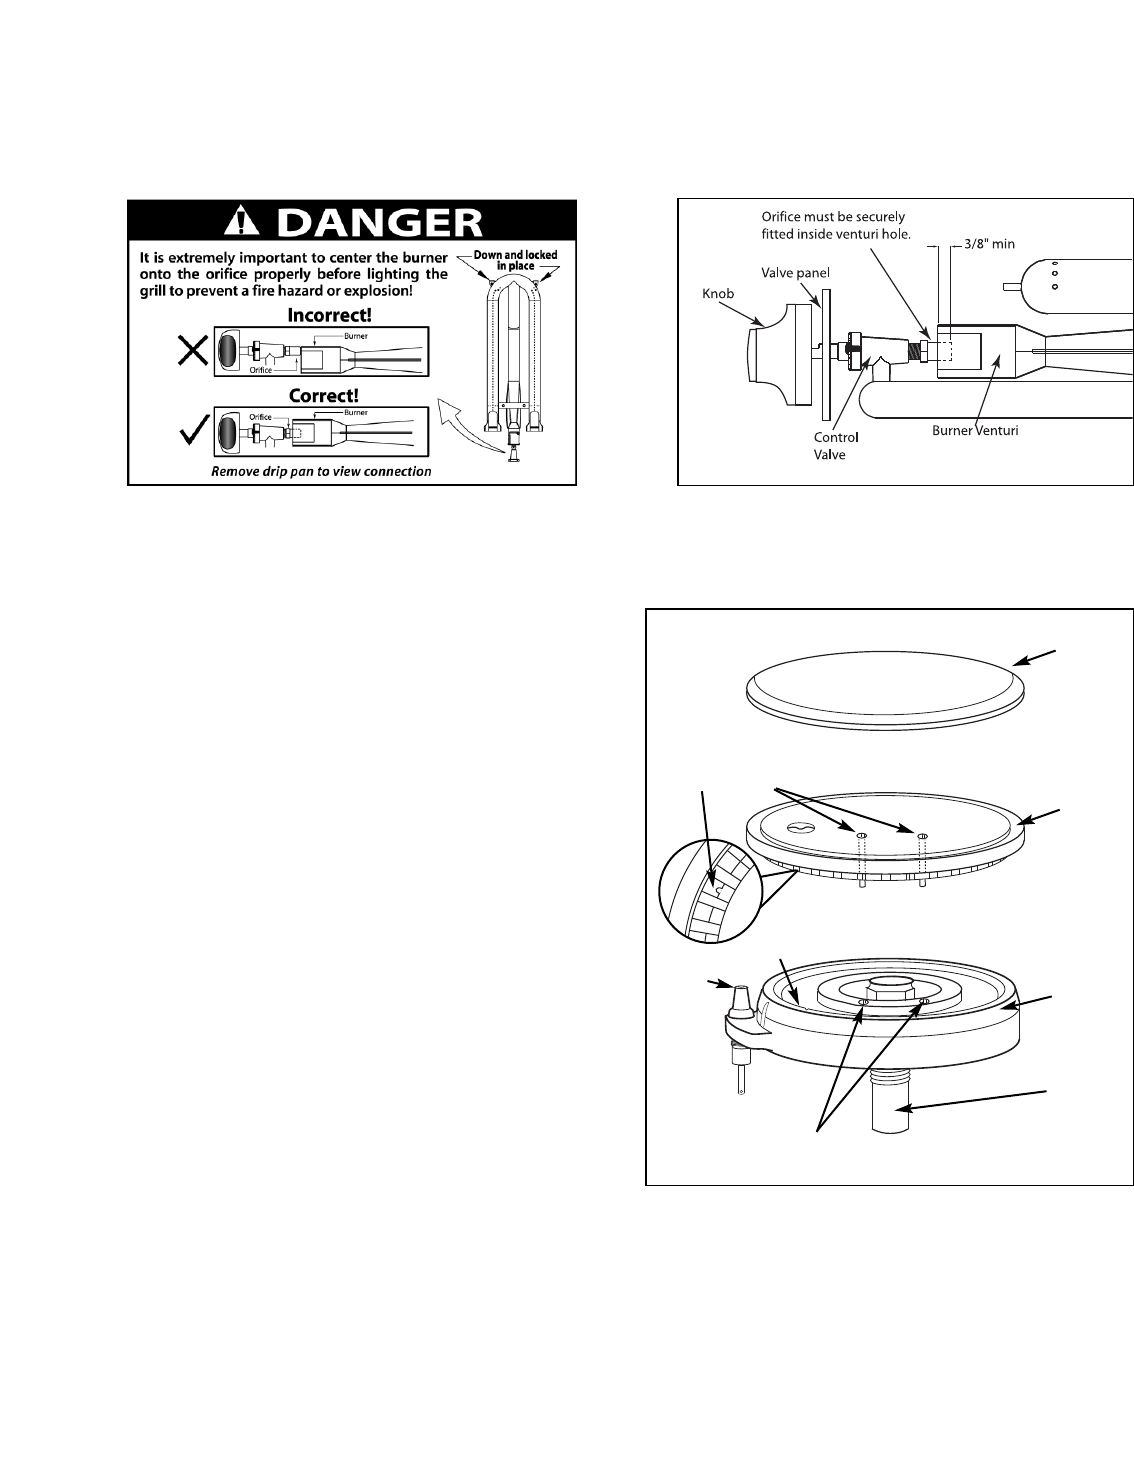
Note:
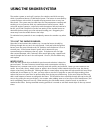
When replacing grill and/or smoker burners, or orifices following cleaning, confirm orifice penetration into burner as
shown in Fig. 48
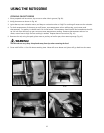
Be careful not to upset the air shutters’ original
position (unless readjusting). Lower the rear of the
burner into the cutouts on the support channel at the
rear of the burner box. Make sure it is level and does
not rock. Light all of the burners and check for proper
flame characteristics. If adjustments are necessary,
refer to page 17. Do this prior to cooking on the grill.
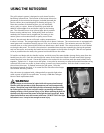
SIDE BURNERS (BGB48 BQR MODEL):
For proper lighting and performance keep the burners
clean. It is necessary to clean the burners if they do
not light even though the electrode clicks, if there has
been a severe boil over, or when the flame does not
burn blue. Be certain all burner knobs are in the off
position before attempting to clean the burners. The
burners have been designed for ease in cleaning.
When the grates and burners are cool, remove the
g
r
a
t
e. The burner cap and the brass port ring can
easily be lifted off. Wash these parts in hot soapy
water, rinse and dry thoroughly. The burner caps are
por
c
elain enamel. F
ollow the directions on the
previous page for cleaning tha
t w
er
e g
iv
en f
or the
burner grates. A bristle brush can be used to clean
out the t
oothed bur
ner ports, if necessary. After
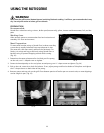
cleaning, it is impor
tan
t t
o make sur
e the loca
tion pins
on the bottom side of the port ring are properly
alig
ned with the corresponding holes in the base.
I
nc
or
r
ec
t alig
nmen
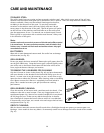
t will produce a potentially dangerous flame and poor burner performance (see Fig. 49).
SMOKER BURNER:
The smoker burner can be removed and cleaned by unplugging the electrode wire and lifting out the burner.
Cleaning is similar to the grill burner. Replace the burner by sliding the air shutter over the brass orifice,
centering it in the hole.
CARE AND MAINTENANCE
FIG. 49
Brass Ring Locat-
ing Pins
Electrode
Main
Burner
Port Ring
Locating Notch
Burner
Base
Venturi
Locating Holes
Cap
Fig. 48