


Special offers from our partners!

Find Replacement BBQ Parts for 20,308 Models. Repair your BBQ today.
19
Models QS10 & QS22 Operating Procedures
Cooking Procedures
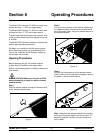
Step 1
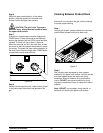
Make sure that the release material sheets are
installed.
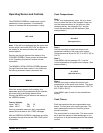
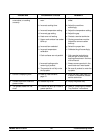
Step 2
Place the power switch(es) in the ON position. This
illuminates the switch(es). The screen will scroll
through information messages and then advance to
the first cook screen.
Figure 13
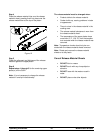
Note: If there is no upper cook surface, the words
“NO CLAM” will appear on the screen prior to the
software version number.
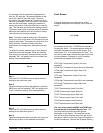
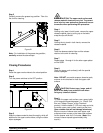
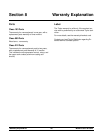
Step 3
Lift the clear plastic window. Press the UP arrow
until the desired item number or item name appears
on the display.
Figure 14
Step 4
IMPORTANT! Allow the grill to heat for
approximately 15 minutes to allow all zones to reach
set-point temperatures.
DO NOT begin cooking until the grill has reached set
temperature. If the grill is not at cook temperature,
the display will alternate between the item number
and the words, “TOO COOL”. If the grill is too hot to
cook the selected product, the display will alternate
between the item number and the words “TOO
HOT”.
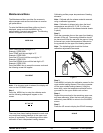
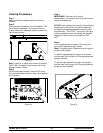
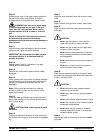
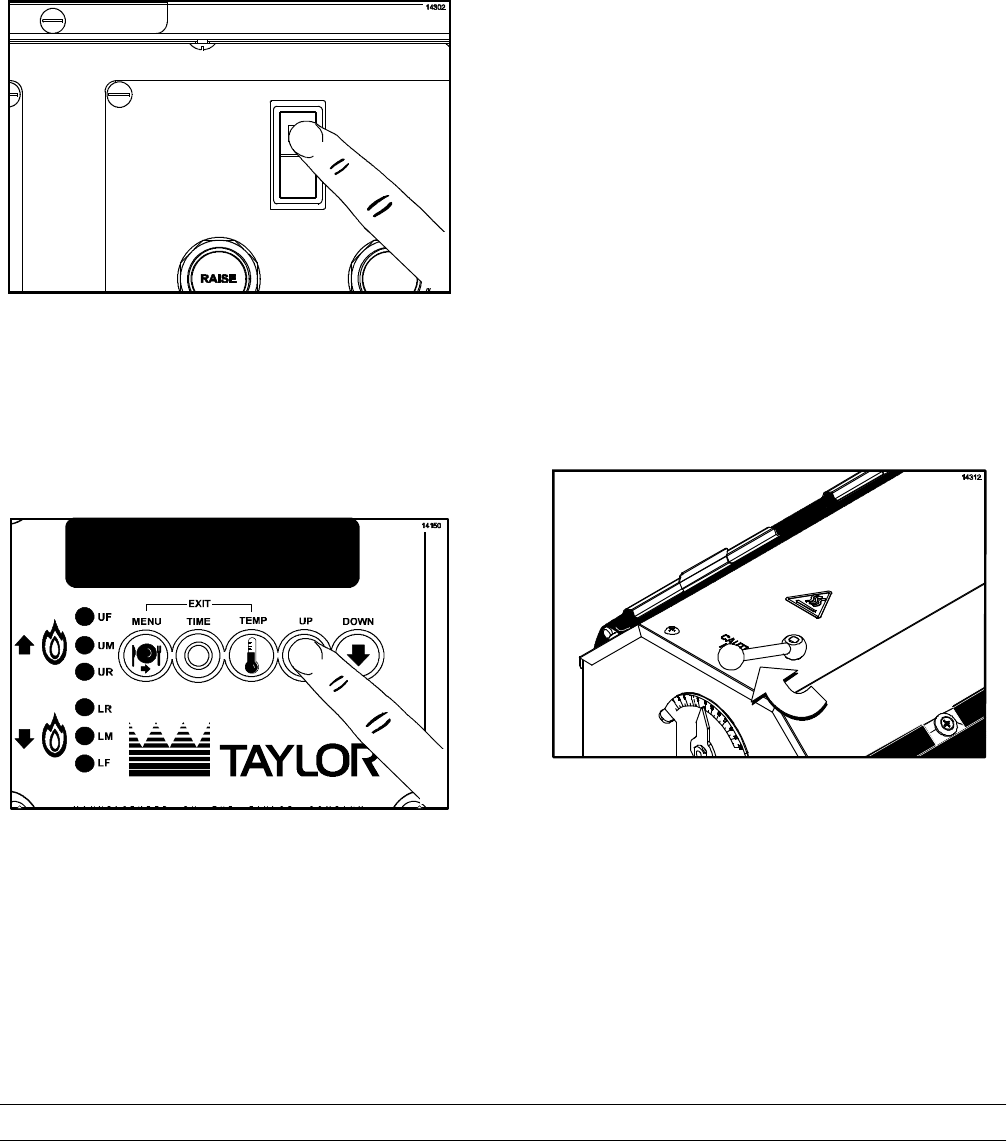
Step 5
Turn the gap adjustment handle until the gap dial
points to the appropriate gap number.
(Note: The gap number is determined by the type of
product to be cooked.)
To lower the gap between the upper cook surface
and the lower cook surface, turn the gap adjustment
handle clockwise.
To raise the gap between the upper cook surface
and the lower cook surface, turn the gap adjustment
handle counter-clockwise.
Figure 15