


Special offers from our partners!

Find Replacement BBQ Parts for 20,308 Models. Repair your BBQ today.
12
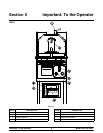
Models QS10 & QS22Important: To the Operator
For example, item one has been programmed to
cook for 135 seconds. The operator wishes to add
salt in the middle of the cook cycle. Timer two
should then be programmed for 15 seconds. Once
the cook cycle begins, a tone will sound 15 seconds
after the first timer starts, alerting the operator to
season the product. Press the timer key to stop the
tone. The first timer will continue to measure the full
135 second cook cycle. A tone will sound 5 seconds
before the time elapses, and will continue to sound
until the timer key has been pressed.
Note: The factory default settings are 135 seconds
for the first (cook cycle) timer, and 0 seconds for the
second (alert) timer. The timers can be set from 0 to
3,600 seconds. The second timer cannot be
programmed for a longer time setting than the first
timer.
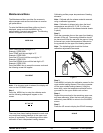
To adjust the timers, press the up or down arrow to
select the item to be changed. Press and hold the
timer key for five seconds. Release the key and the
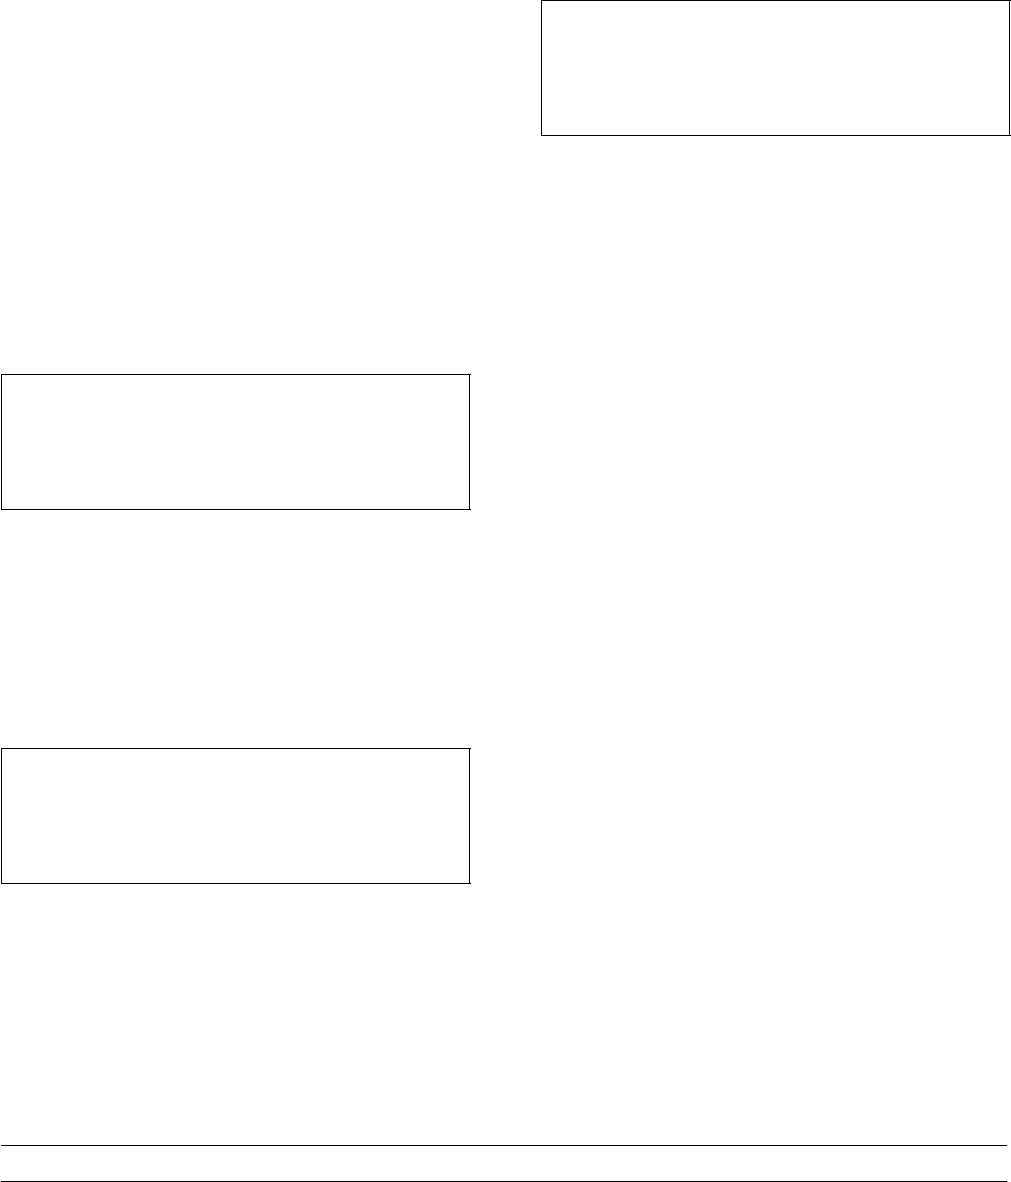
message “TM1” will appear next to the current time
setting. (See example below.)
TM1 30
Step 1
Press the UP or DOWN arrows to adjust the time
setting for the total cook cycle.
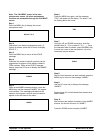
Step 2
Once the desired cook time has been set, press the
MENU key and the message “TM2” will appear next
to the current time setting. (See example below.)
TM2 0
Step 3
Press the UP or DOWN arrows to adjust the time
setting for the alert timer (timer 2).
Step 4
Once the desired alert timer has been set, press the
MENU key to return to the selected item display.
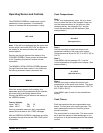
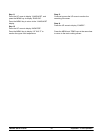
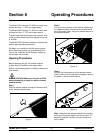
Fault Screen
If the grill experiences a system failure, a fault
message will appear on the display, and a tone will
sound.
FLT HTUM
An example of the FAULT SCREEN is illustrated in
the previous figure. The screen appears when the
controller has detected a fault in the system. The
code letters “FLT” is an abbreviation for “fault”. The
next set of code letters indicate the type of fault and
the zone affected. Following is a list of possible
codes that may appear on the screen:
HTUF High Temperature Upper Front zone
exceeded
HTUM High Temperature Upper Mid zone exceeded
HTUR High Temperature Upper Rear zone
exceeded
HTLF High Temperature Lower Front zone
exceeded
HTLM High Temperature Lower Mid zone exceeded
HTLR High Temperature Lower Rear zone
exceeded
TCUF Thermocouple Upper Front fault
TCUM Thermocouple Upper Mid fault
TCUR Thermocouple Upper Rear fault
TCLF Thermocouple Lower Front fault
TCLM Thermocouple Lower Mid fault
TCLR Thermocouple Lower Rear fault
The user must press the MENU and TEMP keys
simultaneously to acknowledge the fault. The
fault description and item name will appear
alternately on the display. The zone that has the
fault will shut down while the rest of the grill will be
operational. (Refer to the Fault Screen information in
the Service Manual, Controls and Systems Section.)