


Special offers from our partners!

Find Replacement BBQ Parts for 20,308 Models. Repair your BBQ today.
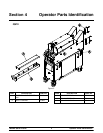
13
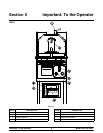
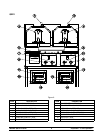
Models QS10 & QS22 Important: To the Operator
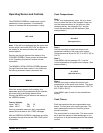
Maintenance Menu
The Maintenance Menu provides five screens to
allow managers and service technicians to monitor
grill performance.
To enter the Maintenance Menu while any item is
displayed, press and hold the MENU key for
approximately 5 seconds and release. The following
screen will appear on the display.
CODE 0000
Press TIME until the first digit is “5”.
Example: CODE 5000.
Press TEMP until the next digit is “3”.
Example: CODE 5300.
Press the UP Arrow until the next digit is “7”.
Example: CODE 5370.
Press the DOWN Arrow until the last digit is “6”.
Example: CODE 5376.
Press the MENU key to accept the access code and
the following screen will appear:
CALIBRAT
Note: If an incorrect code is entered, the display will
return to the COOKING screen.
Step 1
Press the MENU key to enter the calibrate mode
and the following message will appear on the
screen.
U F X X X F
There are three lower heating elements in each cook
zone and three heating elements in the upper cook
surface (if applicable). The calibrating screens allow
calibration of each independent heating element.
Calibrating verifies proper temperatures of heating
elements.
Note: Calibrate with the release material removed,
using a calibrated pyrometer.
Note: Calibration is allowed only when the item 1
temperatures are within 50_F (28_C) of the set
point. (Calibrate without the release material sheets
in place.)
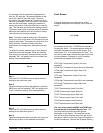
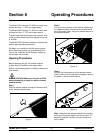
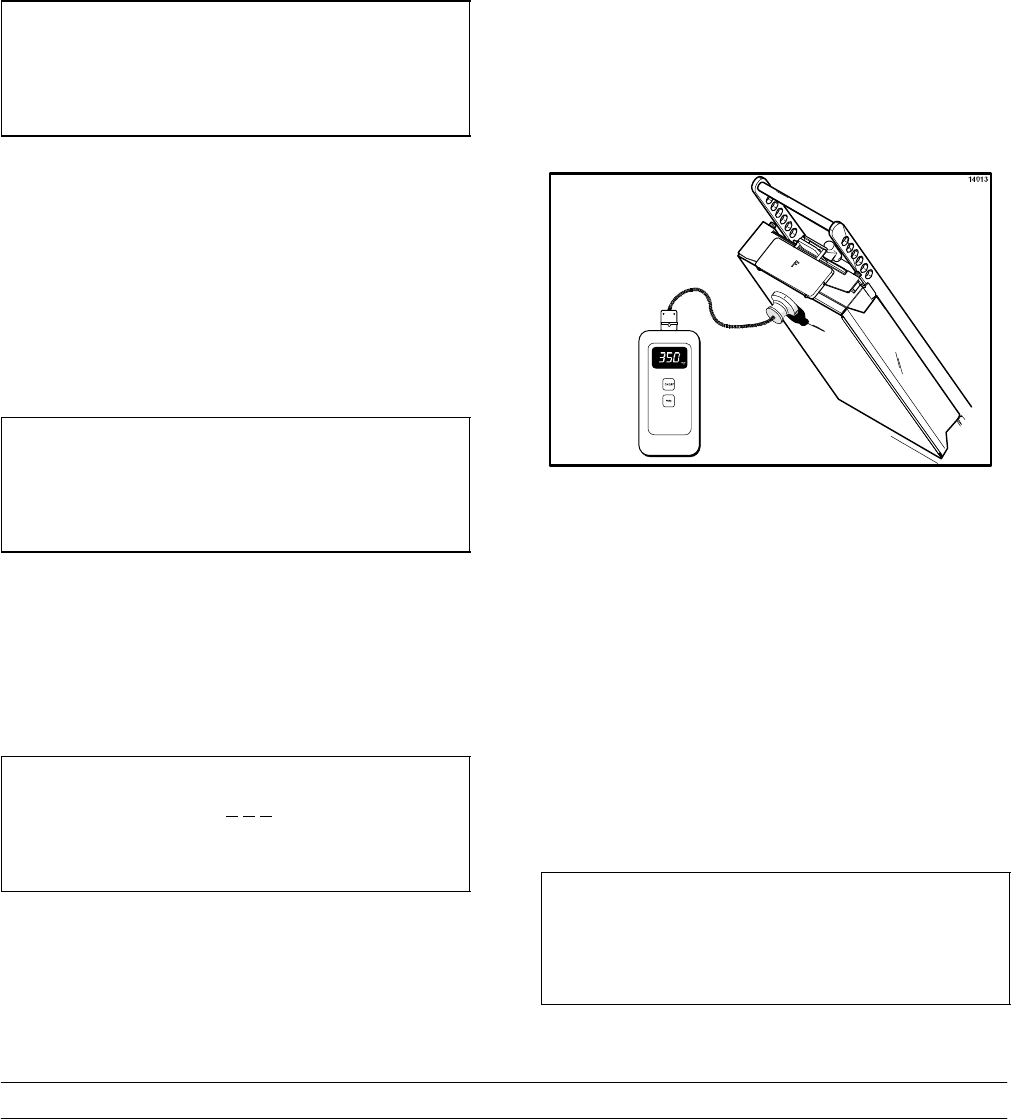
Step 2
Place the pyrometer disc on the upper front heating
element of the grill. The sensing probe/disc should
be placed on the flat rib, not over the groove. Using
the arrow keys, enter the temperature reflected on
the pyrometer for the upper front heating element.
Note: The indicating lights should be lit when
calibration adjustments are made.
Figure 7
Step 3
Press MENU to display the calibration screen for the
upper middle heating element. Place the pyrometer
on the upper middle heating element. Using the
arrow keys, enter the temperature reflected on the
pyrometer for the upper middle cook surface.
Step 4
Repeat this procedure for the remaining upper rear,
and lower elements. When the last zone has been
calibrated, press MENU to return to the CALIBRAT
screen.
Step 5
Press the UP arrow to display the SCALE message.
SCALE