


Special offers from our partners!

Find Replacement BBQ Parts for 20,308 Models. Repair your BBQ today.
77
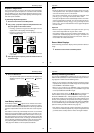
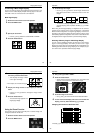
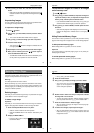
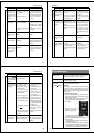
Deleting Memory Pages
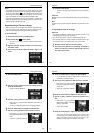
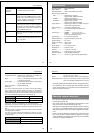
Deleting All the Images in a Folder
Use the following procedure to delete all the images in a particular
folder. Note that any images in the folder that are protected against
deletion are not deleted by this procedure.
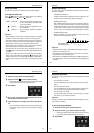
To delete all images in a folder
1. Slide the function switch to the PLAY position.
2. Press DEL.
Note
Deleting a page causes the remaining pages to be renumbered.
Blank pages are not left inserted between non-blank pages.
78
Operation
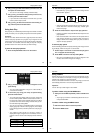
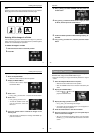
3. Use [+] and [–] to select FOLDER, and then press the
shutter button.
4. Use [+] and [–] to select the folder whose images you want
to delete, and then press the shutter button.
5. To abort the delete operation without deleting anything, se-
lect EXIT.
6. Use [+] and [–] to select ALL, and then press the shutter
button.
79
Deleting Memory Pages
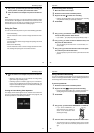
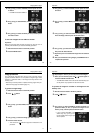
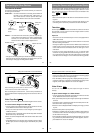
To delete all images on the memory card
1. Enter the Playback Mode.
• Slide the function switch to the PLAY position.
2. Display the DELETE Menu.
• Press the DEL button to display
the DELETE Menu.
3. Select “ALL”.
• Use [+] and [–] to select “ALL” and press the shutter button.
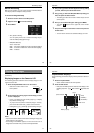
4. Select “ALL”.
• Use [+] and [–] to select “ALL”.
• To clear the selection screen and
quit this procedure, select the
EXIT icon.
5. Press the shutter button to delete all images on the
memory card.
• After all images are deleted, the message “NO IMAGE” ap-
pears on the screen.
80
Operation
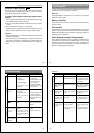
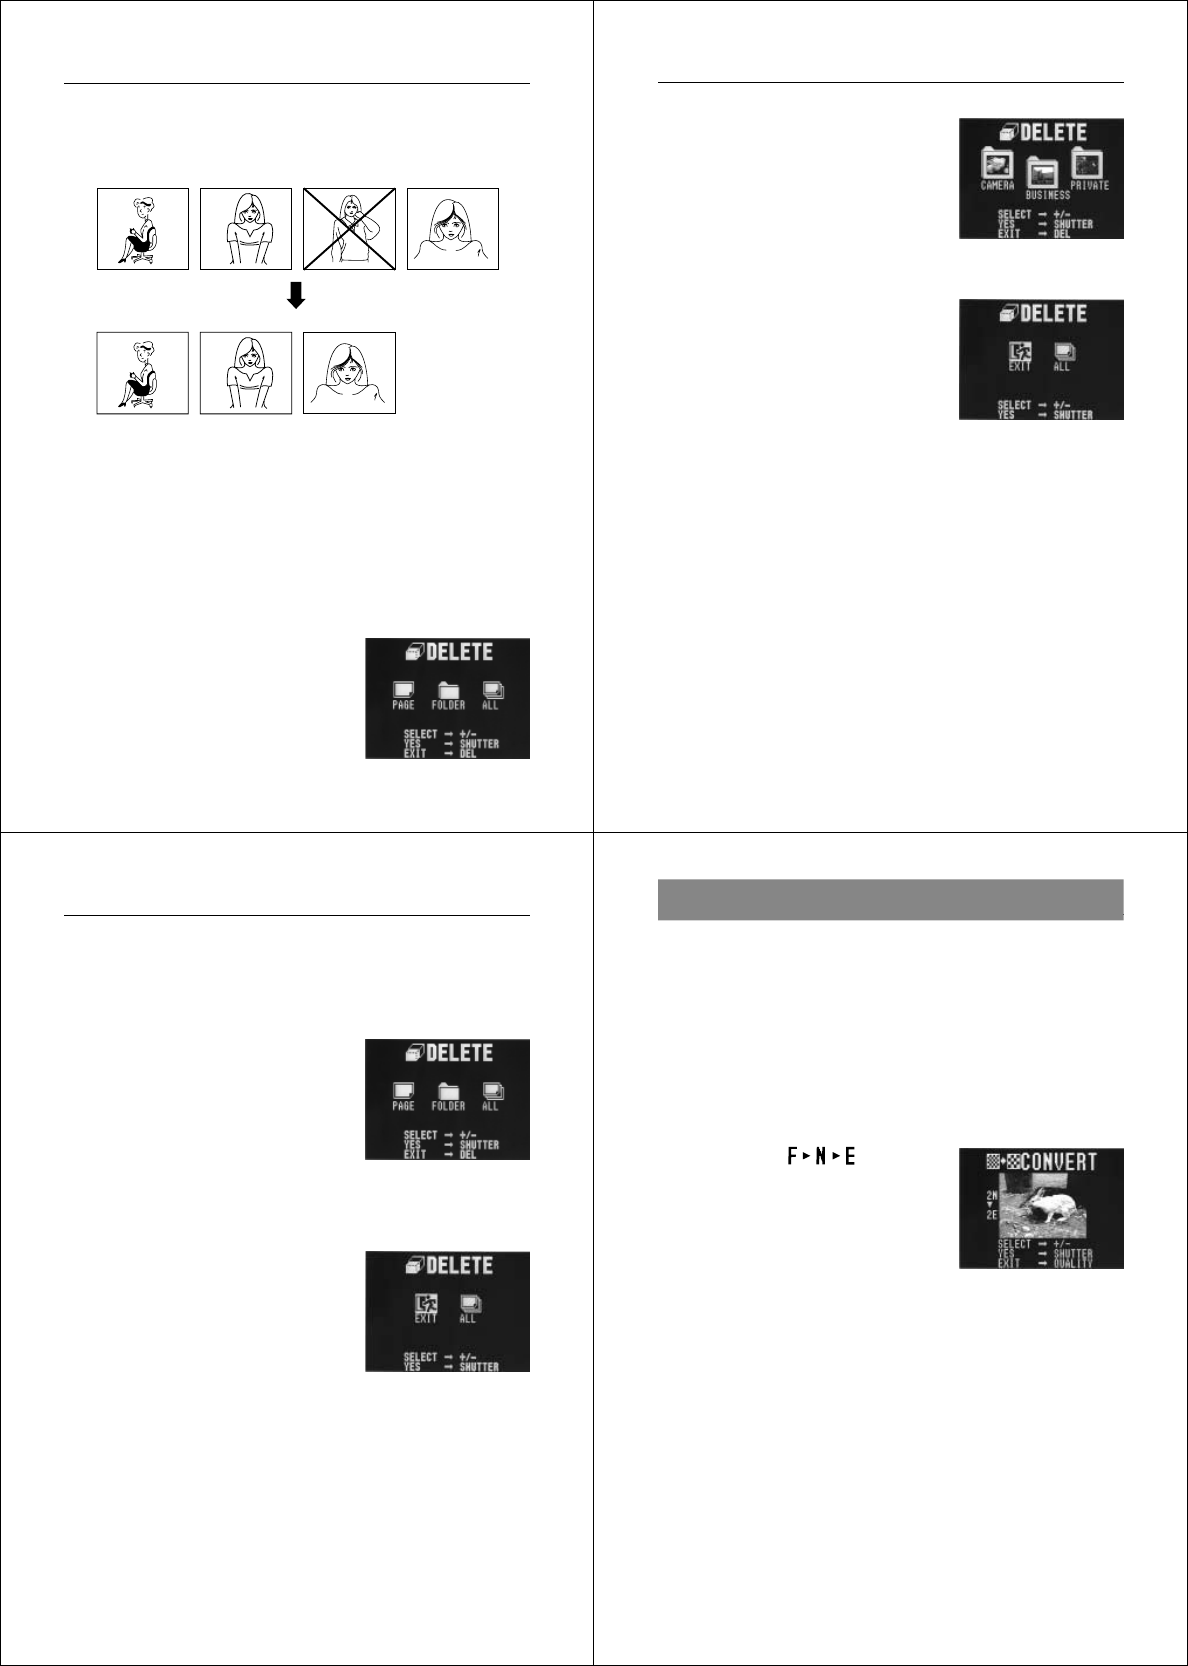
You can convert FINE Mode images to NORMAL Mode images, and
NORMAL Mode images to ECONOMY Mode images.
• Note that converting an image automatically deletes the original
version.
1. Select the Playback Mode and turn on power.
• Slide the function switch to the PLAY position.
• Slide the POWER switch in the direction indicated by the
arrow.
2. Display the CONVERT Menu.
• Press the
button to dis-
play the CONVERT Menu.
3. Display the image you want to convert.
• Use [+] and [–] to scroll through the images.
• Any images that are protected (page 71) do not appear on
the screen during this operation.
4. Press the shutter button to start the conversion.
5. After the conversion is complete, you can repeat steps 3
and 4 to convert more images.
• After you are finished converting images, press any button
besides [+], [–], or the shutter button to clear the conversion
screen.
Resolution Conversion