


Special offers from our partners!

Find Replacement BBQ Parts for 20,308 Models. Repair your BBQ today.
57
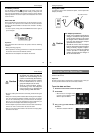
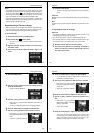
Playing Back Images
Notes
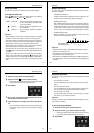
• If the page number is displayed in the upper right corner of the
screen when you perform a zoom operation, the number is replaced
by a zoom area indicator (
). This indicator shows you what part
of the image is currently enlarged on the display. You can turn the
zoom area indicator on and off by pressing the DISP button.
• Note that turning display of the zoom area indicator on and off also
affects the playback image data display (page 52) and the record
mode image data display (page 39).
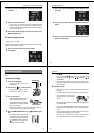
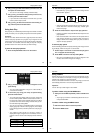
Superimposing a Title on an Image
With this camera you can record a title and then superimpose the
title onto another image. Note that you have to prepare a paper
copy of your title before performing the following procedure.
To record the title
1. Slide the function switch to the REC position.
2. Align the Dial with to select TITLE.
• You can use [+] and [–] to perform exposure compensation
(page 37).
3. Align the frame with the title you want to record and press
the shutter button.
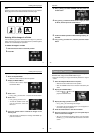
4. Use [+] and [–] to adjust brightness within a range of ±30
levels.
Operation
58
5. Press the shutter button.
• The title is recorded at the brightness level you specified in
step 4.
Important!
Recording a title causes anything that was previously recorded to be
deleted.
Note
The title can be inserted in the area defined by the outer line of the
frame.
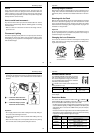
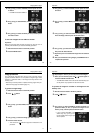
To superimpose a title on an image
Important!
• You cannot superimpose a title on the image while memory is full
(indicated by the “Memory Full” message).
• You cannot superimpose a title on a rotated image (page 61).
• The recording date of an image remains as that when the image
was recorded, even if you superimpose a title on the image.
1. Slide the Function switch to the PLAY position.
2. Use the [+] and [–] buttons to scroll through the images in
memory until the one you want to superimpose a title onto
is on the monitor screen.
59
Playing Back Images
3. Press the MENU button.
4. Use the [+] and [–] buttons to select the “TITLE” item and
press the shutter button.
•
TITLE is located in MENU 2.
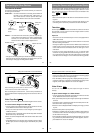
5. Use the [+] and [–] buttons to select the color of the title.
•
Each press of [+] cycles forward through the colors, while [–]
cycles back.
• There are 10 title color patterns and 10 highlight patterns.
6. Press the shutter button to register the selected color.
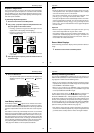
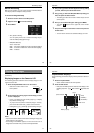
7. Use the [+] and [–] buttons to select a plate for the title.
•
Each press of [+] cycles forward
through the plates, while [–] cycles
back.
• There are 7 plates and No Plate.
Operation
60
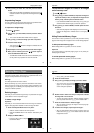
8. Press the shutter button to register the selected plate.
• If you selected “No Plate” in step 7, skip to step 11 here.
Otherwise, proceed with step 9.
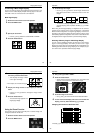
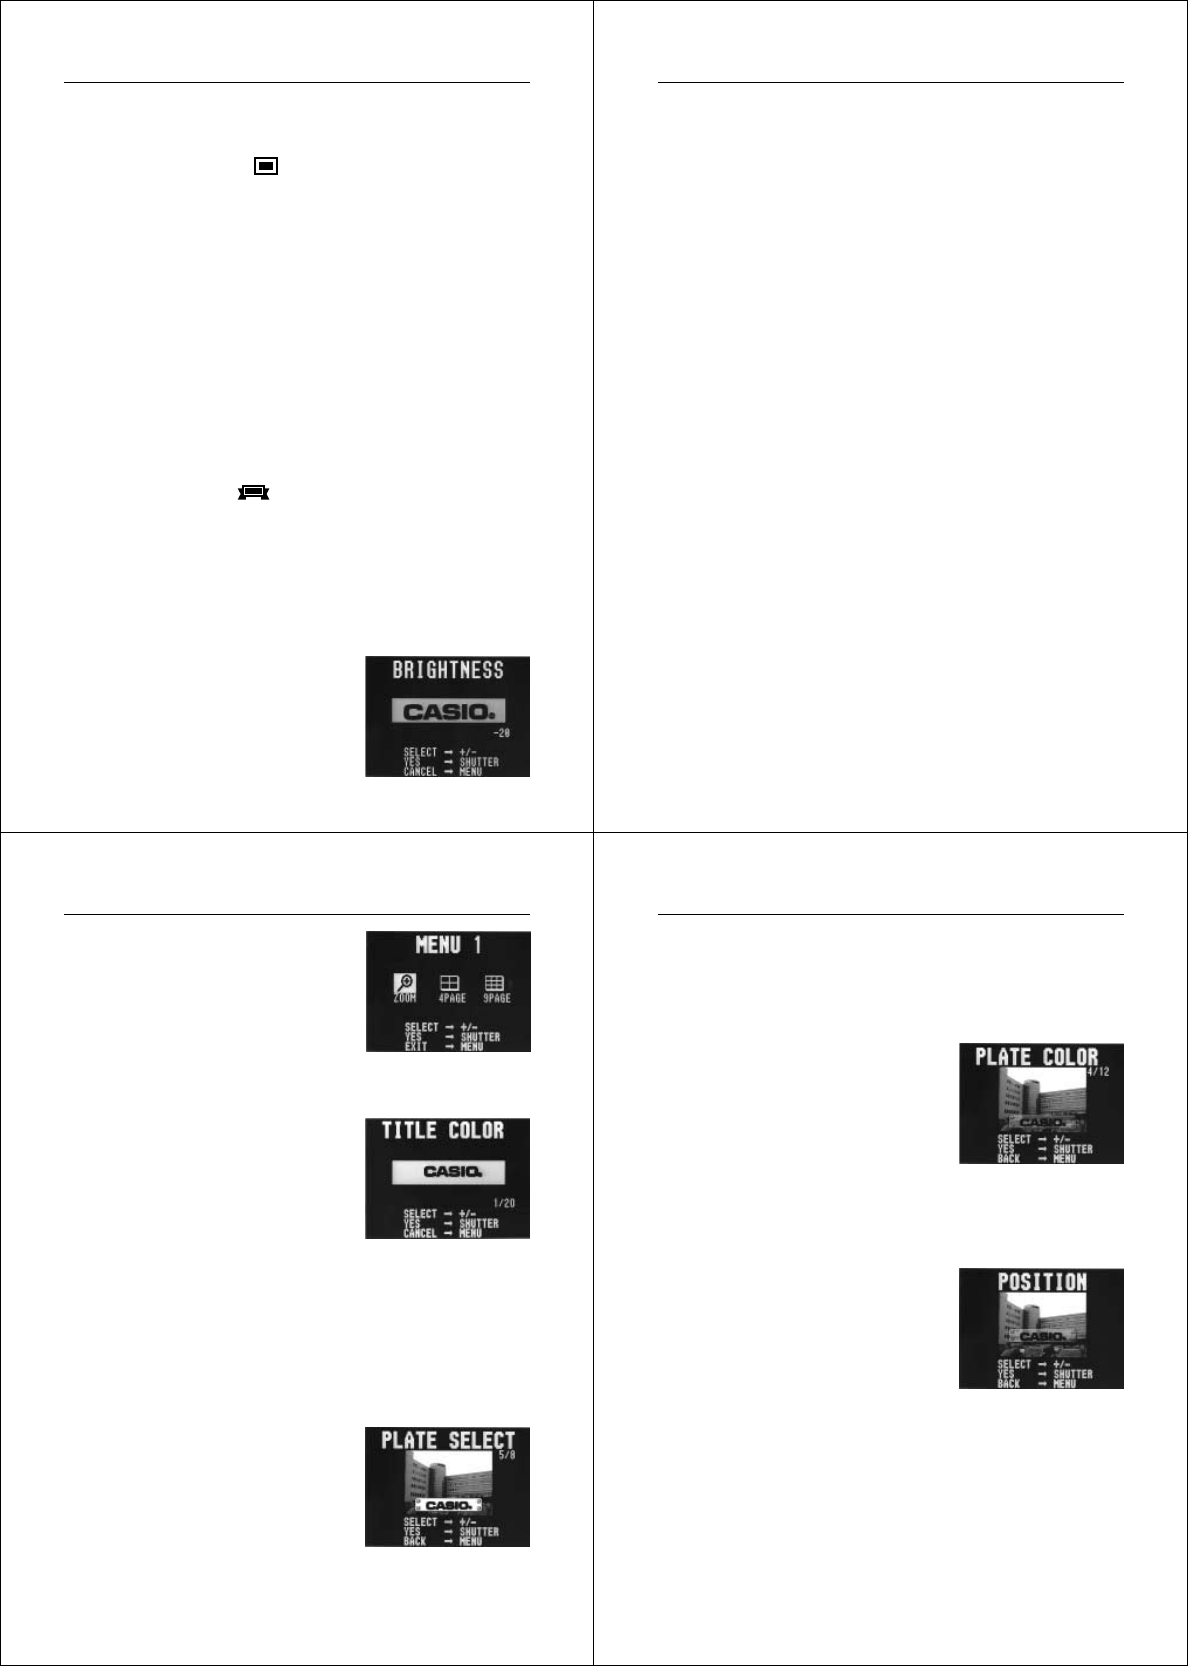
9. Use the [+] and [–] buttons to select the color of the plate.
• Each press of [+] cycles forward
through the plate colors, while [–]
cycles back.
• There are 12 plate color patterns.
10
.Press the shutter button to register the selected color.
11
.Use the [+] and [–] buttons to specify the location of the
title.
• Each press of [+] cycles forward
through the locations of the titles,
while [–] cycles back.
• There are 5 locations.
12
.Press the shutter button to register the selected position.
• The image with the superimposed title is stored in the
memory page immediately following the memory page
where the original image is stored. All images in the
following memory pages are shifted to make room.