


Special offers from our partners!

Find Replacement BBQ Parts for 20,308 Models. Repair your BBQ today.
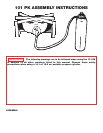
ASSEMBLY INSTRUCTIONS
FOR COOKERS WITH CAST IRON BURNERS
NOTE: The following are general instructions for 5-6” Cast Burners. If your cooker is a 101 PK or has
an 11” Cast Burners, please refer to the special assembly instructions which have been written
especially for these units.
TOOLS REQUIRED:
TORQUE WRENCH or ADJUSTABLE WRENCH, LEAK TESTING SOLUTION
1. Before assembling, check that all cooker components are included in the shipping carton. Identify
these cooker parts from the assembly drawing. Accessories such as pots may vary according to
model. Check the list of accessories on your cooker box.
2. Read assembly instructions, and understand sequence of assembly, before commencing to
assemble your cooker.
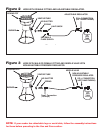
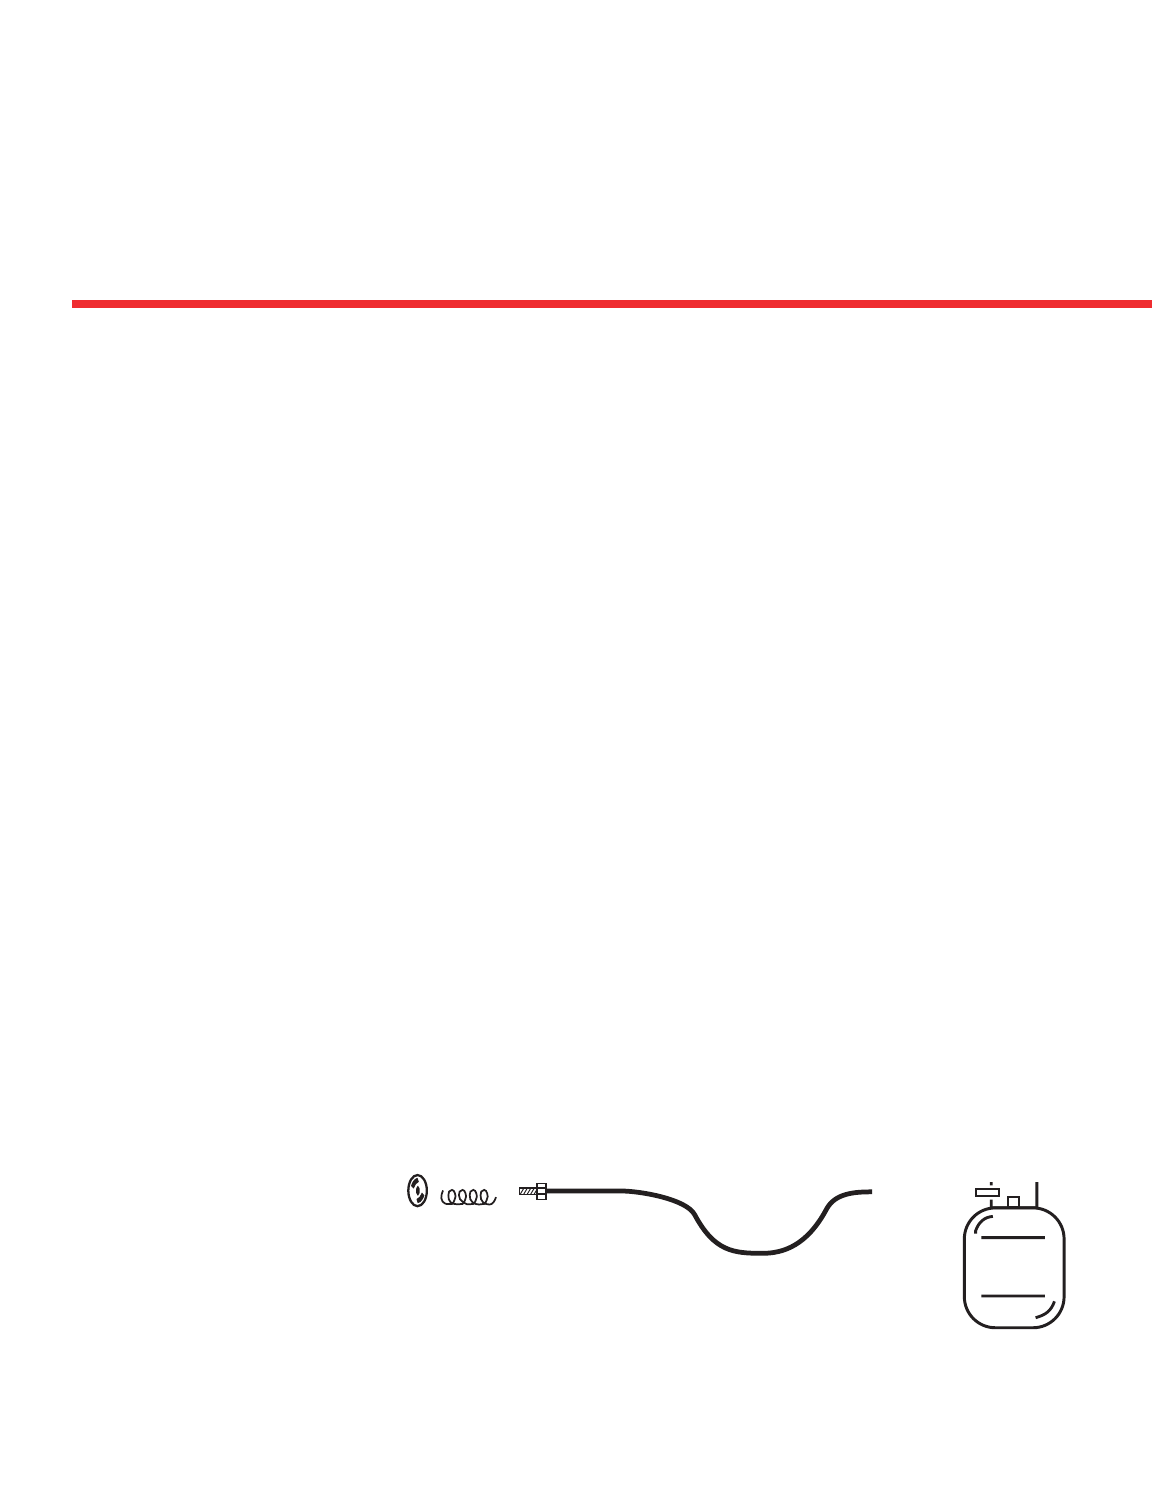
3. NOTE: The hose to burner connection will be one of the following:
Figure 1) Hose with male fitting and adjustable regulator.
Figure 2) Hose with female fitting and adjustable regulator.
Figure 3) Hose with male or female fitting and needle valve with non-adjustable pressure
regulator.
9
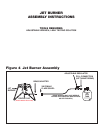
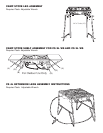
SECTION I
OUTDOOR COOKER ASSEMBLY
THE USE AND CARE MANUAL MUST BE READ AND UNDERSTOOD
BEFORE USING THE APPLIANCE
Cast Iron
LP
GAS
TANK
COOKING POT
VENTURI TUBE
AIR SHUTTER
SPRING
TYPE 1 CONNECTION
(1/8 mnpt)
BURNER
ADJUSTABLE REGULATOR
P.O.L. CONNECTION
(LEFT HAND THREAD)