


Special offers from our partners!

Find Replacement BBQ Parts for 20,308 Models. Repair your BBQ today.
LP Tank Exchange
• Many retailers that sell grills offer you the op-
tion of replacing your empty LP tank through an
exchange service. Use only those reputable
exchange companies that inspect, precision
fill, test and certify their cylinders. Exchange
your tank only for an OPD safety feature-equipped
tank as described in the LP Tank section of
this manual.
• Always keep new and exchanged LP tanks in
upright position during use, transit or storage.
• Leak test new and exchange LP tanks BEFORE
connecting to grill.
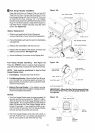
LP Tank Leak Test
For your safety
• Leak test must be repeated each time LP tank is
exchanged of refilled.
• Do not smoke during leak test.
• Do not use an open flame to check for gas leaks.
• Grill must be leak tested outdoors in a well-ven-
tilated area, away from ignition sources such as
gas fired or electrical appliances. During leak test,
keep grill away from open flames or sparks.
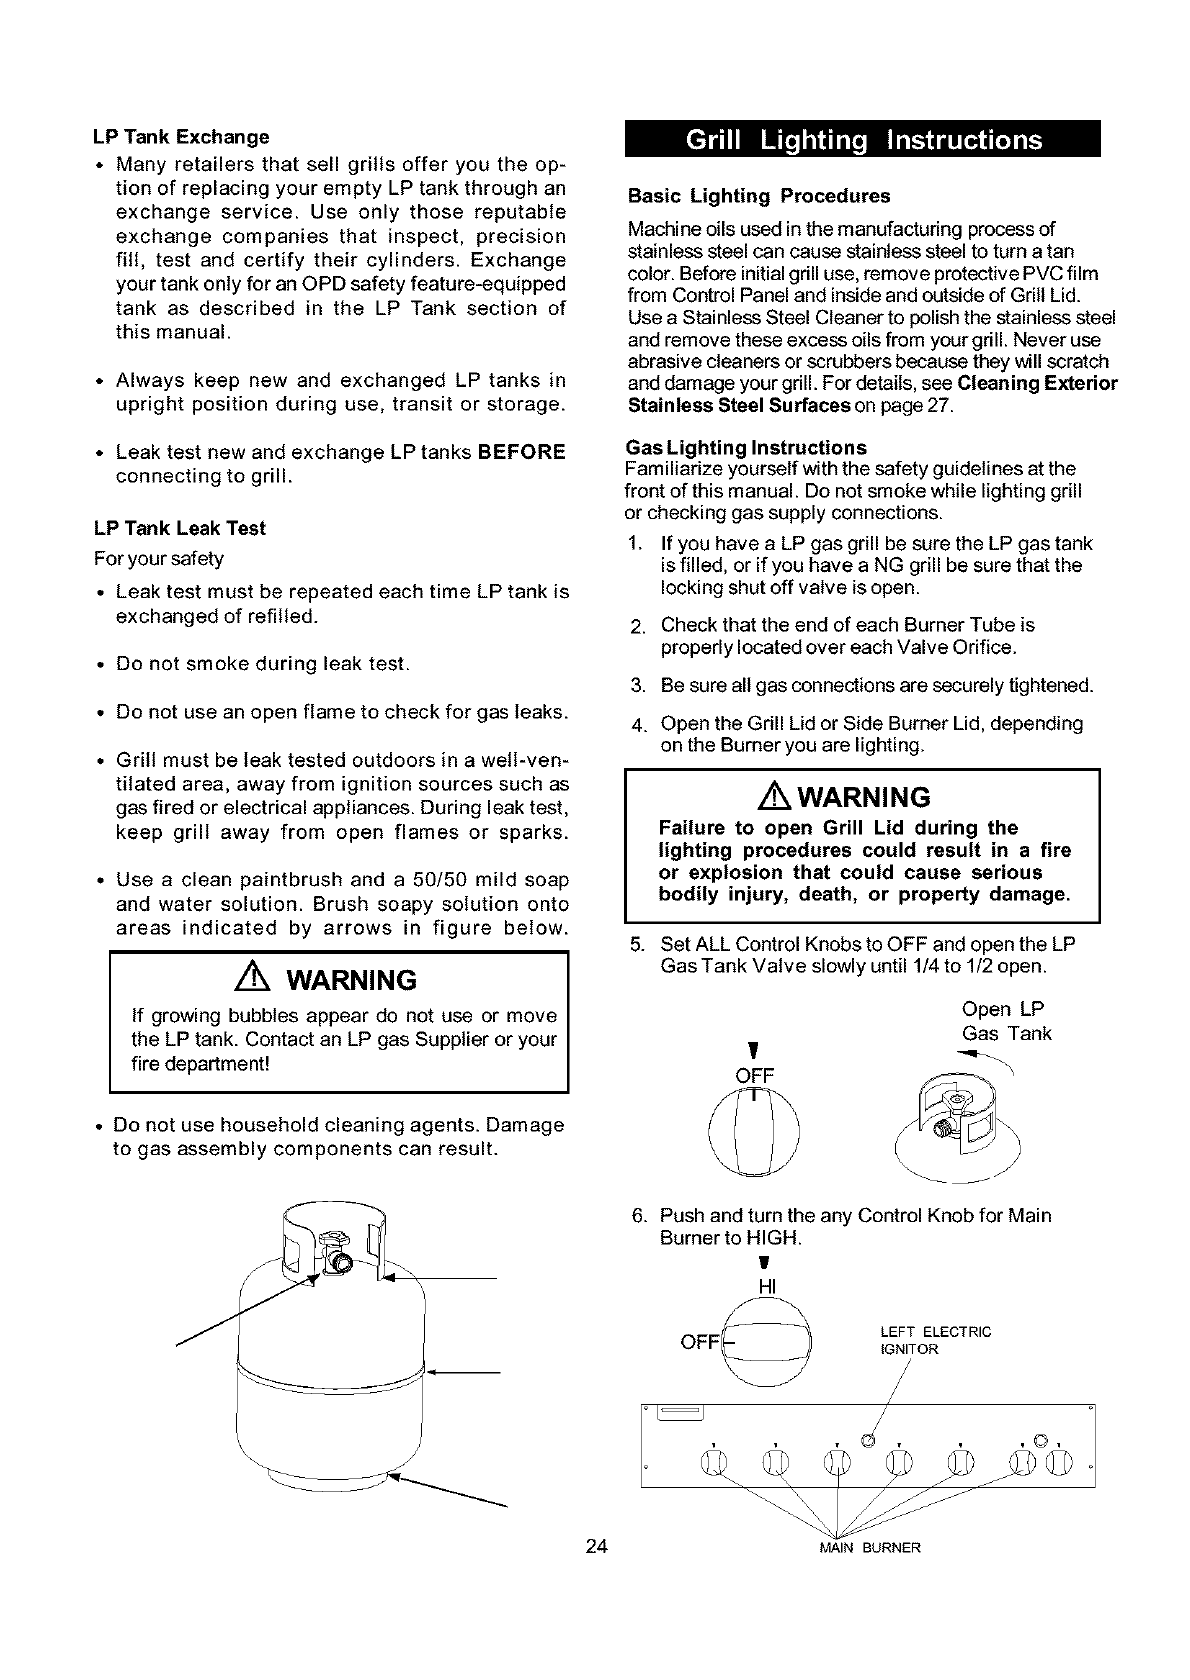
• Use a clean paintbrush and a 50/50 mild soap
and water solution. Brush soapy solution onto
areas indicated by arrows in figure below.
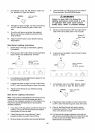
WARNING
If growing bubbles appear do not use or move
the LP tank. Contact an LP gas Supplier or your
fire department!
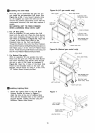
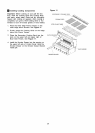
Basic Lighting Procedures
Machine oils used inthe manufacturing process of
stainless steel can cause stainless steel to turn a tan
color. Before initial grill use, remove protective PVC film
from Control Panel and inside and outside of Grill Lid.
Use a Stainless Steel Cleaner to polish the stainless steel
and remove these excess oils from your grill. Never use
abrasive cleaners or scrubbers because they will scratch
and damage your grill. For details, see Cleaning Exterior
Stainless Steel Surfaces on page 27.
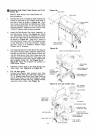
Gas Lighting Instructions
Familiarize yourself with the safety guidelines at the
front of this manual. Do not smoke while lighting grill
or checking gas supply connections.
1. If you have a LP gas grill be sure the LP gas tank
is filled, or if you have a NG grill be sure that the
locking shut off valve is open.
2. Check that the end of each Burner Tube is
properly located over each Valve Orifice.
3. Be sure all gas connections are securely tightened.
4. Open the Grill Lid or Side Burner Lid, depending
on the Burner you are lighting.
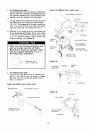
Z WARNING
Failure to open Grill Lid during the
lighting procedures could result in a fire
or explosion that could cause serious
bodily injury, death, or property damage.
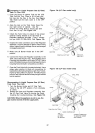
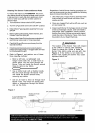
5. Set ALL Control Knobs to OFF and open the LP
Gas Tank Valve slowly until 1/4 to 1/2 open.
Open LP
Gas Tank
T
OFF
• Do not use household cleaning agents. Damage
to gas assembly components can result.
24
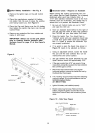
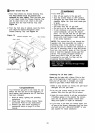
6. Push and turn the any Control Knob for Main
Burner to HIGH.
HI
OFF_
LEFT ELECTRIC
iGNITOR
MAIN BURNER