


Special offers from our partners!

Find Replacement BBQ Parts for 20,308 Models. Repair your BBQ today.
Basic Lighting Procedures
Machine oils used in the manufacturing process of
stainless steel can cause stainless steel to turn a tan
color. Before initial grill use, removing protective PVC film
from Control Panel and inside and outside of Grill Lid. Use
a Stainless Steel Cleaner to polish the stainless steel and
remove these excess oils from your grill. Never use
abrasive cleaners or scrubbers because they will scratch
and damage your grill. For details, see Cleaning Exterior
Stainless Steel Surfaces on page 18.
1. Familiarize yourself with the safety guidelines at
the front of this manual. Do not smoke while
lighting grill or checking gas supply connections.
2. Be sure the LP gas tank is filled.
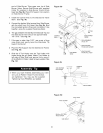
3. Check that the end of each Burner Tube is properly
located over each Valve Orifice.
4. Be sure all gas connections are securely tightened.
5. Open the Grill Lid or Side Burner Lid, depending
on the Burner you are lighting.
/!X,WARNING
Failure to open Grill Lid during the
lighting procedures could result in a fire
or explosion that could cause serious
bodily injury, death, or property damage.
.
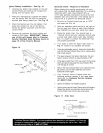
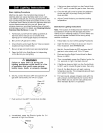
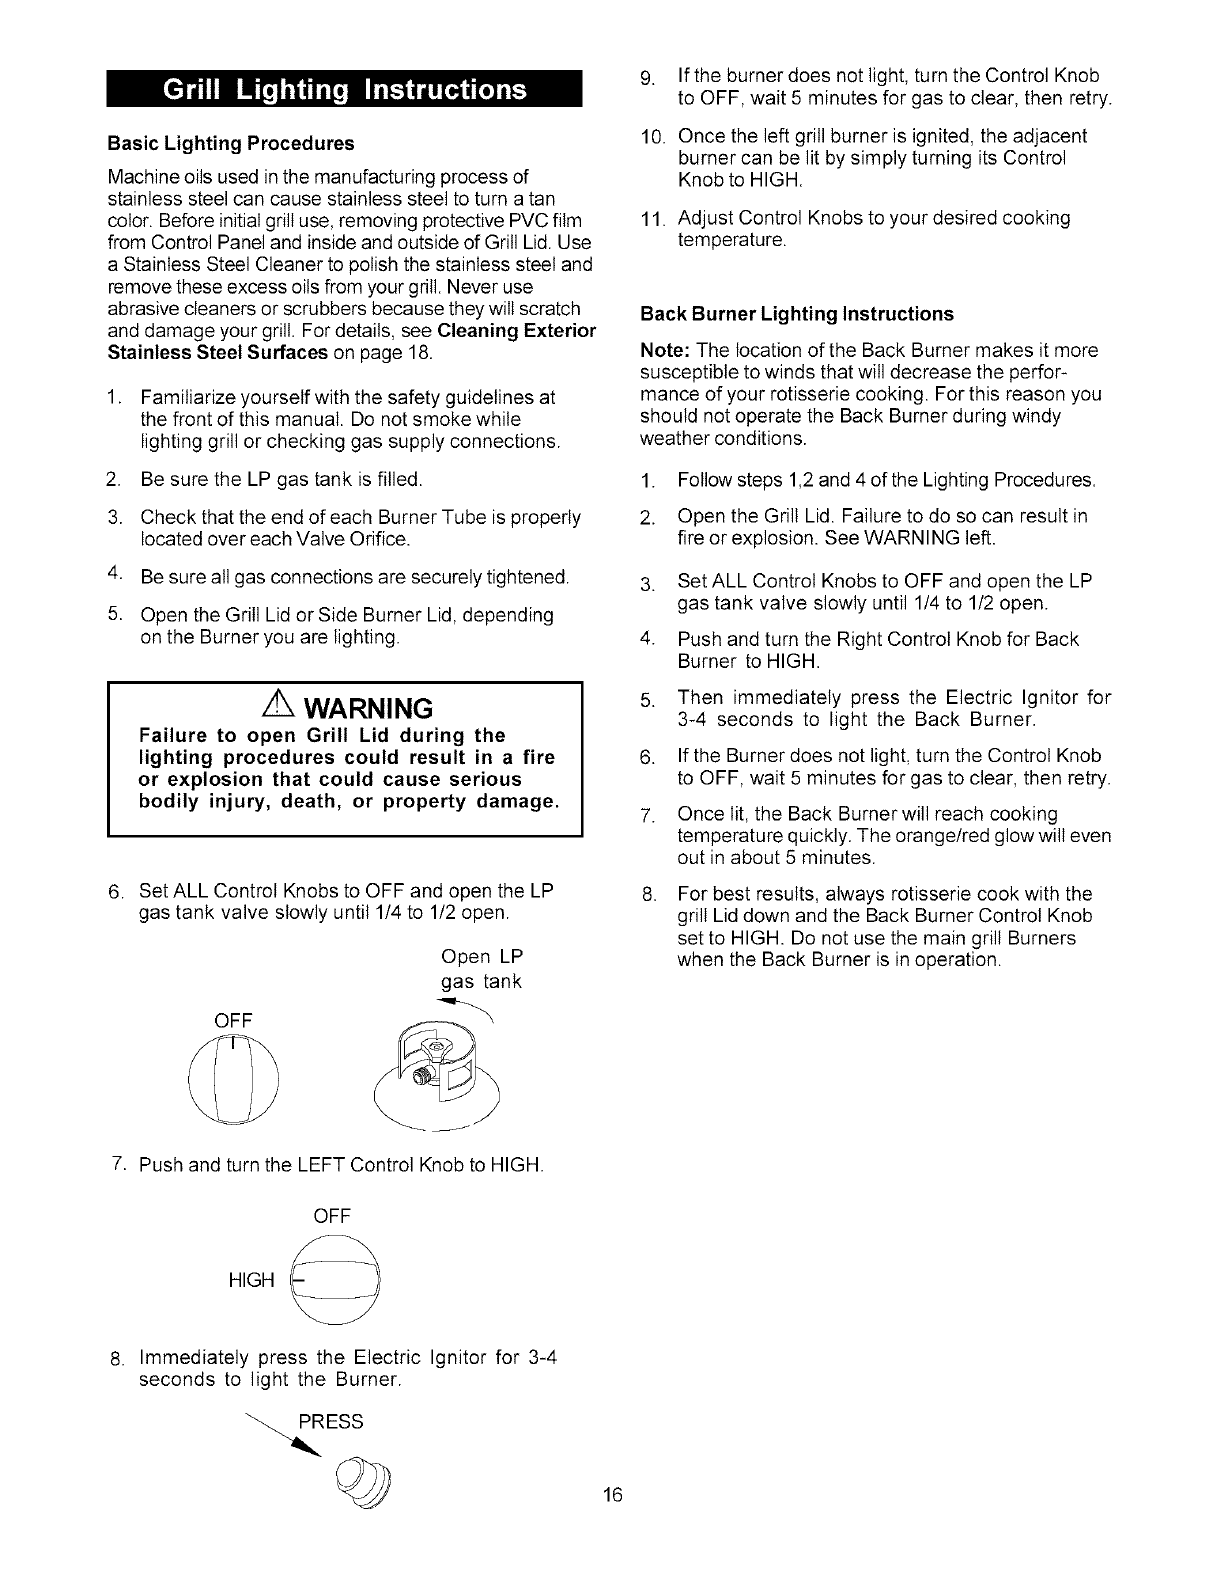
Set ALL Control Knobs to OFF and open the LP
gas tank valve slowly until 1/4 to 1/2 open.
OFF
Open LP
gas tank
.
10.
11.
If the burner does not light, turn the Control Knob
to OFF, wait 5 minutes for gas to clear, then retry.
Once the left grill burner is ignited, the adjacent
burner can be lit by simply turning its Control
Knob to HIGH.
Adjust Control Knobs to your desired cooking
temperature.
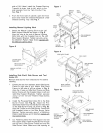
Back Burner Lighting Instructions
Note: The location of the Back Burner makes it more
susceptible to winds that will decrease the perfor-
mance of your rotisserie cooking. For this reason you
should not operate the Back Burner during windy
weather conditions.
1. Follow steps 1,2 and 4 of the Lighting Procedures.
2. Open the Grill Lid. Failure to do so can result in
fire or explosion. See WARNING left.
.
4.
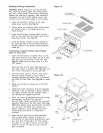
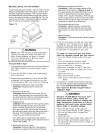
Set ALL Control Knobs to OFF and open the LP
gas tank valve slowly until 1/4 to 1/2 open.
Push and turn the Right Control Knob for Back
Burner to HIGH.
5. Then immediately press the Electric Ignitor for
3-4 seconds to light the Back Burner.
.
7.
If the Burner does not light, turn the Control Knob
to OFF, wait 5 minutes for gas to clear, then retry.
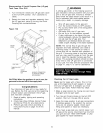
Once lit, the Back Burner will reach cooking
temperature quickly. The orange/red glow will even
out in about 5 minutes.
.
For best results, always rotisserie cook with the
grill Lid down and the Back Burner Control Knob
set to HIGH. Do not use the main grill Burners
when the Back Burner is in operation.
J
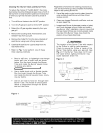
7. Push and turn the LEFT Control Knob to HIGH.
OFF
HIGH _
Immediately press the Electric Ignitor for 3-4
seconds to light the Burner.
16