


Special offers from our partners!

Find Replacement BBQ Parts for 20,308 Models. Repair your BBQ today.
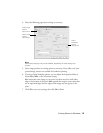
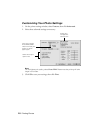
Removing and Installing Ink Cartridges 23
Removing and Installing Ink Cartridges
Be sure you have a new ink cartridge before you begin. Once you start replacing a
cartridge, you must complete all the steps in one session.
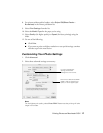
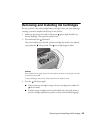
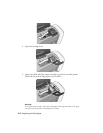
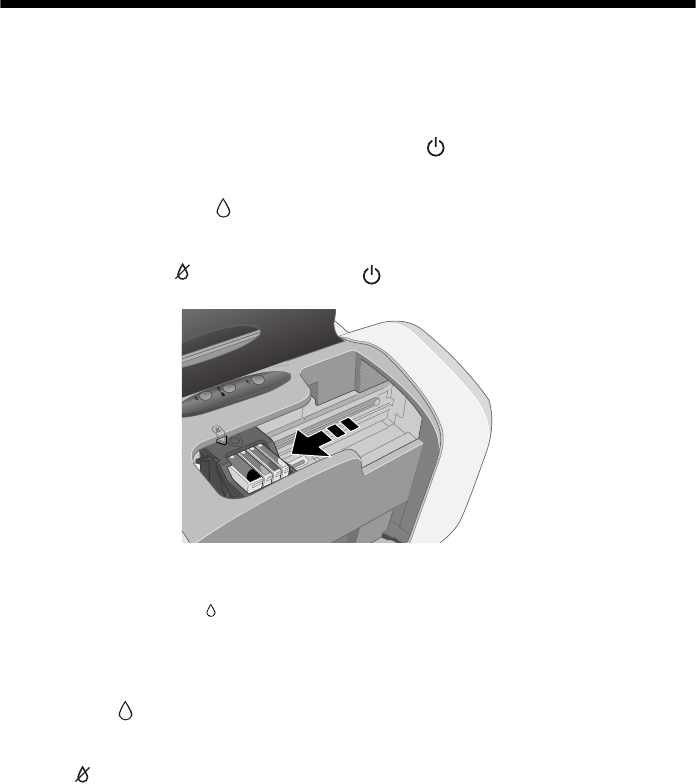
1. Make sure the printer is turned on (the green power light should be on,
but not flashing). Then open the printer cover.
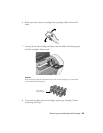
2. Press and release the ink button.
The print head moves to the left, and the cartridge that needs to be replaced
stops under the ink out mark. The power light begins to flash.
Caution:
Don’t hold down the ink button for more than 2 seconds, or the printer will start
to clean the print head.
To avoid damaging the printer, never move the print head by hand.
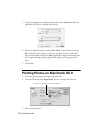
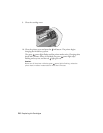
3. Press the ink button again.
■ If more than one cartridge is empty, the next cartridge moves under the
ink out mark.
■ If all the empty cartridges have been identified, the print head moves to
the ink cartridge replacement position, as shown on the following page.