Special offers from our partners!

Find Replacement BBQ Parts for 20,308 Models. Repair your BBQ today.

Buy Weber Grill Parts. It couldn't be easier. Find your Weber parts here.
22 WWW.WEBER.COM
®
CONNECTING TO THE GAS SUPPLY
CONNECTING THE FLEXIBLE HOSE TO
GAS SUPPLY
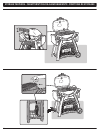
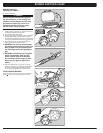
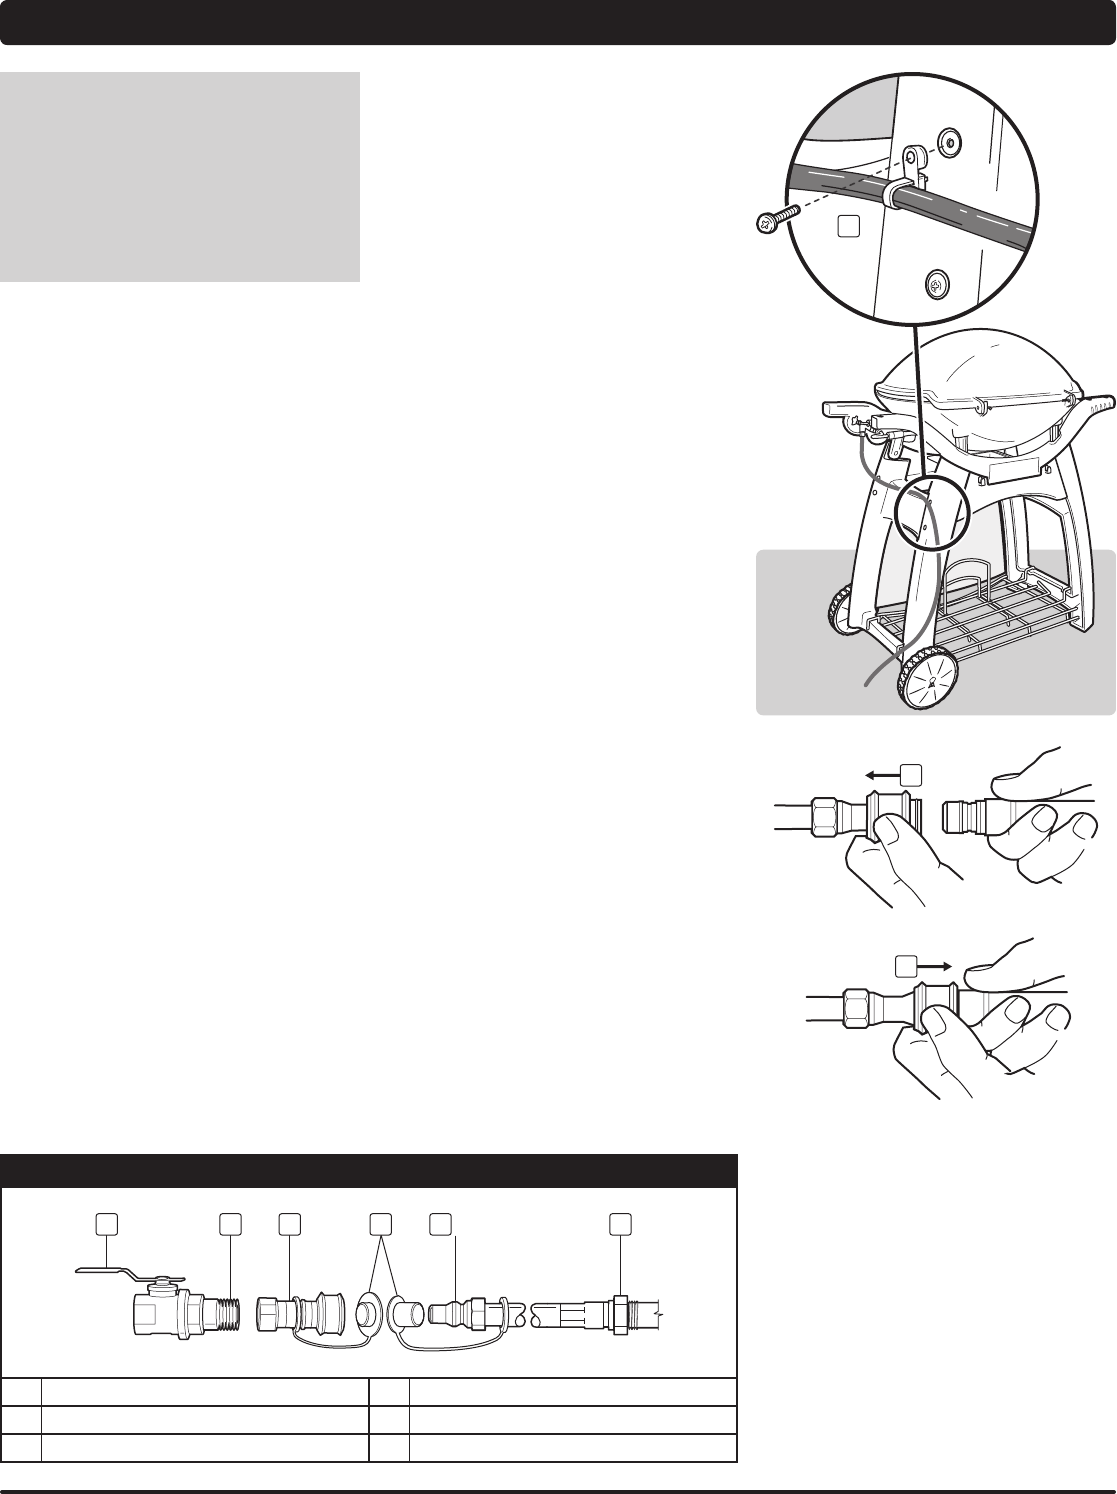
A) Remove screw from right leg of cart. Insert hose
retention clip. Reinstall screw (1).
m WARNING: The hose must be secured
to the cart leg by the hose retention
clip. Failure to do so could cause
damage to hose resulting in a fire or
explosion, which can cause serious
bodily injury or death and damage to
property.
B) Slide the collar of the quick-disconnect back (2).
C) Push male fitting of the hose into the quick-disconnect
and maintain pressure. Slide the collar closed (3). If it
does not engage or lock, repeat procedure.
This procedure will produce a gas joint. Gas will not flow
unless the quick-disconnect is properly engaged. To
disconnect the hose, push collar back and pull out the
plug. (This automatically shuts off gas.)
The natural gas hose was attached during the
manufacturing process. We recommend that the
hose-to-gas manifold connection be leak tested, following
guidelines in this Owner’s Guide, prior to grill operation.
Note: Do not turn on gas source until you have performed
a leak check. Refer to “CHECKING FOR GAS LEAKS.”
2
3
1
ALMOST READY TO GRILL
A quick-disconnect device
connects your grill to the gas
supply. After you have made
the connection, a leak check
will need to be performed.
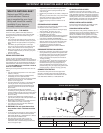
NATURAL GAS HOSE CONNECTION
1 2 3 4 5 6
1 Shutoff valve 4 Dust covers
2 Pipe nipple 5 Male connection
3 Socket 6 Swivel connection


