Special offers from our partners!

Find Replacement BBQ Parts for 20,308 Models. Repair your BBQ today.
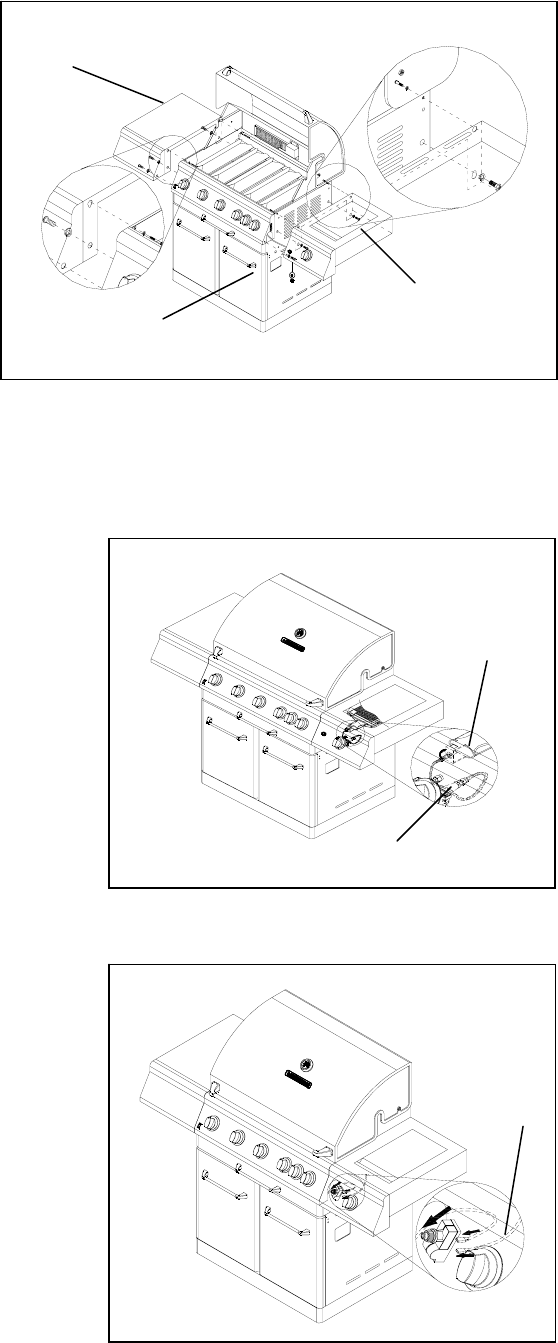
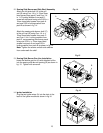
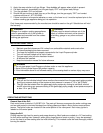
Fig. 14
12. Searing Side Burner and Side Shelf Assembly
Attach the left side shelf (A) to the grill
cart (B) using Four 1/4-in. x 15mm truss
head screws from pack C and Four 1/4-
in. 1/4’’Locking Washer from pack D,
screw left side panel using one 5/32-in. x
10mm truss head screws from pack A
and one 5/32-in locking washer from
pack B as shown in fig. 14.
T
M
T
M
A
T
M
T
M
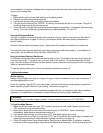
Attach the searing side burner shelf (C)
to the grill cart (B) using Four 1/4-in. x
15mm truss head screws from pack C
and Four 1/4-in. Locking washers from
pack D, screw searing side burner panel
using one 5/32-in. x 10mm truss head
screws from pack A and one 5/32-in
locking washer from pack B as shown in fig. 14
Note: Tighten the screws on both side shelves
from underneath the shelf.
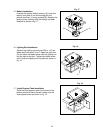
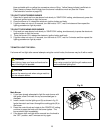
13. Searing Side Burner Gas Line Installation
Insert the flexible gas line (A) with attached orifice
into the searing side burner opening (B) as shown in
fig. 15. Tighten with a wrench.
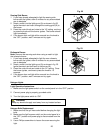
14. Igniter Installation
Plug the two igniter wires (A) into the slots in the
back of the igniter module as shown in fig.16.
A
B
A
Fig 15
Fig 16
B
C
13


