


Special offers from our partners!

Find Replacement BBQ Parts for 20,308 Models. Repair your BBQ today.
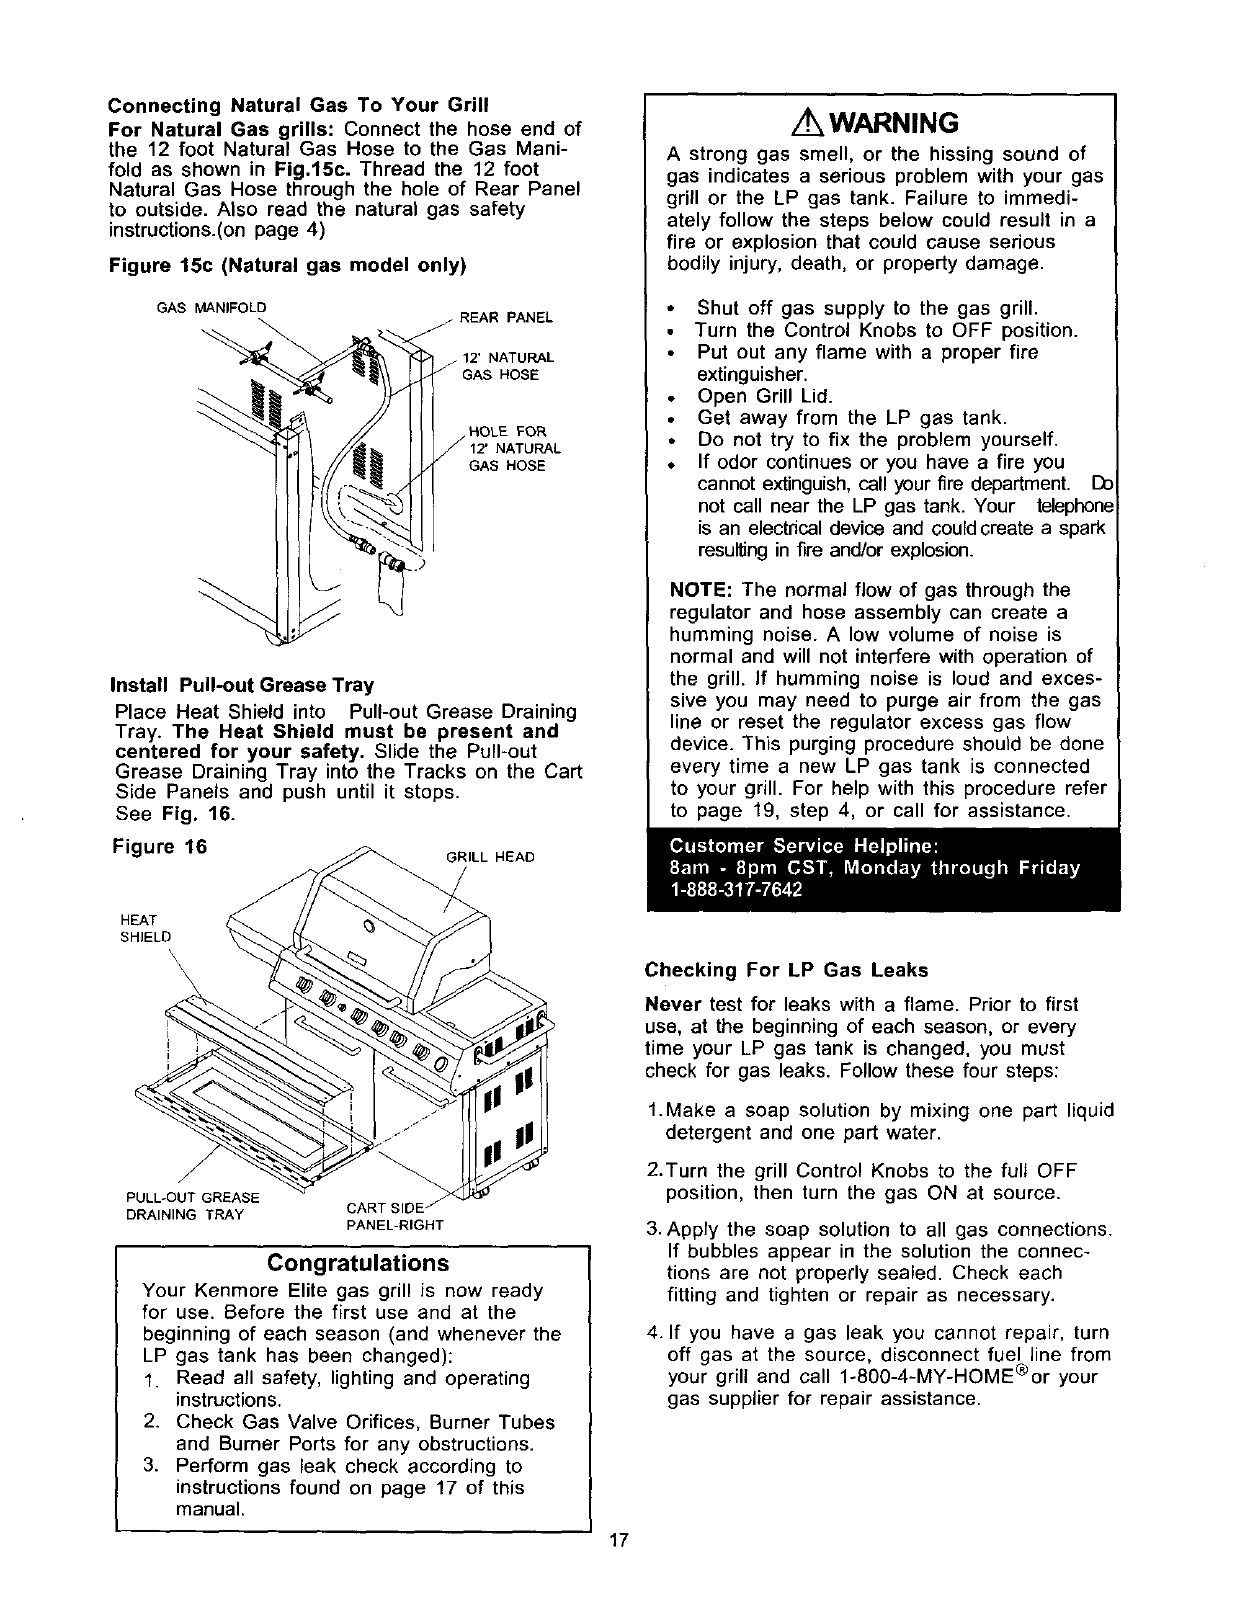
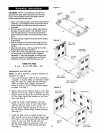
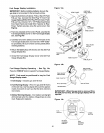
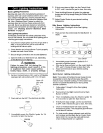
Connecting Natural Gas To Your Grill
For Natural Gas grills: Connect the hose end of
the 12 foot Natural Gas Hose to the Gas Mani-
fold as shown in Fig.15c. Thread the 12 foot
Natural Gas Hose through the hole of Rear Panel
to outside. Also read the natural gas safety
instructions.(on page 4)
Figure 15c (Natural gas model only)
GAS MANIFOLD
- REAR PANEL
12' NATURAL
GAS HOSE
HOLE FOP,
NATURAL
GAS HOSE
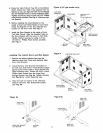
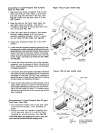
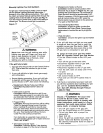
Install Pun-out Grease Tray
Place Heat Shield into Pull-out Grease Draining
Tray. The Heat Shield must be present and
centered for your safety. Slide the Pull-out
Grease Draining Tray into the Tracks on the Cart
Side Panels and push until it stops.
See Fig. 16.
Figure 16
GRILL HEAD
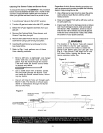
WARNING
A strong gas smell, or the hissing sound of
gas indicates a serious problem with your gas
grill or the LP gas tank. Failure to immedi-
ately follow the steps below could result in a
fire or explosion that could cause serious
bodily injury, death, or property damage.
• Shut off gas supply to the gas grill.
Turn the Control Knobs to OFF position.
• Put out any flame with a proper fire
extinguisher.
Open Grill Lid.
• Get away from the LP gas tank.
• Do not try to fix the problem yourself.
• If odor continues or you have a fire you
cannot extinguish, cell your fire department. Do
not cell near the LP gas tank. Your telephone
is an electncel device and could create a spark
resulting in fire and/or explosion.
NOTE: The normal flow of gas through the
regulator and hose assembly can create a
humming noise. A low volume of noise is
normal and will not interfere with operation of
the grill, if humming noise is loud and exces-
sive you may need to purge air from the gas
line or reset the regulator excess gas flow
device. This purging procedure shou]d be done
every time a new LP gas tank is connected
to your grill. For help with this procedure refer
to page 19, step 4, or call for assistance.
HEAT
SHIELD
\\
\
\
/
PULL-OUT GREASE
DRAINING TRAY CART SIDE /
PANEL-RIGHT
Congratulations
Your Kenmore Elite gas grill is now ready
for use. Before the first use and at the
beginning of each season (and whenever the
LP gas tank has been changed):
1. Read all safety, lighting and operating
instructions.
2. Check Gas Valve Orifices, Burner Tubes
and Burner Ports for any obstructions.
3. Perform gas leak check according to
instructions found on page 17 of this
manual.
Checking For LP Gas Leaks
Never test for leaks with a flame. Prior to first
use, at the beginning of each season, or every
time your LP gas tank is changed, you must
check for gas leaks. Follow these four steps:
1.Make a soap solution by mixing one part liquid
detergent and one part water.
2.Turn the grill Control Knobs to the full OFF
position, then turn the gas ON at source.
3. Apply the soap solution to all gas connections.
If bubbles appear in the solution the connec-
tions are not properly sealed. Check each
fitting and tighten or repair as necessary.
4. If you have a gas leak you cannot repair, turn
off gas at the source, disconnect fuel line from
your grill and call 1-800-4-MY-HOME®or your
gas supplier for repair assistance.
17