Special offers from our partners!

Find Replacement BBQ Parts for 20,308 Models. Repair your BBQ today.
English-6
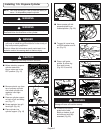
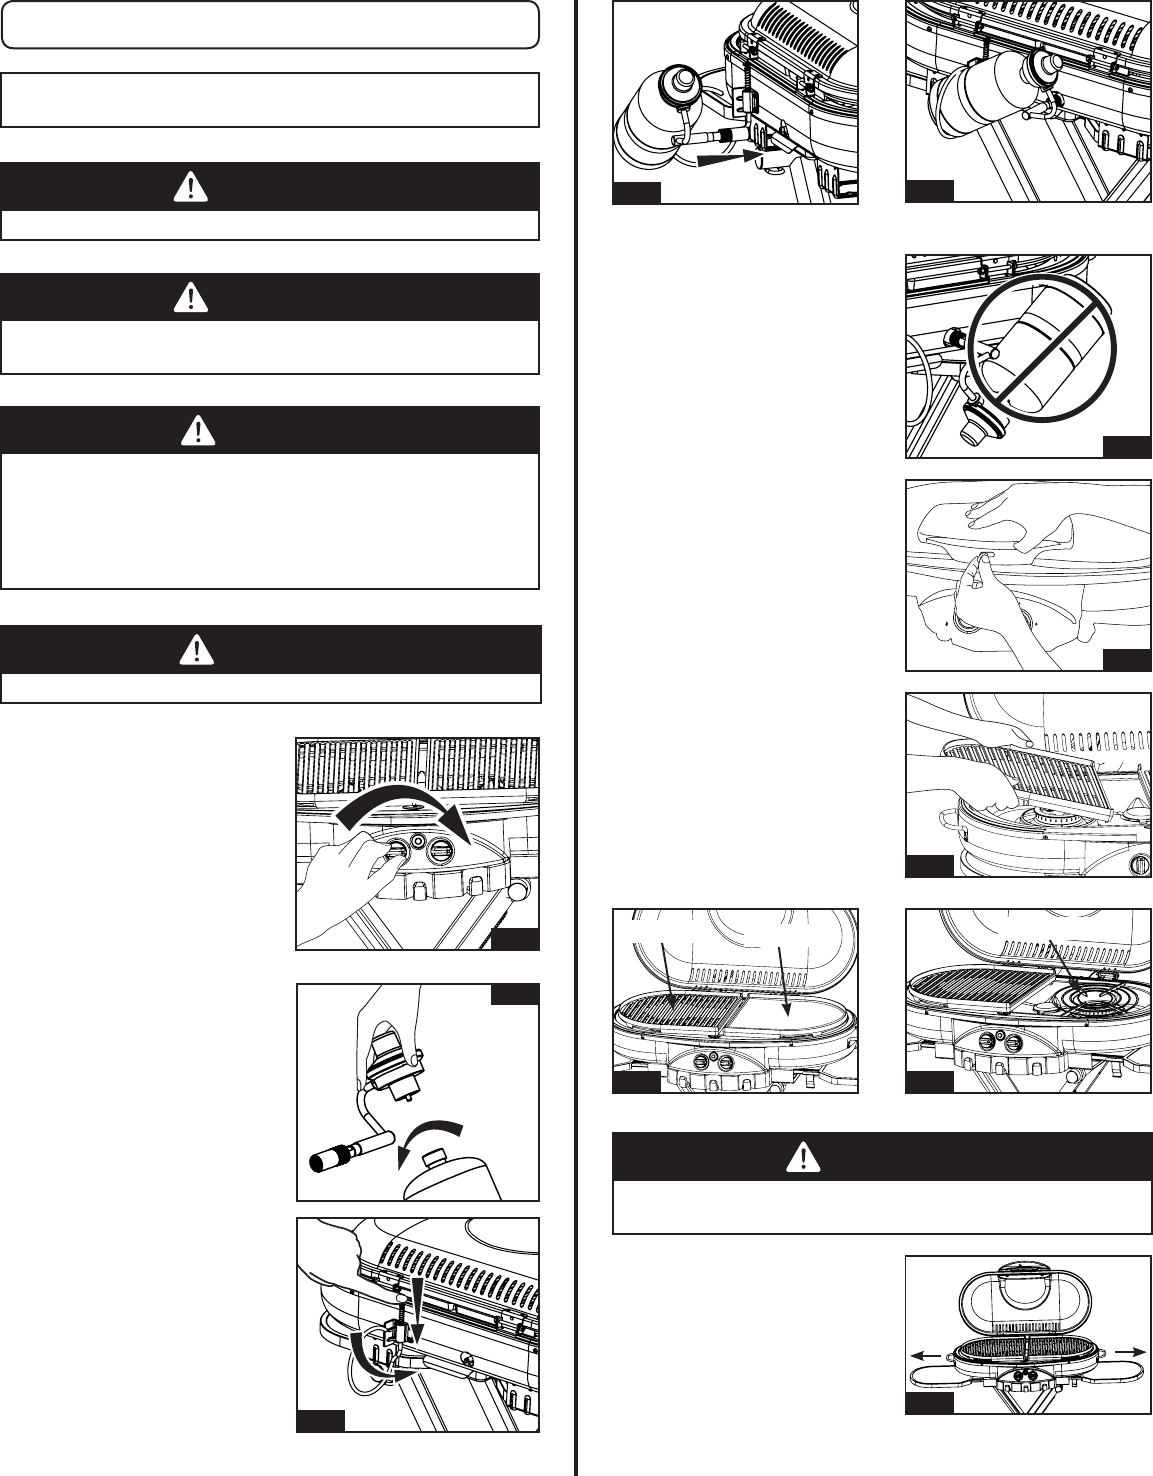
■ Remove plastic cap from
top of propane cylinder
and screw cylinder into
regulator hand tight.
(Fig. 16)
■ Before attaching propane
cylinder make sure
burner valves are in the
OFF position. (Fig. 15)
■ Press on cylinder support
on back of grill and swing
out. (Fig. 17)
■ Screw regulator into grill
hand tight. (Fig. 18)
■ Place cylinder into
cylinder support. (Fig. 19)
■ Never operate grill with
propane cylinder in an
inverted position. (Fig. 20)
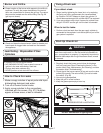
■ To open lid, move lever
to OPEN position and lift
up. (Fig. 21)
■ Place a grill grate,
griddle, or stove ring
over each burner.
(Fig. 22, 23, and 24)
■ To extend side tables,
grasp hold of side
tables on bottom of grill
and slide out until fully
extended. (Fig. 25)
WARNING
DO NOT operate the grill with side tables in storage position.
Damage will occur and void the warranty.
NOTE: Your 9949 Series grill is set up from the factory to
use a 1 lb. disposable propane cylinder.
WARNING
Only cylinders marked “Propane” must be used.
CAUTION
Tighten by hand only. DO NOT use tools.
WARNING
This procedure MUST be performed OUTDOORS only!
Read and follow the directions on the cylinder.
DANGER
r NEVER store a spare L.P. gas supply cylinder under the
grill body or inside the grill enclosure or in the vicinity of
any heat producing appliance.
Failure to follow this information exactly could result in an
explosion and/or re causing death or serious injury.
Installing 1 lb. Propane Cylinder
Fig. 15
Fig. 16
Fig. 17
Fig. 18
Fig. 19
Fig. 20
HIGH/LIGH
T
HIGH/LIGHT
LOW
LOW
OFF
OPEN
LOCK
Fig. 21
Fig. 22
Fig. 23 Fig. 24
Fig. 25
Grill Grate
Griddle
Stove Ring


