Special offers from our partners!

Find Replacement BBQ Parts for 20,308 Models. Repair your BBQ today.

Buy Weber Grill Parts. It couldn't be easier. Find your Weber parts here.
8
www.weber.com
®
Gas instructions
CHECK FOR GAS LEAKS
m WARNING: The gas connections of your Summit
®
gas grill
have been factory tested. We do however recommend that
you leak check all gas connections before operating your
Summit
®
gas grill.
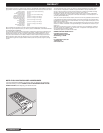
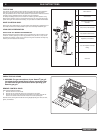
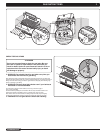
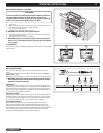
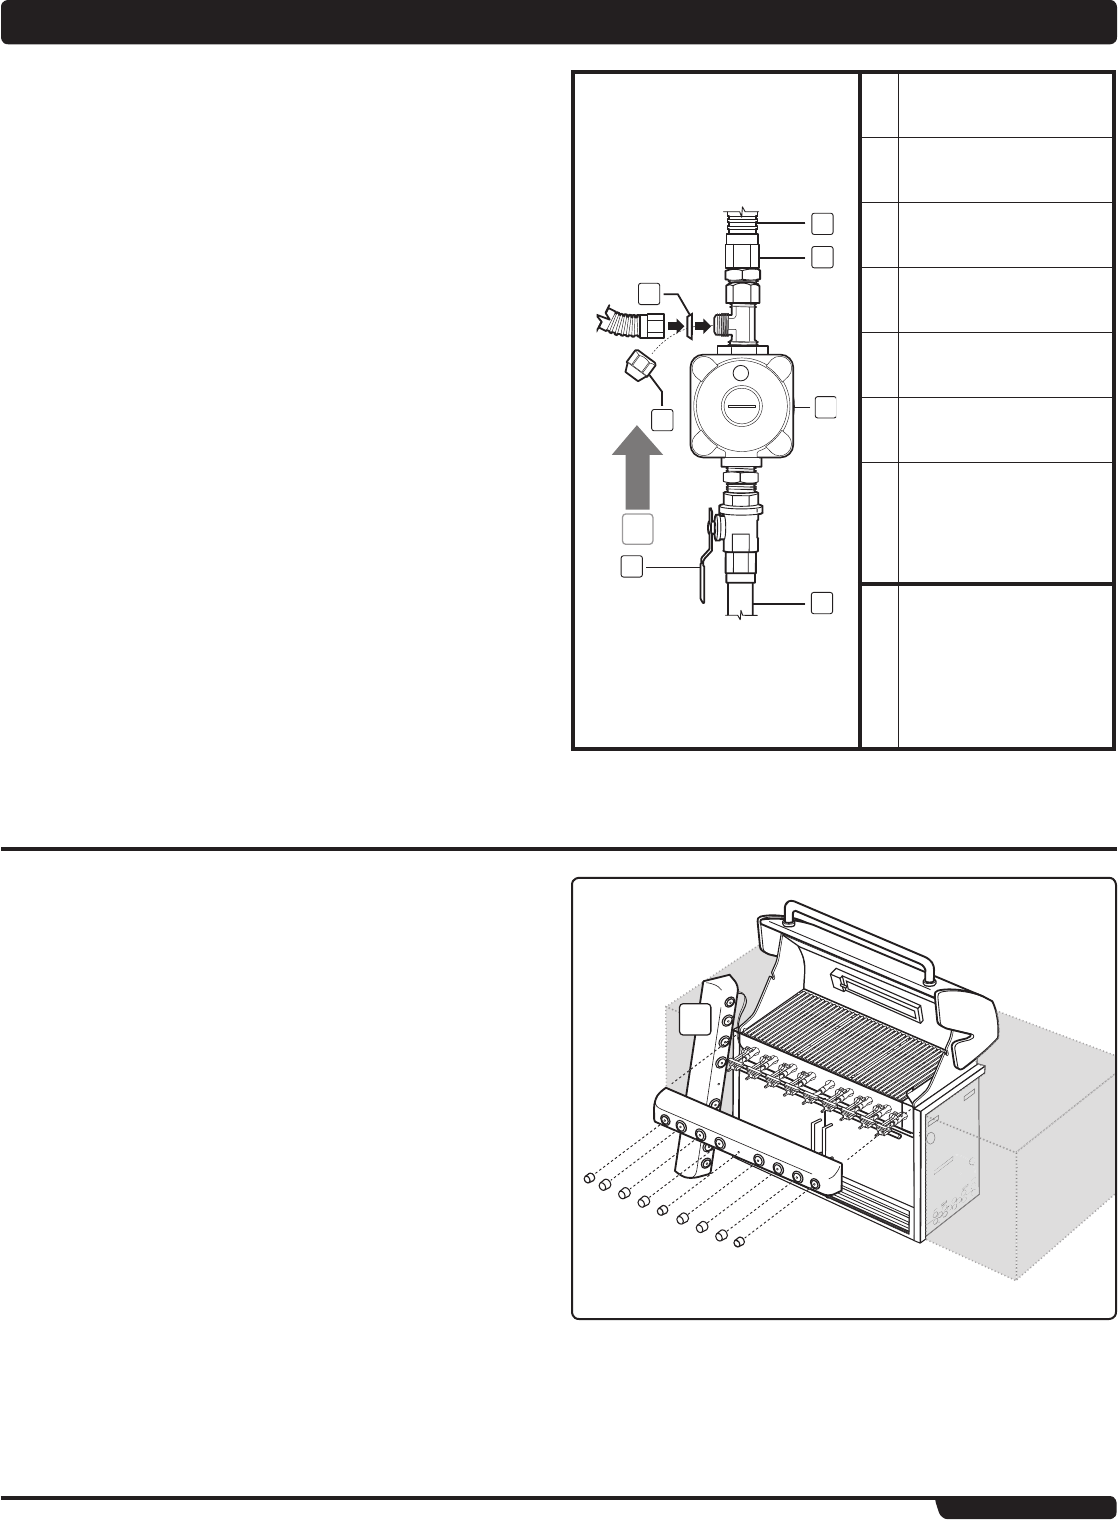
REMOVE CONTROL PANEL
Part required: Phillips Screwdriver.
1) Remove the burner control knobs.
2) Remove the two screws that secure the control panel to the frame.
3) Remove the control panel. Tilt panel forward and lift up and away from grill. Be
careful not to break or disconnect the wires for the control panel lights.
Rest the control panel against the left side of the grill (A) exposing the valves, burners,
igniter, and manifold.
8
3
7
1
2
6
4
5
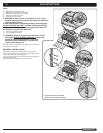
1 Main Gas Line
2 Shut Off Valve
3
Corrugated Gas Line to
manifold
4 3/8”(1.27mm)FlaredGasket
5 Cap (Optional Side Burner)
6 Regulator (not included)
7
1/2”(1.27mm)SAE45Adapter
Fitting
8 Gas Flow
A
TYPE OF GAS
Your natural gas grill is factory built to operate using natural gas only. Never attempt to
operate your grill on gases other than the type specified on the grill rating plates.
Your grill operates at 4.5” of water column pressure. If replacement of the hose becomes
necessary, factory specified parts are required. See your local dealer.
For safety and design reasons, the conversion of a Weber
®
grill from operation using
Natural gas to operation using LP gas requires the change out of the entire gas supply
system of the grill. If this becomes necessary, see your dealer for additional information.
WHAT IS NATURAL GAS?
Natural gas, often called methane, is a safe modern fuel. Natural gas is supplied by your
local utility and should be readily available if your house is already heated with gas.
LEAK CHECK PREPARATION
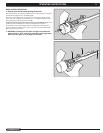
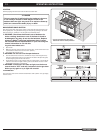
CHECK THAT ALL BURNER VALVES ARE OFF
Valves are shipped in the “OFF” position, but you should check to be sure that they are
turned off. Check by pushing in and turning clockwise. If they do not turn, they are off.
Proceed to the next step. If they do turn continue turning them clockwise until they stop,
then they are off. Proceed to the next step.


