Special offers from our partners!

Find Replacement BBQ Parts for 20,308 Models. Repair your BBQ today.

Buy Weber Grill Parts. It couldn't be easier. Find your Weber parts here.

26
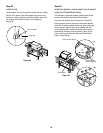
Step 27
Complete accessory installation
You will need: work table, two accessory trays, serving
tray, Warm-Up Basket, warming rack, thermometer, two
tubing plugs and a hammer.
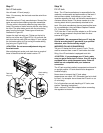
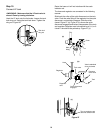
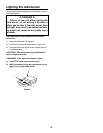
Insert one end of the Weber Warm-Up Basket into the
hole in the right end of the lid and the other end into the
slot in the left end of the lid. Figure 41 (a).
Set the work table onto the left side rails. Figure 41 (b).
Place porcelain serving tray on the work table.
Figure 41 (c).
Set the accessory trays between the two frame
connectors. Figure 41 (d).
Set the warming rack into the slots at the rear of the
cooking box. Figure 41 (e).
Insert the thermometer into its holder. Figure 41 (f).
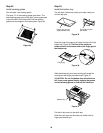
Insert tubing plugs into the ends of the frame. To fully seat
the plugs, you may have to tap them lightly with a
hammer. Figure 41 (g).
Figure 41
(a)
(e)
(f)
(g)
(b)
(d)
(c)
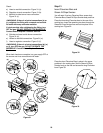
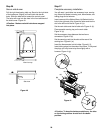
Step 26
Secure side burner
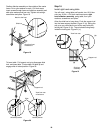
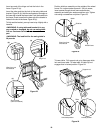
Pull the right hand swing table up. Stand to the right side
of the barbecue. Slightly pull back both side burner
locks. Slide the side burner toward the control panel.
The locks will snap into the slots in the front and back of
the side burner. Figure 40.
ƽCaution: Make sure both locks have snapped
into place.
Figure 40
View from top
Side view
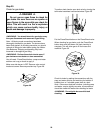
ƽCaution: To keep the barbecue stationary, the tabs
on the locking casters should be in the down
position.


