Special offers from our partners!

Find Replacement BBQ Parts for 20,308 Models. Repair your BBQ today.

Buy Weber Grill Parts. It couldn't be easier. Find your Weber parts here.
16
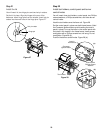
Step 15
Set LP fuel scale
You will need: LP tank (empty).
Note - For accuracy, the fuel scale must be set with an
empty tank.
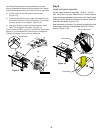
We utilize various LP tank manufacturers. Some of the
tanks we receive have differing top collar assemblies. (The
top collar is the metal protective ring around the valve.)
One series of tanks mounts with the valve facing the front.
The other tanks mount with the valve facing away from the
fuel scale. These types of tanks are illustrated in Figure
16.
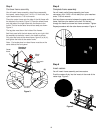
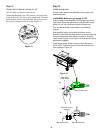
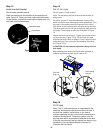
Loosen the tank lock wing nut. Tighten so the lock is held
up out of the way. Figure 16 (a). Lift and hook the tank
onto the fuel scale. With an empty LP tank, adjust the fuel
scale setting to E by turning the scale setting (top) wing
nut. Figure 16 (b).
ƽCAUTION: Do not remove adjustment wing nut from
tank scale.
After adjusting tank scale, push tank down a couple of
times to check that the tank scale is set on “E”.
F
E
F
E
F
E
Figure 16
Tank lock
wing nut
(a) (b)
Scale setting
wing nut
Step 16
Fill LP tank
Note - The LP tank manufacturer is responsible for the
materials, workmanship and performance of the tank. If
the tank has a defect, malfunctions, or you have a
question regarding the tank, call the tank manufacturer's
customer service center. The phone number is on the
warning decal which is permanently attached to the tank.
If the tank manufacturer has not resolved the issue to your
satisfaction, then call Weber-Stephen Products Co.,
Customer Service Center.
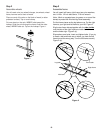
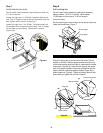
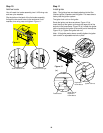
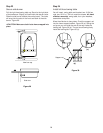
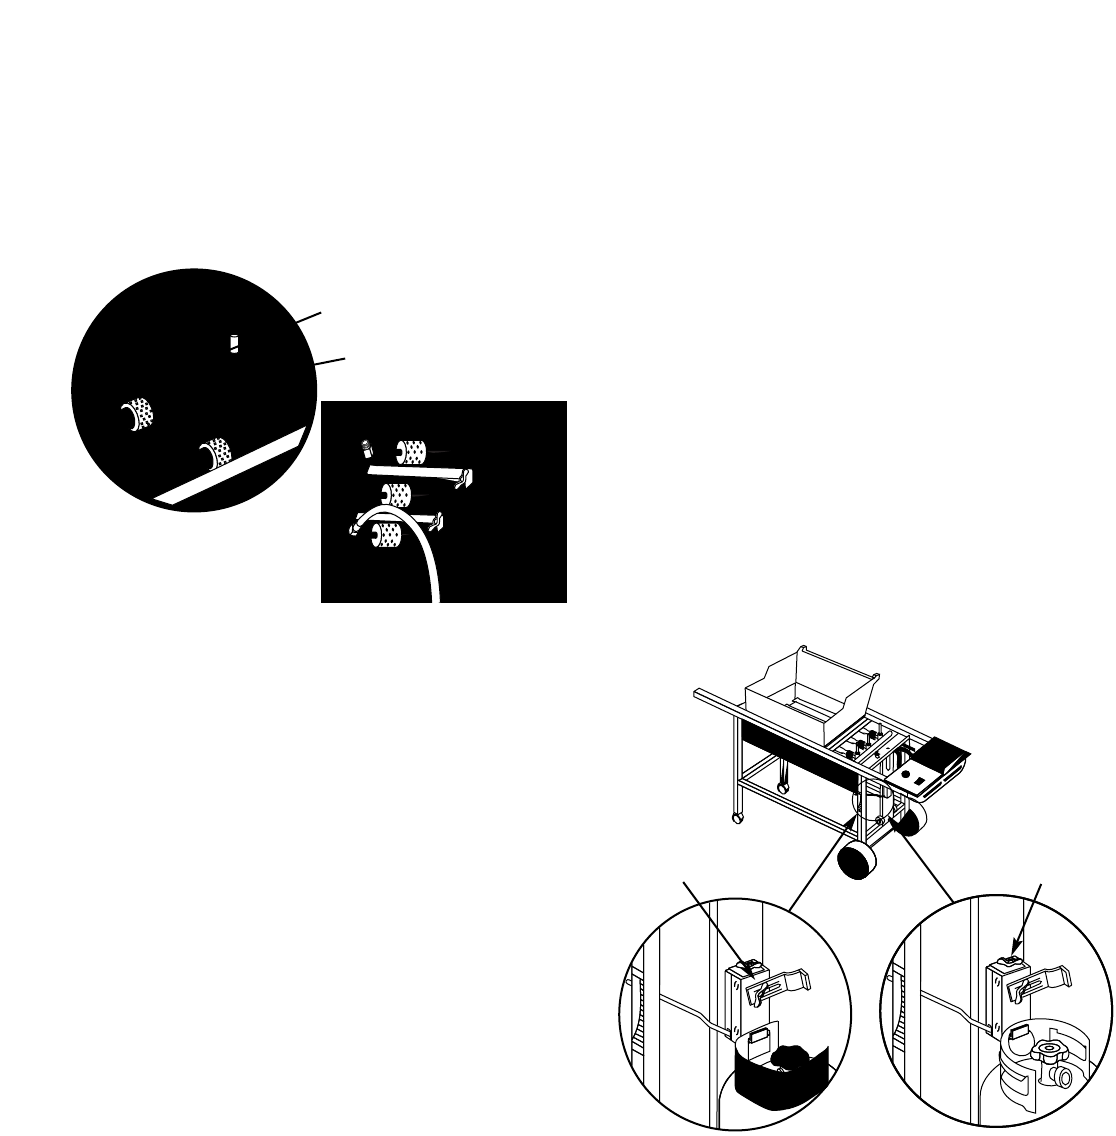
Step 14
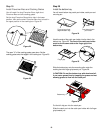
Install manifold bracket
You will need: manifold bracket
Hook the bracket onto the manifold at the center burner
valve. Figure 15. Place your hand underneath the bracket.
Lift the bracket, manifold and cooking box slightly as a unit
and hook onto the frame brace.
Frame brace
Manifold bracket
Figure 15


