


Special offers from our partners!

Find Replacement BBQ Parts for 20,308 Models. Repair your BBQ today.
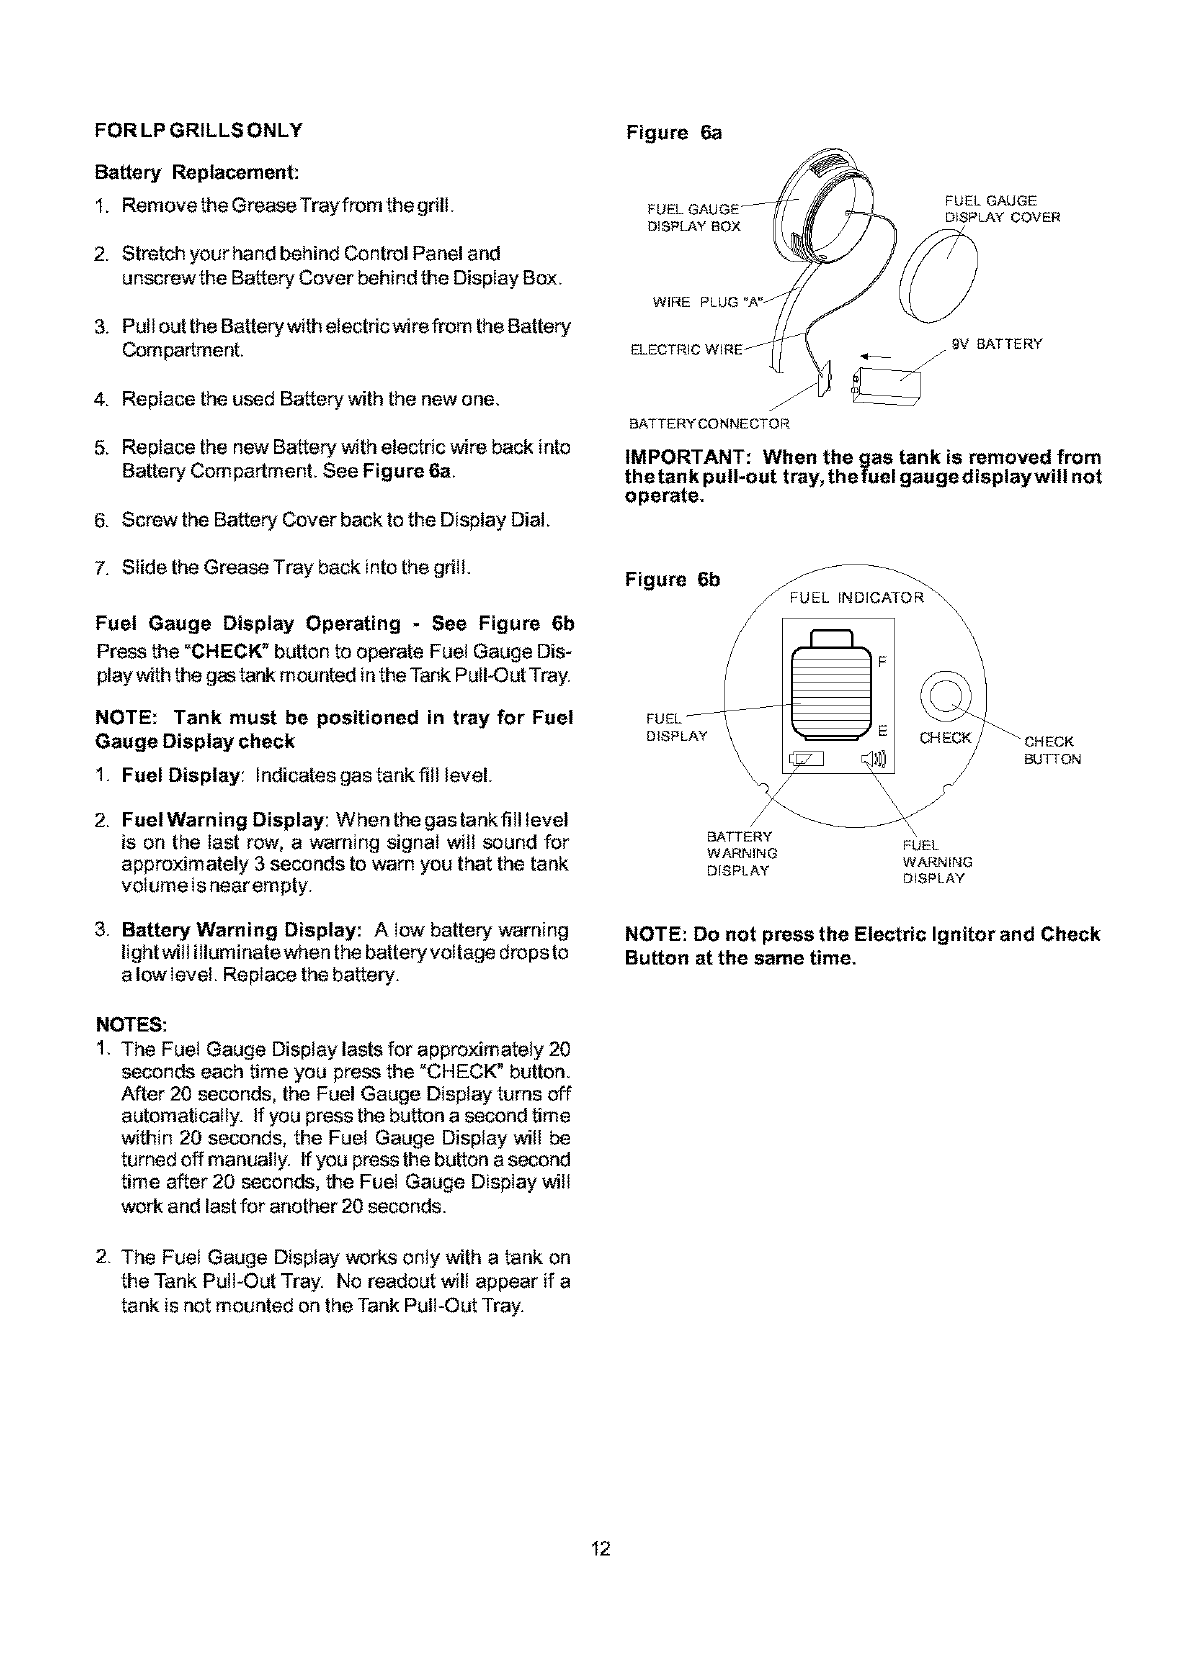
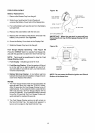
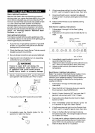
FOR LP GRILLS ONLY
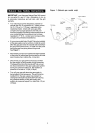
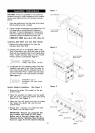
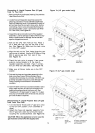
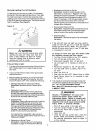
Battery Replacement:
1. Remove the Grease Trayfrom the griE
2. Stretch your hand behind Control Panel and
unscrewthe Battery Cover behind the Display Box.
3. Pultout the Battery with electric wire from the Battery
Compartment.
4. Replace the used Batterywiththenewone.
5. Replace the new Battery with electric wire back into
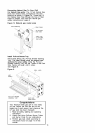
Battery Compartment. See Figure 6a.
6. Screw the Battery Cover back to the Display Dial.
7. Slide the Grease Tray back into the grill.
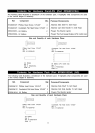
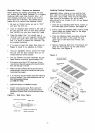
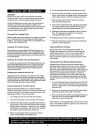
Fuel Gauge Display Operating - See Figure 6b
Press the "CHECK" button to operate Fuel Gauge Dis-
play with the g_ tank mounted inthe Tank Pull-Out Tray.
NOTE: Tank must be positioned in tray for Fuel
Gauge Display check
1. Fuel Display: Indicatesgastankfill level.
2. FuelWarning Display: Whenthegastankfilllevel
is on the Iast row, a warning signaI witt sound for
approximately 3 seconds to warn you that the tank
volume isnearempty.
3. Battery Warning Display: A Iow battery warning
lightwill illuminatewhen the batteryvoltage drops to
a low level. Replace the battery.
NOTES:
1. The Fuet Gauge Display lastsfor approximately 20
seconds each time you press the "CHECK" button.
After 20 seconds, the Fuel Gauge Display turns off
automatically. If you press the button a second time
within 20 seconds, the Fuel Gauge Display wilt be
turned off manually. If you press the button a second
time after 20 seconds, the Fuel Gauge Display will
work and last for another 20 seconds.
Figure 6a
FUEL GAUGE
DISPLAY COVER
9V BATTERY
J
BATTERY CONNECTOR
IMPORTANT: When the gas tank is removed from
the tank pull-out tray, thefuel gauge displaywill not
operate.
Figure 6b jF_
FUEL INDICATO R_
\
\
\
\
BATTERY \
FUEL
WARNING
WARNING
DISPLAY
DISPLAY
BUTTON
NOTE: Do not press the Electric Ignitor and Check
Button at the same time.
2. The Fuel Gauge Display works onty with a tank on
the Tank PulFOut Tray. No readout will appear if a
tank isnot mounted on the Tank Pull-Out Tray.
12