


Special offers from our partners!

Find Replacement BBQ Parts for 20,308 Models. Repair your BBQ today.
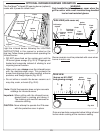
36
SAFETY
The right knob controls the front burner and the
left knob controls the back burner.
CAUTION: THE SIDEBURNER MUST COOL
DOWN BEFORE HANDLING OR
ADJUSTMENT.
Do not operate the sideburner with the cover
closed.
Be sure the sideburner has good ventilation, is free
of debris, and is away from fl ammable substances
before lighting.
Properly burning fl ames are mostly blue with yellow
tipping and are steady and spread evenly around
the burner.
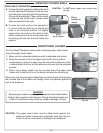
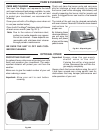
STAINLESS STEEL SIDEBURNER COVER
Note: The cover is free-standing and is not
hinged in the back.
To remove the cover, carefully lift off using the built
in handle.
To replace the cover, put the back of the cover into
position against the back inner lip of the sideburner
grill rest and then lower the front into position so
that it covers the side burner opening entirely.
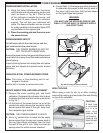
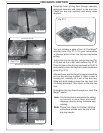
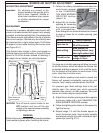
ORIFICE CHECKING
1. Remove the cover and then the grid. Set them
aside.
2. Lift the brass burner
caps off of both
front and back
sideburners and
set them aside.
3. Look down into the
hole at the center
of the burner,
using a flashlight
if necessary, and read the number stamped
on the top of the brass gas orifi ce (see Fig.
36-1).
4. Compare the number with the orifice size
information for your gas type in the MODEL
SPECIFICATIONS TABLE under the gas type
of this grill. Each sideburner must have the
correct gas orifi ce for the grill to operate safely
and effectively as it was designed.
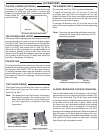
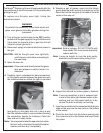
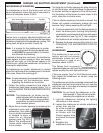
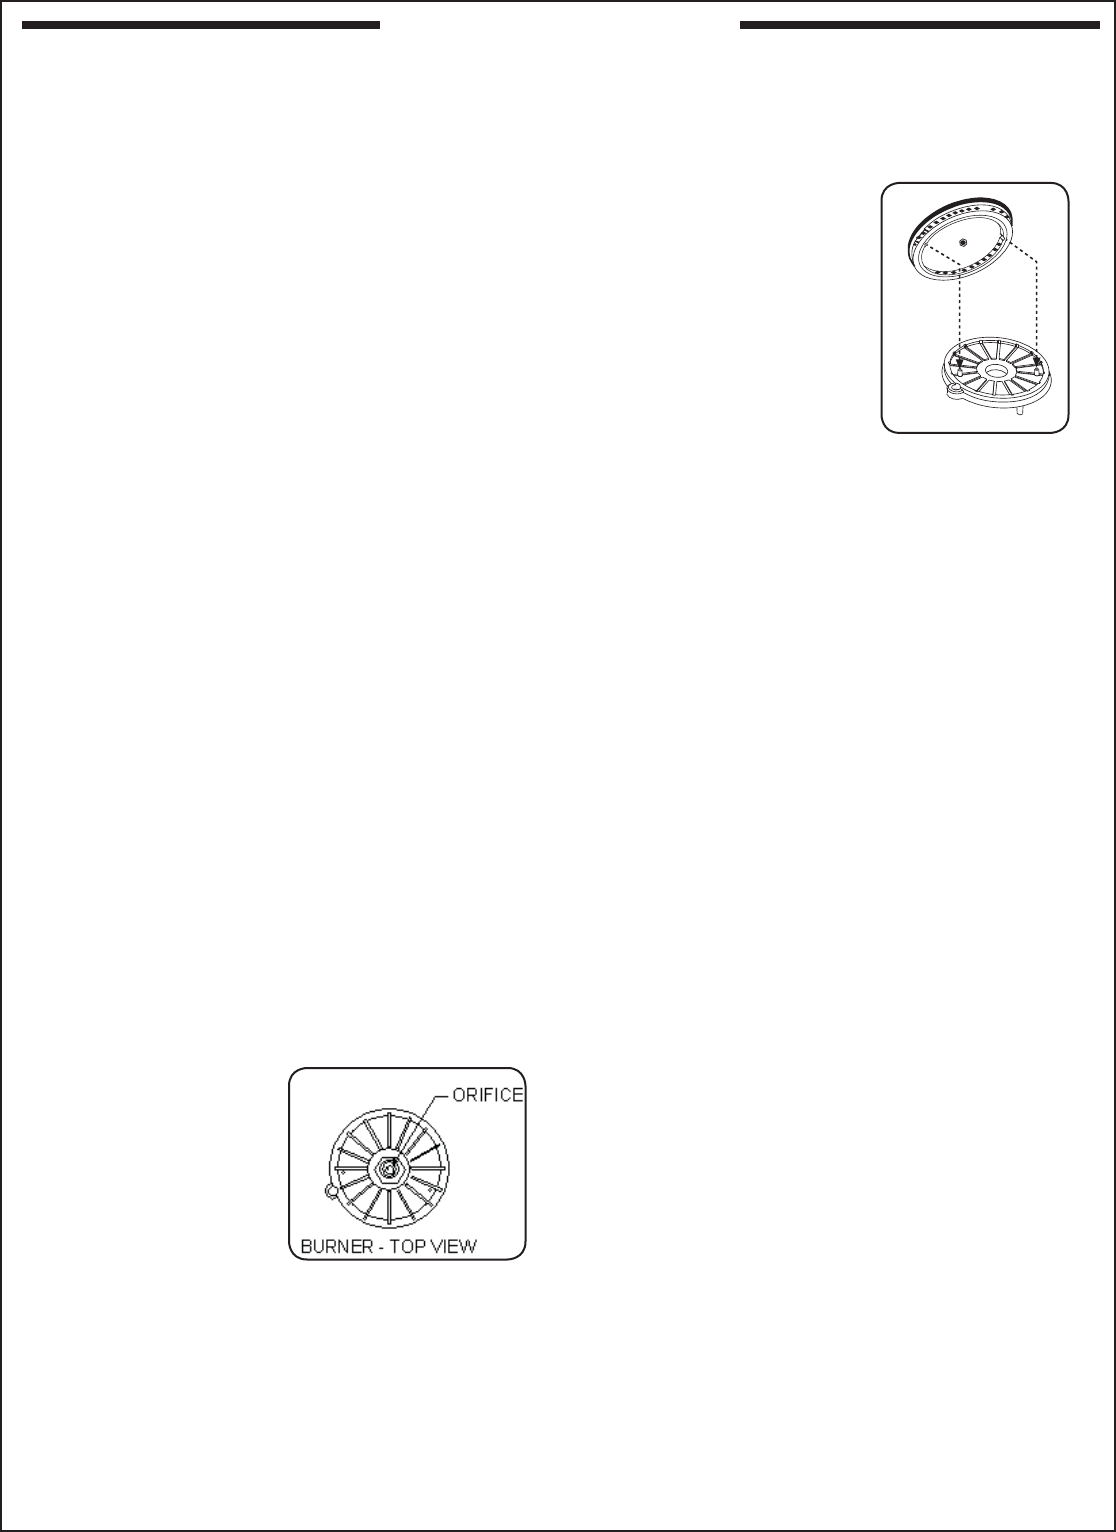
5. Replace the burner
caps so that they are
centered over their
respective burners with
the slightly rounded
part of the burner cap
pointing upward. The
notches in the burner
cap must fi t over the
studs protruding from
the burner base for
the cap to be properly
seated.
6. Replace the grid and the cover as
appropriate.
ORIFICE CONVERSION
1. Follow steps 1. and 2. under ORIFICE
CHECKING.
2. Pull the metal tube up out of the center of each
burner, taking note of the upper end that has
the lip on it. Set it aside.
3. Use a
15
/
16
" wrench to carefully loosen and
then remove the brass nut holding each burner
in place and set it aside.
4. Remove the burner control knobs from the face
plate by pulling them gently away from the face
plate. Set them aside.
5. Pull the wood-chip drawer completely out from
the front of the grill and set it aside.
6. Remove the faceplate from the front of the grill
by unscrewing the screws on the left and right
sides using the Phillips-head screwdriver and
then lifting the faceplate fi rst upward so that it
clears the “lid closed” switch on the left side
and then shift it to the right until it is free of the
grill. Gently lower the top of the faceplate until
it rests securely by the internal chain with it’s
base resting against the grill.
7. Reach into the space underneath the double
side burner and pull out each brass burner in
turn carefully bending the fl exible metal tubing
still attached.
Fig. 36-1
Fig. 36-2 Positioning
the Burner Cap
DOUBLE SIDEBURNER