Special offers from our partners!

Find Replacement BBQ Parts for 20,308 Models. Repair your BBQ today.
www.desatech.com
111923-01D24
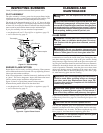
INSPECTING BURNERS
Check pilot ame pattern and burner ame patterns often.
PILOT ASSEMBLY
The pilot assembly is factory preset for the proper ame height.
Alterations may have occurred during shipping and handling. Call
a qualied service person to readjust the pilot if necessary.
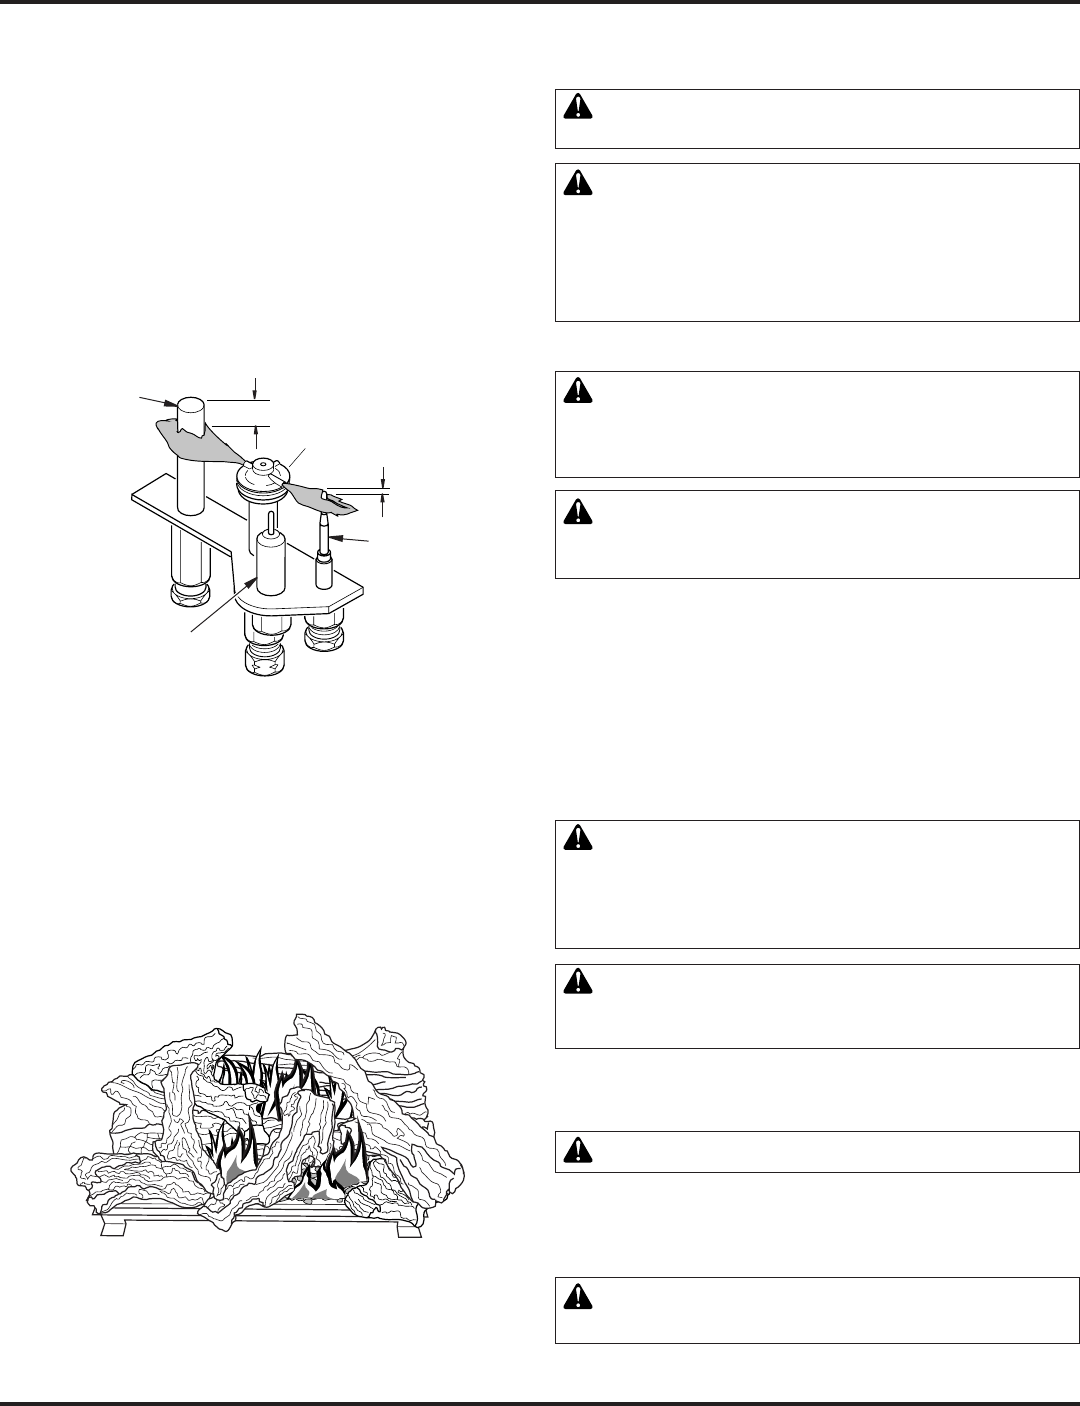
The height of the thermopile must be 3/8" to 1/2" above the pilot
ame as shown in Figure 53. The thermocouple must be at a height
of about 1/8" above the pilot ame. The ame from the pilot burner
must extend beyond both the thermocouple and thermopile.
If you pilot assembly does not meet these requirements:
• turn replace off (see To Turn Off Gas to Appliance, page 22)
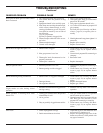
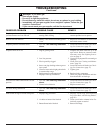
• see Troubleshooting, page 25
BURNER FLAME PATTERN
Burner ames will be steady; not lifting or oating. Flame patterns
will be different from unit to unit and will vary depending on instal-
lation type and weather conditions.
If the vent conguration is installed incorrectly, the ames will lift
or "ghost". This can be dangerous. Inspect the ames after instal-
lation to ensure proper installation and performance.
Figure 54 shows a typical ame pattern for these models.
If burner ame pattern differs from that described:
• turn replace off (see To Turn Off Gas to Appliance, page 22)
• see Troubleshooting, page 25
Figure 54 - Typical Flame Pattern
Thermocouple
Thermopile
1/8"
Pilot Burner
Piezo
Ignitor
Figure 53 - Pilot Assembly
3/8" to 1/2"
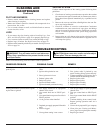
CLEANING AND
MAINTENANCE
cleaning.
may need more frequent cleaning due to excessive lint
from carpeting, bedding material, pet hair, etc.
GLASS DOOR
WARNING: Handle glass door panel with care. Do
-
WARNING: Do not use abrasive cleaners as this
may damage glass. Use a nonabrasive household glass
cleaner to clean glass. Do not clean glass when hot.
Glass must be cleaned periodically. During start-up it is normal for
condensation to form on the inside of the glass causing lint, dust,
and other airborne particles to cling to the glass surface. During
initial start-up a slight lm may form on the glass due to paint cur-
ing. The glass should be cleaned several times with a non-ammonia,
nonabrasive household cleaner and warm water after the rst two
weeks of operation. Thereafter, clean the glass two or three times
during each heating season, depending on the usage and circum-
stances present. Refer to Removing/Replacing Glass Door, page
19, when removing glass door for cleaning.
WARNING: Only parts supplied by the manufacturer
glass door panel (see Replacement Parts, page 28).
This glass door panel is a complete unit. No substitute
materials may be used.
glass is hot. Keep children and pets away from glass.
If glass has been broken, carefully remove glass door (see Remov-
ing/Replacing Glass Door, page 19). Vacuum all glass pieces with
a shop vac.
Use only the tempered glass door replacement intended for this
replace (see Replacement Parts, page 28 for detail on ordering).
No substitutions may be made. See Removing/Replacing Glass
Door, page 19, for instructions for replacing glass door.


