Special offers from our partners!

Find Replacement BBQ Parts for 20,308 Models. Repair your BBQ today.

www.desatech.com
116035-01E 31
FIREPLACE
INSTALLATION
Continued
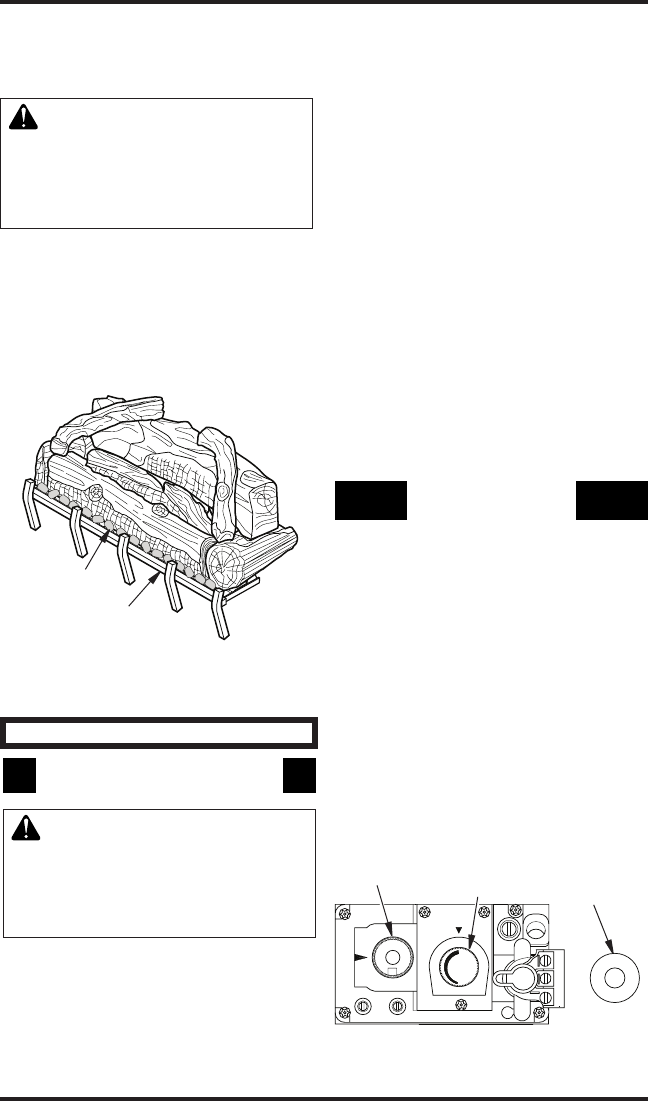
Ember
Material
Ember
Tray
Figure 59 - Applying Ember Material
4. Open the bag of ember materials.
5. Break apart about quarter sized pieces and
place about a single layer along the full length
of the ember tray to hide the bottom edge of
the base log. (see Figure 59).
6. Replace the glass door and louver panels. See
Removing/Replacing Glass Door, page 29.
OPERATING FIREPLACE
MILLIVOLT
FOR YOUR SAFETY
WARNING: If you do not fol-
low these instructions exactly,
-
A. This appliance has a pilot which must be
lighted by hand. When lighting the pilot,
follow these instructions exactly.
B. BEFORE LIGHTING smell all around the
appliance area for gas. Be sure to smell next
totheoorbecausesomegasisheavierthan
airandwillsettleontheoor.
WHAT TO DO IF YOU SMELL GAS
• Do not try to light any appliance.
• Do not touch any electric switch; do not
use any phone in your building.
• Immediately call your gas supplier
from a neighbor's phone. Follow the gas
supplier's instructions.
C. Use only your hand to push in or turn the
gas control knob. Never use tools. If the knob
will not push in or turn by hand, don't try to
repairit,callaqualiedservicetechnician.
Force or attempted repair may result in a
reorexplosion.
D. Do not use this appliance if any part has
been under water. Immediately call a
qualiedservicetechniciantoinspectthe
appliance and to replace any part of the
control system and any gas control which
has been under water.
LIGHTING
1. STOP! Read the safety information
above.
2. Open lower louver panel.
3. Turn off all electric power to the fire-
place.
4. Push in gas control knob slightly and turn
clockwise to “OFF” (see Figure 60).
5. Waitve(5)minutestoclearoutanygas.
Thensmellforgas,includingneartheoor.
If you smell gas, STOP! Follow “B” in the
safety information above. If you don’t smell
gas go to the next step.
6. The pilot is located by the main burner and
should not require accessing for lighting.
7. Turn gas control knob counterclockwise to
“PILOT”.
Figure 60 - Control Valve
P
I
L
O
T
O
F
F
P
I
L
O
T
O
N
TPTH TP TH
HI
LO
IN
OUT
Gas Control
Knob
Variable
Control Knob
Piezo
Ignitor


