Special offers from our partners!

Find Replacement BBQ Parts for 20,308 Models. Repair your BBQ today.
115603-01A
12
For more information, visit www.desatech.com
For more information, visit www.desatech.com
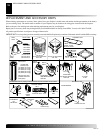
Terminations
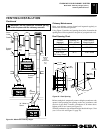
The fireplace system must be terminated with the listed round top or
chase terminations. In any case, refer to the installation instructions
supplied with the terminations.
The terminations approved for this fireplace are RTL-12D,
which can be used for flashing, or chase and STL-12D for
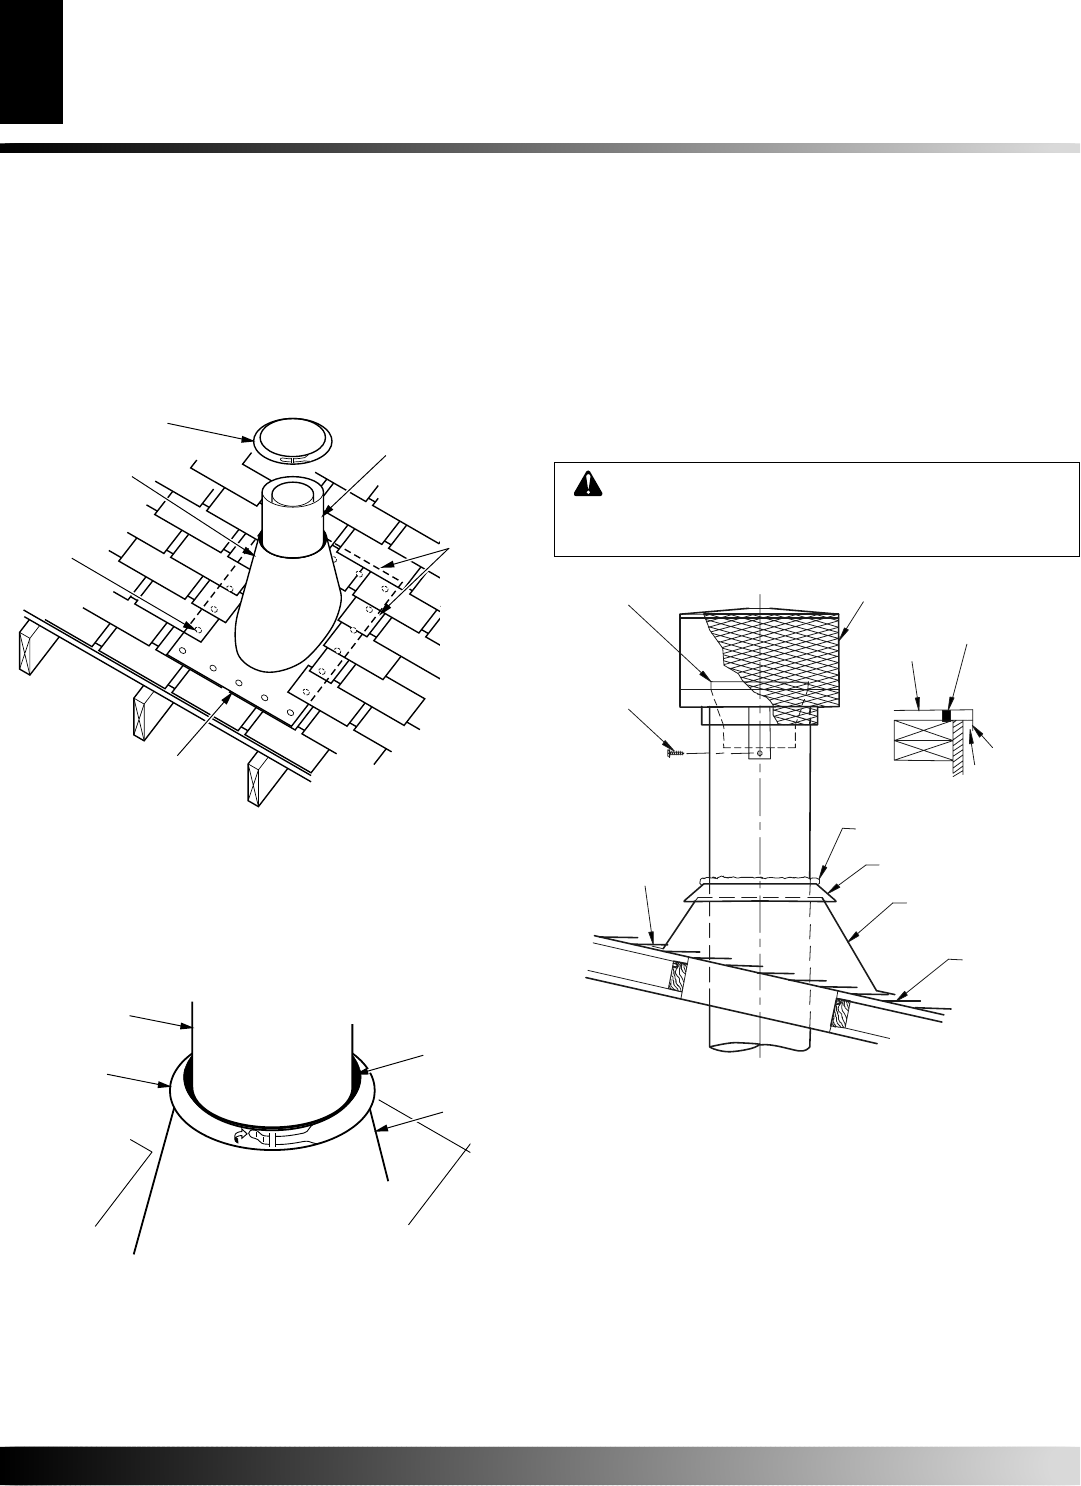
chase style termination only. Figure 28 shows an RTL-12D
round top termination.
CAUTION: Do not seal openings on the rooftop
flashing. Follow the installation instructions pro-
vided with the termination being used.
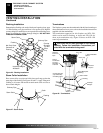
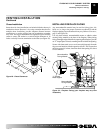
Figure 28 - Terminations
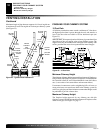
Flashing Installation
Determine the flashing to be used with the roof opening chart, page
11. Slide flashing over pipe until base is flat against roof. Replace
as many shingles as needed to cover exposed area and flashing base.
Secure in position by nailing through shingles.
DO NOT NAIL
THROUGH FLASHING CONE.
Figure 26 - Flashing Installation
Storm Collar Installation
Place storm collar over pipe and slide down until snug against the
open edge of the flashing (see Figures 26 and 27). Apply waterproof
caulking to all seams and notches around storm collar and also at
base around shingles.
Figure 27 - Storm Collar
VENTING INSTALLTION
Continued
FINISHING YOUR CHIMNEY SYSTEM
Flashing Installation
Storm Collar Installation
Terminations
Storm Collar
Nail Only Outer
Perimeter of
Flashing
Flashing
Chimney Pipe
Overlap
Shingles
Top and
Sides
Only
Underlap Shingles
At Bottom
Chimney Pipe
Caulk
Flashing
Storm Collar
Stainless
Inner Flue
Pipe
RTL-12D
Chase Top
1" Noncombustible
Spacer
Screen
1" Space
Apply Waterproof
Caulking
Storm Collar
Flashing
Underlap
Shingles
Secure
Termination
To Outer
Pipe With
3 Screws
Overlap Shingles
(Top and Sides)
of Flashing Base


