Special offers from our partners!

Find Replacement BBQ Parts for 20,308 Models. Repair your BBQ today.
7
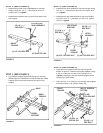
STEP 9: (S
EE FIGURE
9
)
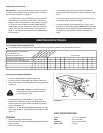
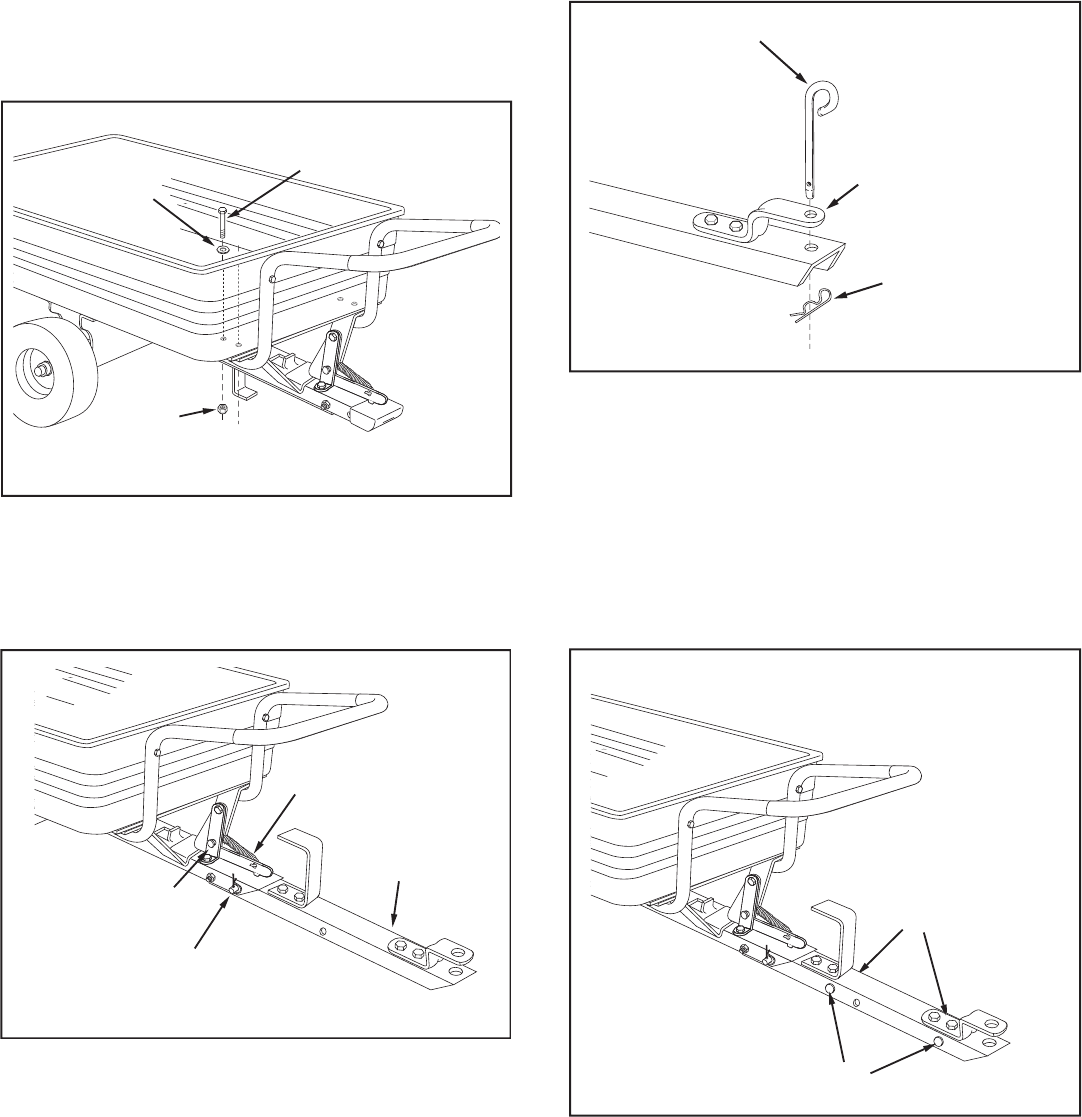
• Align the holes in the handle with the holes in the
bottom of the poly tray, the latch stand plate and the
latch stand bracket. Fasten together using four 1/4"
x 1-3/4" hex bolts (D), 1/4" fl at washers (I) and 1/4"
nylock nuts (J).
Tighten.
• At this time
tighten
all bolts which were left loose.
FIGURE 9
(D) 1/4" x 1-3/4"
HEX BOLT
(I) 1/4" FLAT
WASHER
(J) 1/4"
NYLOCK
NUT
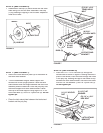
FIGURE 10
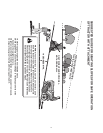
CART WITH TONGUE ARRANGED FOR TOWING
FIGURE 11
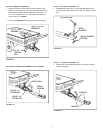
STEP 10: (S
EE FIGURE
1
1
)
• Assemble the hitch pin (Q) through the tongue and
hitch bracket and secure it with the 1/8" hairpin cotter
(M).
FRONT
TONGUE
(G) 3/8" x 4"
CLEVIS PIN
(H) 3/8" x 1"
CLEVIS PIN
LATCH LOCK
HITCH
BRACKET
(M) 1/8" HAIRPIN
COTTER
(Q) HITCH PIN
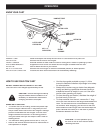
PADS (R)
PADS (R)
STEP 11: (S
EE FIGURE
12
)
• Attach two noise reduction pads (R) on each side of
the front tongue.
F
IGURE 12


