Special offers from our partners!

Find Replacement BBQ Parts for 20,308 Models. Repair your BBQ today.
Step 1
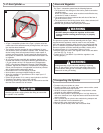
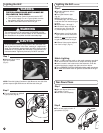
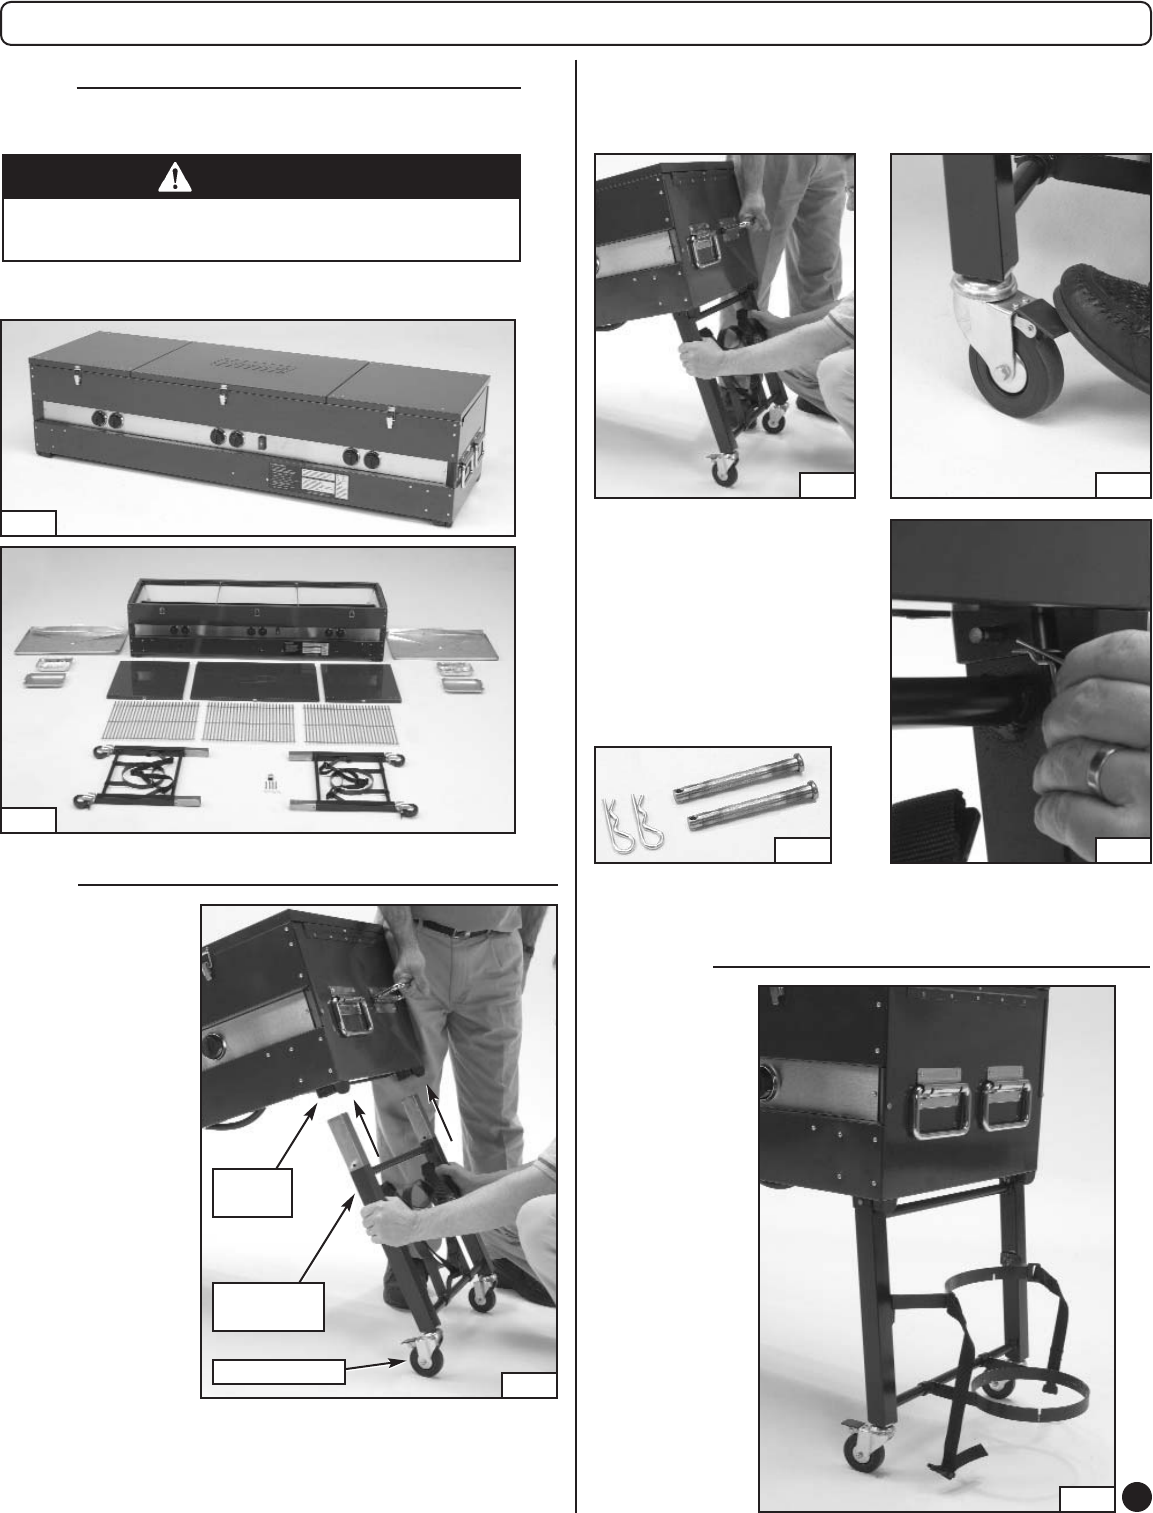
■ Remove components from carton. (Fig. 15 & 16)
■ Carefully read and follow the instructions for proper setup & use of
your Coleman
®
Event Grill.
CAUTION
Because of its size and weight, it is recommended that there are at
least two (2) people available to set up your Coleman
®
Event Grill.
To Set Up
Fig. 16
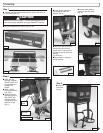
■ NOTE: One leg
assembly is marked
“RIGHT FRONT” and
one leg assembly is
marked “LEFT
FRONT”.
■ NOTE: Position
locking caster toward
front of grill.
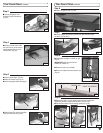
■ Carefully raise the
right end of grill and
align “RIGHT” leg
assembly with the
receiver tubes on the
bottom of the grill.
(Fig. 17)
Step 2
Locking Caster
“RIGHT” Leg
Assembly
Receiver
Tubes
Fig. 17
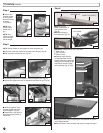
■ Lower the grill, allowing the
leg assembly to slide into
position. (Fig. 18)
Fig. 18
Fig. 21Fig. 20
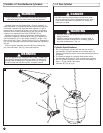
■ Lower the
tank mount.
(Fig. 22)
Step 3
■ Secure the right leg assembly
with two clevis pins and two
hairpin cotters. Use one set for
the front leg and one set for the
back leg.
(Fig. 20 and 21)
■ Repeat Step 2 to attach the
left leg assembly.
Fig. 22
Fig. 19
■ Use the locking caster to
prevent the grill from rolling.
(Fig. 19)
Fig. 15
7


