Special offers from our partners!

Find Replacement BBQ Parts for 20,308 Models. Repair your BBQ today.
11
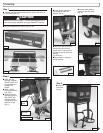
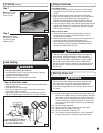
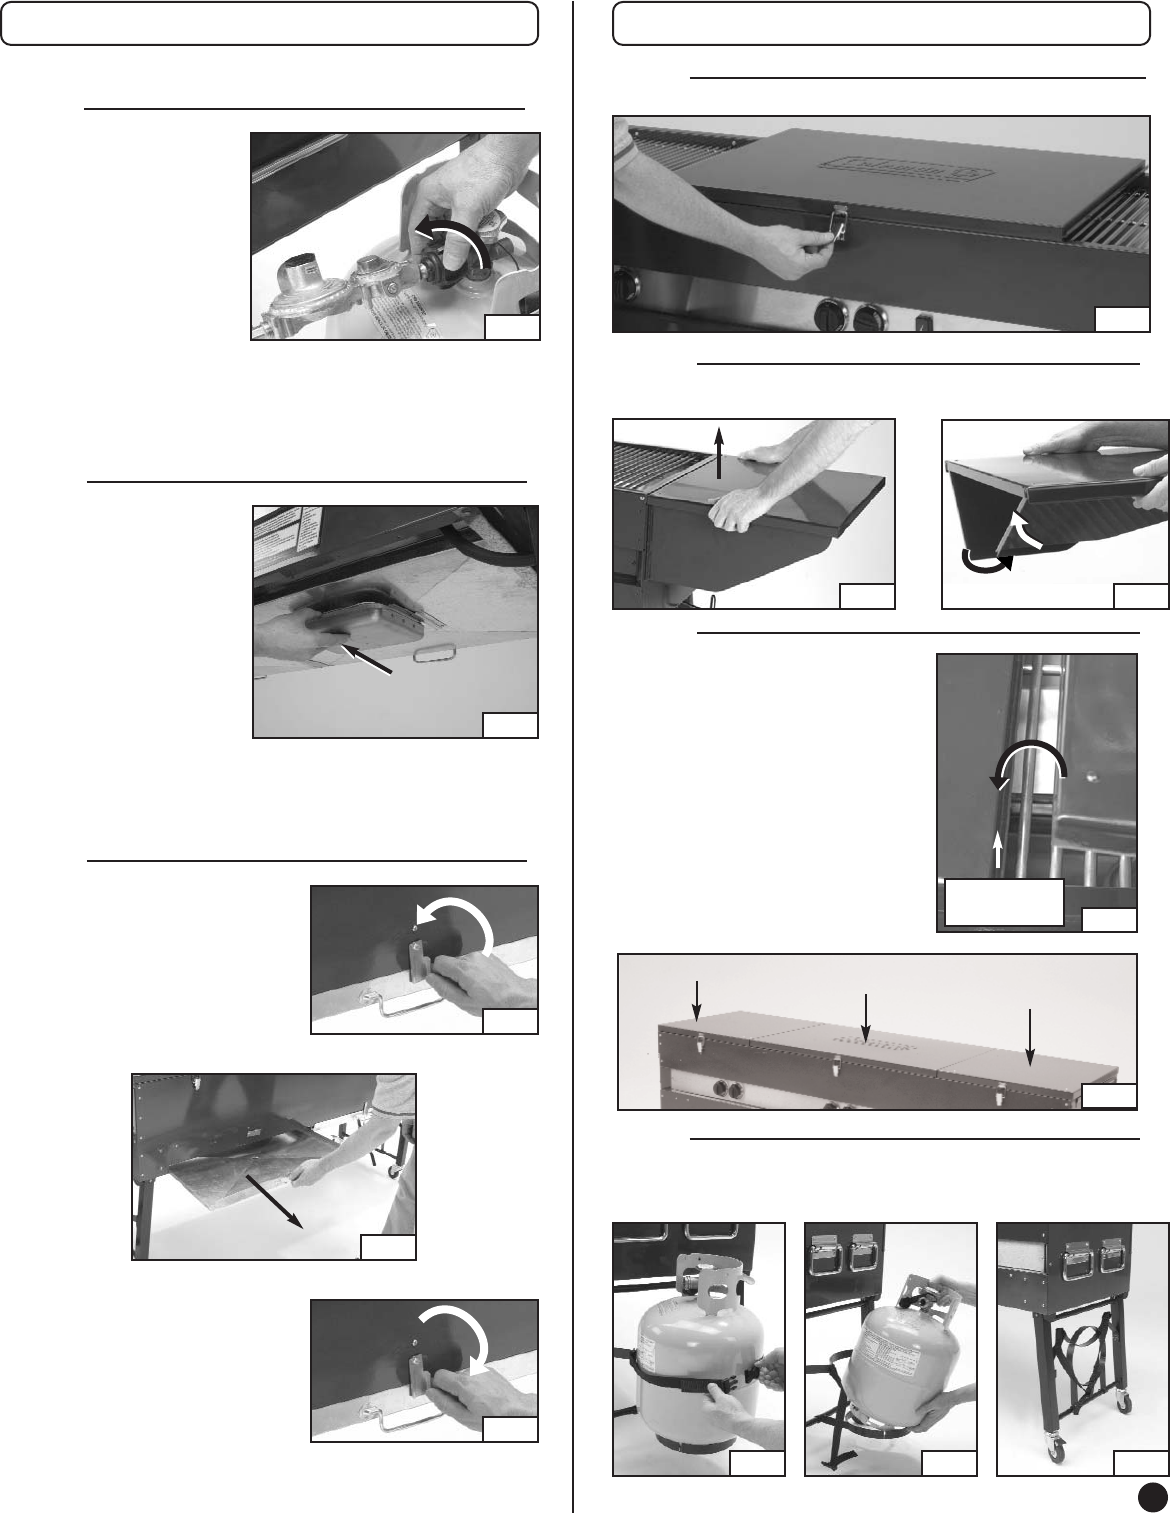
Step 3
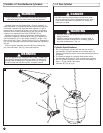
■ Remove Regulators from
Propane Cylinder Connection.
(Fig. 44)
■ Remove Grease Pans. Slide
out from front of grill to clean or
install new aluminum liners in
Grease Pans. (Fig. 45)
Step 4
■ Unlock tab as shown. (Fig. 46)
■ Slide out Grease Tray. (Fig. 47)
■ Clean thoroughly before storing grill.
Step 5
■ Slide Grease Tray back into position
under grill and lock tab. (Fig. 48)
Tear Down/Clean continued
Fig. 44
Fig. 45
Fig. 46
Fig. 47
Fig. 48
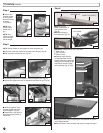
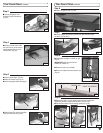
Step 7
■ Lift up on Right Side Shelf to remove from grill and fold in flaps
as shown. (Fig. 50 & 51)
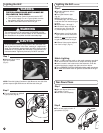
Step 9
■ Remove the 20 lb. L.P. gas cylinders from the tank mounts and
replace the protective caps on the cylinders. (Fig. 54 & 55)
■ Fold the tank mounts into the storage position. (Fig. 56)
Step 8
■ Place folded up Right Lid (Shelf) on grill.
(Fig. 52)
IMPORTANT: Make sure Lid fits into
Channel on Center Lid.
■ Repeat to store Left Lid (Shelf).
■ Be sure to replace all three lids after use.
(Fig. 53)
CENTER LID
CHANNEL
Tear Down/Clean continued
Step 6
■ Center Lid goes on first. (Fig. 49)
CENTER LID
LEFT LID (SHELF)
RIGHT LID (SHELF)
Fig. 54
Fig. 55 Fig. 56
Fig. 49
Fig. 50 Fig. 51
Fig. 52
Fig. 53


