


Special offers from our partners!

Find Replacement BBQ Parts for 20,308 Models. Repair your BBQ today.
13
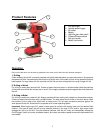
Operation
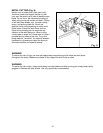
To Charge the Battery
1. Connect the charger cord to the charger base
2. Firmly insert battery pack onto charger base
3. Plug the battery charger (adapter) to power source (100-120V / 60Hz).
4. The Red LED light on the charger base will come on when the unit is plugged in and has power.
5. When the battery is full charged, the Red and Green light will be lighted on.
The proper charging time is 3-5 hrs.
Unplug charger after charging is complete and whenever it is not in use.
CAUTION: Use only the provided battery charger for charging the battery. First place the rechargeable
battery into the charging slot in the charger and then plug the charger into your 120VAC supply, such as a
wall outlet. Charging starts automatically.
Remove the battery from the charge after it’s fully charged (After about 5 hours). Always disconnect the
charger from the main power before you remove the battery from the charger.
z The charger and battery may become warm to touch while charging. This is a normal condition, and
does not indicate a problem.
z Use the charger at normal room temperatures whenever possible. To prevent overheating, do not
cover the charger and do not charge the battery in direct sunlight or near heat sources.
z If the battery does not charge properly:
1) Check current at power outlet by plugging in a lamp or other appliance.
2) If charging problems persist, have the complete drill checked by an electrician or a power tool
technician.
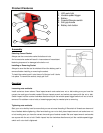
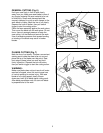
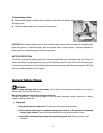
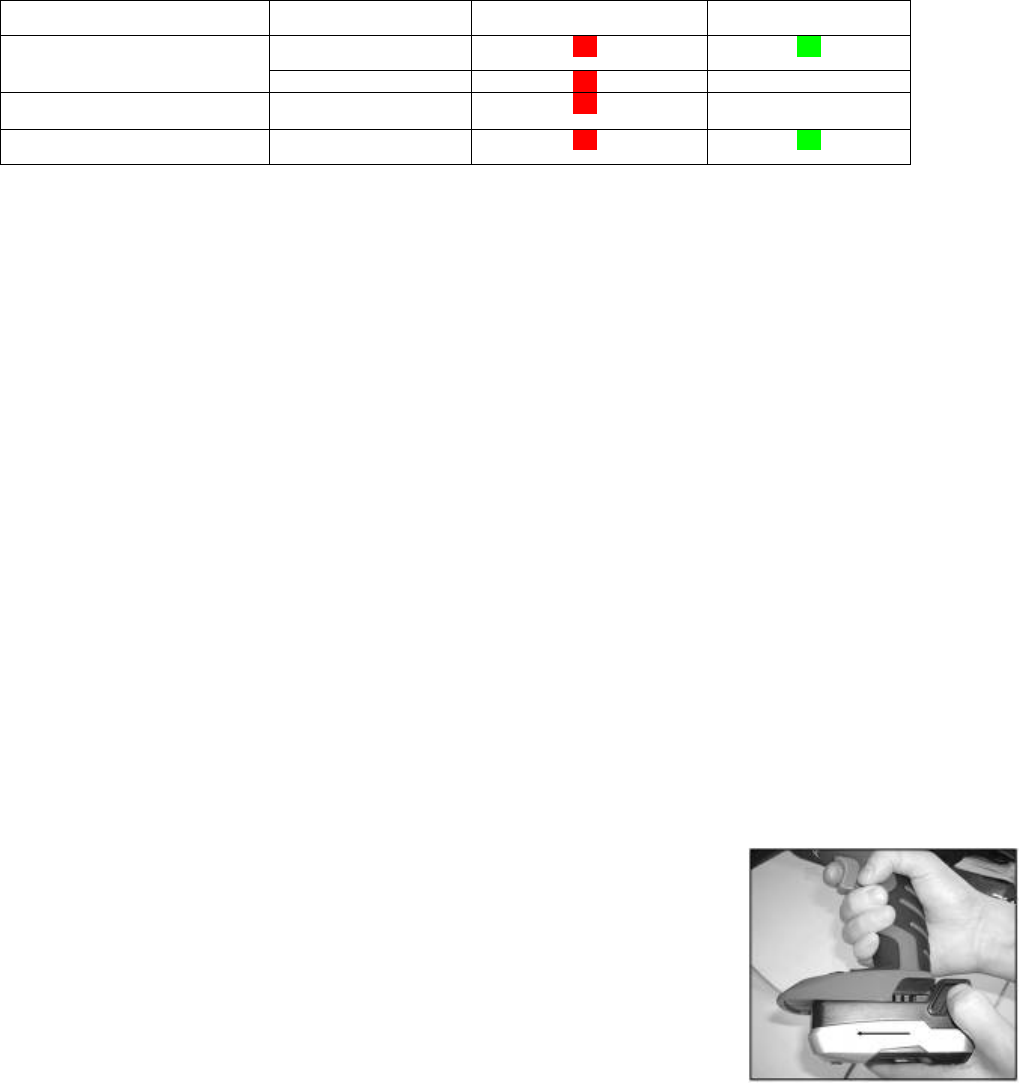
To Attach Battery Pack
z Align the raised portion on the battery pack with the grooves in the handle of the tool, and then insert
the battery pack in to the tool as shown in Fig
z Make sure that the latch on the battery pack snaps into place and the battery pack is secured to the
tool before beginning operation.
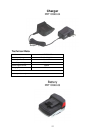
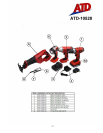
Working status Battery Red Green
Plug connected into the socket Not Insert On On
Insert On Off
Under charging Insert On Off
Fully charged Insert On On