Special offers from our partners!

Find Replacement BBQ Parts for 20,308 Models. Repair your BBQ today.
GAS BRAISING PANS - REMOVAL AND REPLACEMENT OF PARTS
F25121 (February 2003)
Page 7 of 32
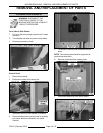
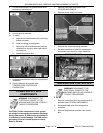
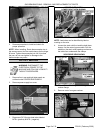
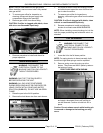
TOP VIEW SHOWN
SIDE VIEW SHOWN
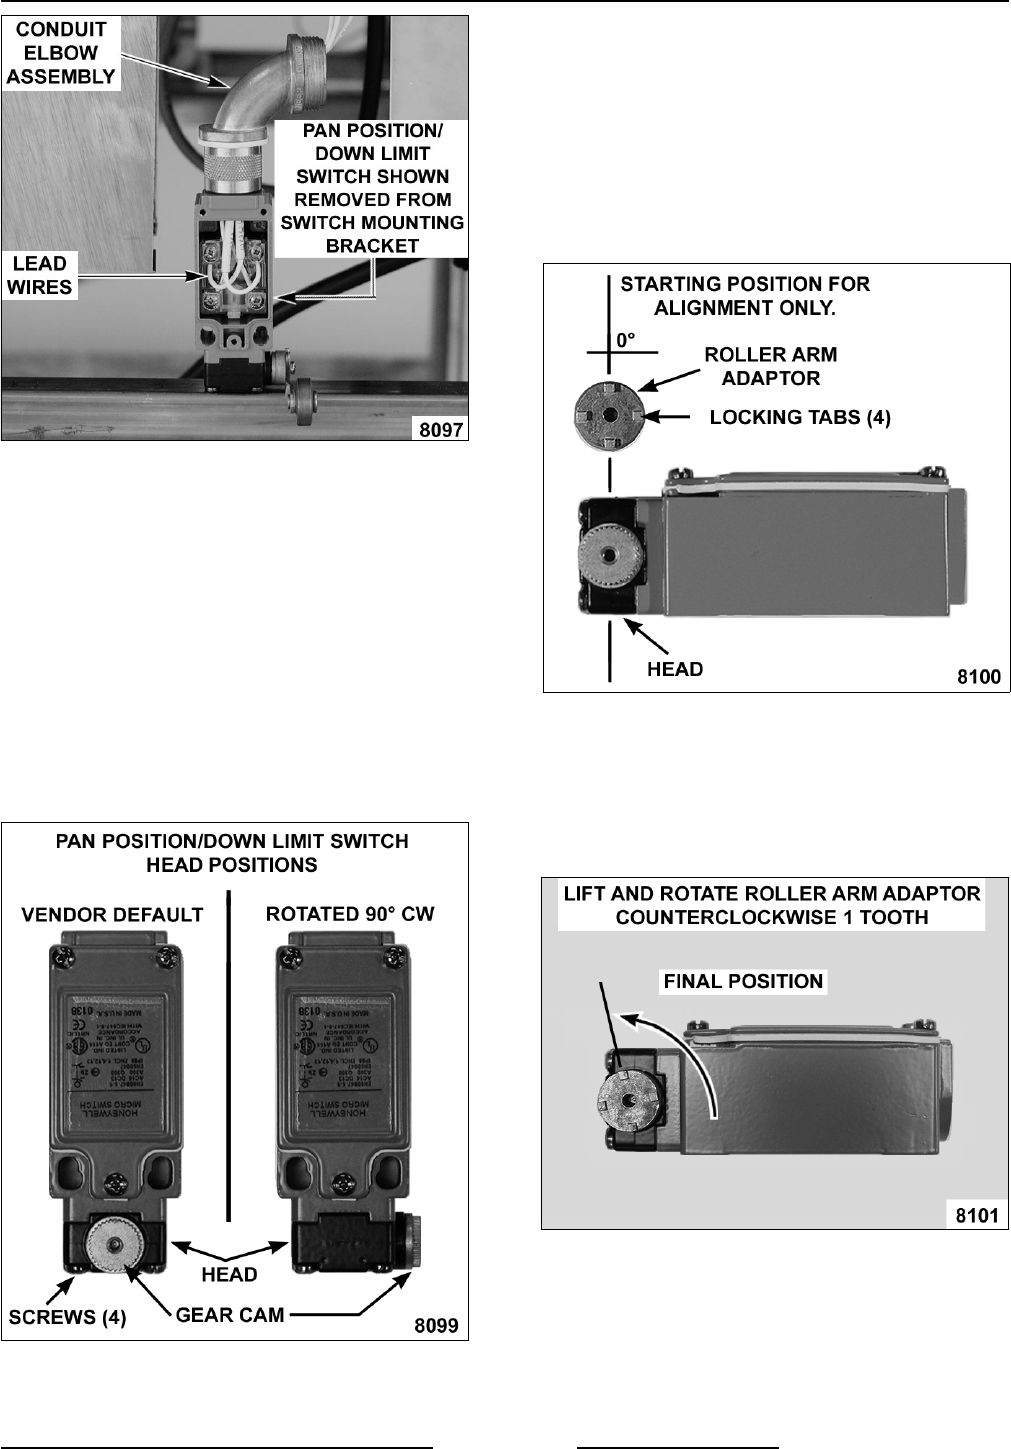
NOTE: When installing, replace the o-ring seal
(provided) inside the brass fitting and re-use conduit
elbow assembly.
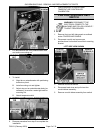
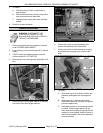
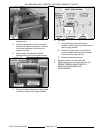
6. To install:
A. Position the switch with the head pointing
toward installer and gear cam pointing up.
NOTE: The plunger on the head is spring loaded
and will push the head away from switch body when
the last screw is removed.
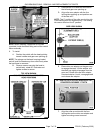
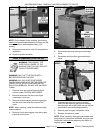
B. Remove screws securing the head to
switch body, rotate 90° clockwise and
tighten screws to secure.
C. Place switch on its side with the head to
the left and gear cam pointing up.
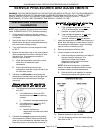
D. Align roller arm adaptor with the four
locking tabs pointing up and position one
of the tabs at 0°.
NOTE: The 0° position of the roller arm locking tab
is the starting point for alignment only. The locking
tab cannot remain at the 0° position.
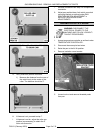
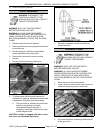
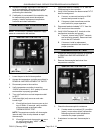
E. Place roller arm adaptor on the gear cam
to engage the teeth. Lift the adaptor until
the teeth just slightly disengage from the
gear cam. Rotate the roller arm adaptor
counterclockwise 1 tooth, re-engage teeth
and release the adaptor.
F. Align the roller arm slots with the four
locking tabs on the roller arm adaptor and
tighten mounting screw to secure.


