Special offers from our partners!

Find Replacement BBQ Parts for 20,308 Models. Repair your BBQ today.
GAS BRAISING PANS - SERVICE PROCEDURES AND ADJUSTMENTS
F25121 (February 2003) Page 22 of 32
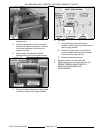
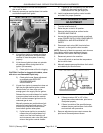
SIDE VIEW SHOWN
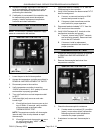
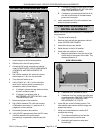
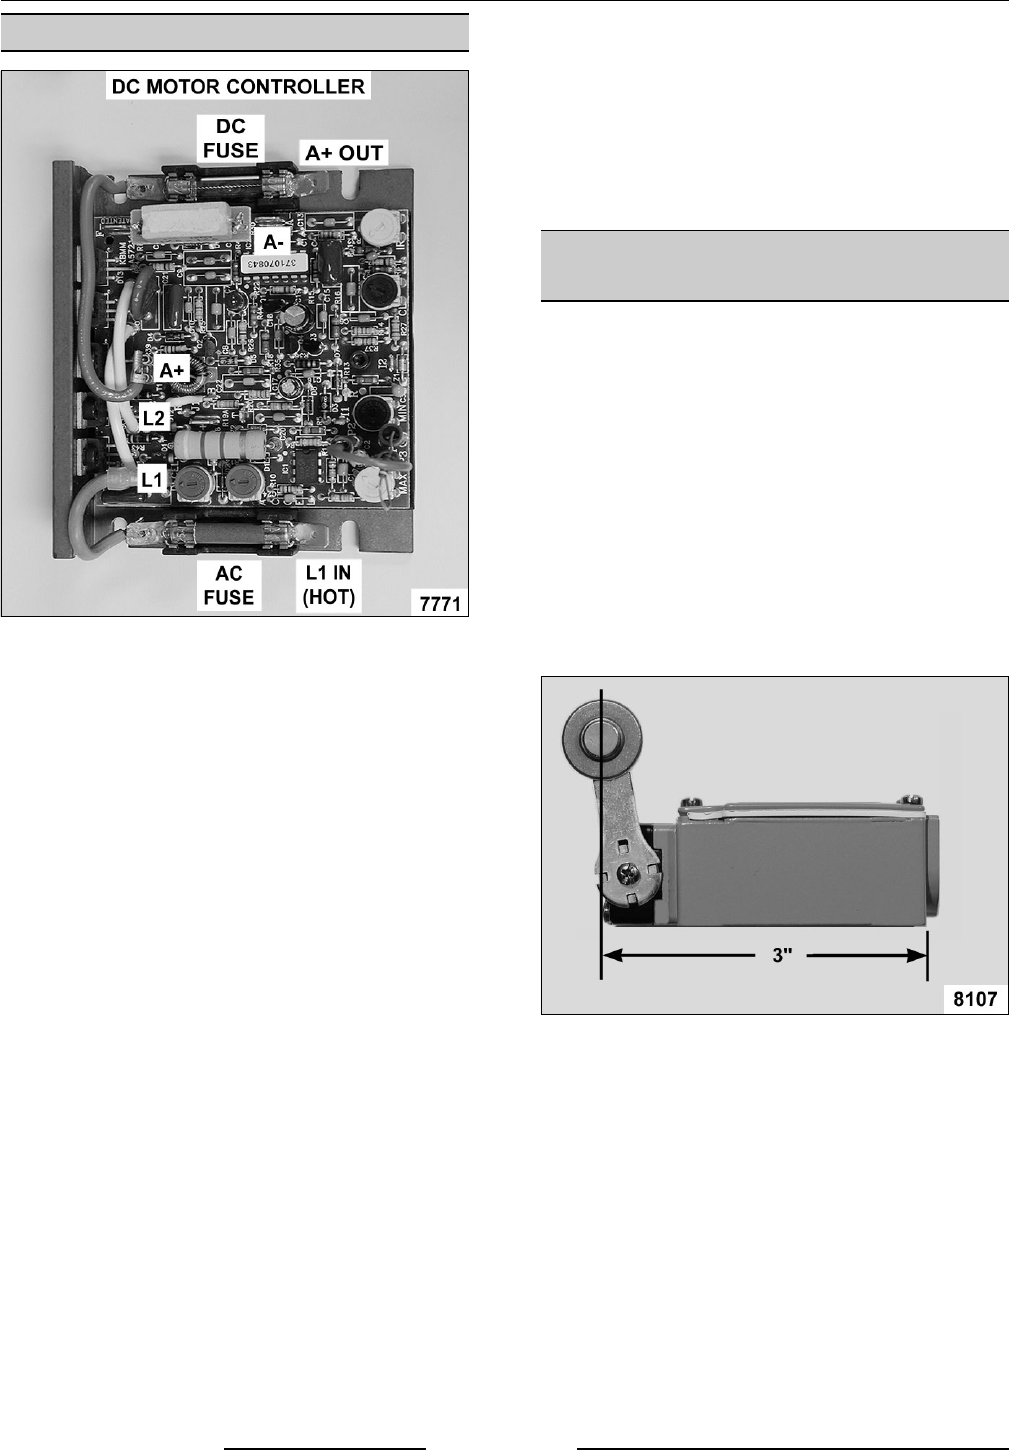
DC MOTOR CONTROLLER TEST
1. Lower the pan to the full down position.
2. Raise the lid to the full open position.
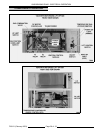
3. Access the DC motor controller as outlined
under POWER SUPPLY BOX COMPONENTS
in REMOVAL AND REPLACEMENT OF
PARTS.
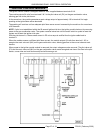
4. Set VOM to measure AC volts and connect
meter leads at L1 & L2 on the controller.
5. Turn the on/off switch to on.
6. Verify 120VAC at L1 & L2 on the controller
when the lift control switch (momentary) is
operated to raise & lower the pan.
A. If voltage is present but pan does not raise
& lower, proceed to step 7.
B. If voltage is not present refer to
MOTORIZED LIFT OPTION ONLY under
TROUBLESHOOTING.
7. Disconnect power to the machine.
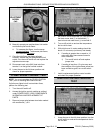
8. Set VOM to measure DC volts and connect
VOM leads to terminals A + (positive) & A -
(negative) on the controller.
9. Re-connect power to the machine.
10. Verify 90VDC (approximate) from the DC motor
controller when the lift control switch
(momentary) is operated to raise & lower the
pan.
A. If voltage is present but pan does not raise,
refer to MOTORIZED LIFT OPTION ONLY
under TROUBLESHOOTING.
B. If voltage is not present and the fuse is ok,
turn the on/off switch off and disconnect
power to the machine.
11. Instal a replacement DC motor controller and
check for proper operation.
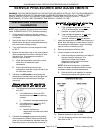
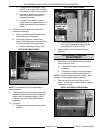
PAN POSITION/DOWN LIMIT
SWITCH ADJUSTMENT
NOTE: Do not use the motorized lift (if installed) for
this procedure.
1. Turn the on/off switch off.
2. Remove front and left side panels as outlined
under COVERS AND PANELS.
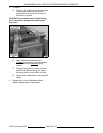
3. Insert the manual crank handle.
4. Raise the pan to the full tilt position.
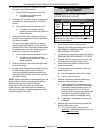
5. Verify roller arm position on switch.
A. Measure the distance from the rear of the
switch body to the center of the roller. The
distance should be 3".
B. If distance is ok, proceed to step 6.
C. If distance is not ok, position the roller arm
as outlined under PAN POSITION/DOWN
LIMIT SWITCH in REMOVAL AND
REPLACEMENT OF PARTS.
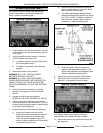
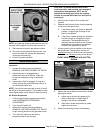
6. Lower the pan to the full down position. The
roller should make contact with the hinge and
operate the switch.
7. Verify pan position/down limit switch N.O.
contacts are closing.
A. Turn the on/off switch on and set the
temperature dial to call for heat.
B. Heat light (red) comes on and main
burners light.


