Special offers from our partners!

Find Replacement BBQ Parts for 20,308 Models. Repair your BBQ today.
GAS BRAISING PANS - REMOVAL AND REPLACEMENT OF PARTS
F25121 (February 2003)
Page 13 of 32
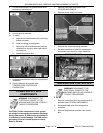
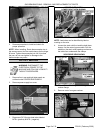
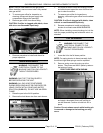
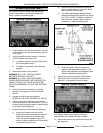
RIGHT SIDE REAR VIEW SHOWN
NOTE: Runner tube slides onto the gas orifice.
When installing, ensure runner tube is fully seated
onto gas orifice.
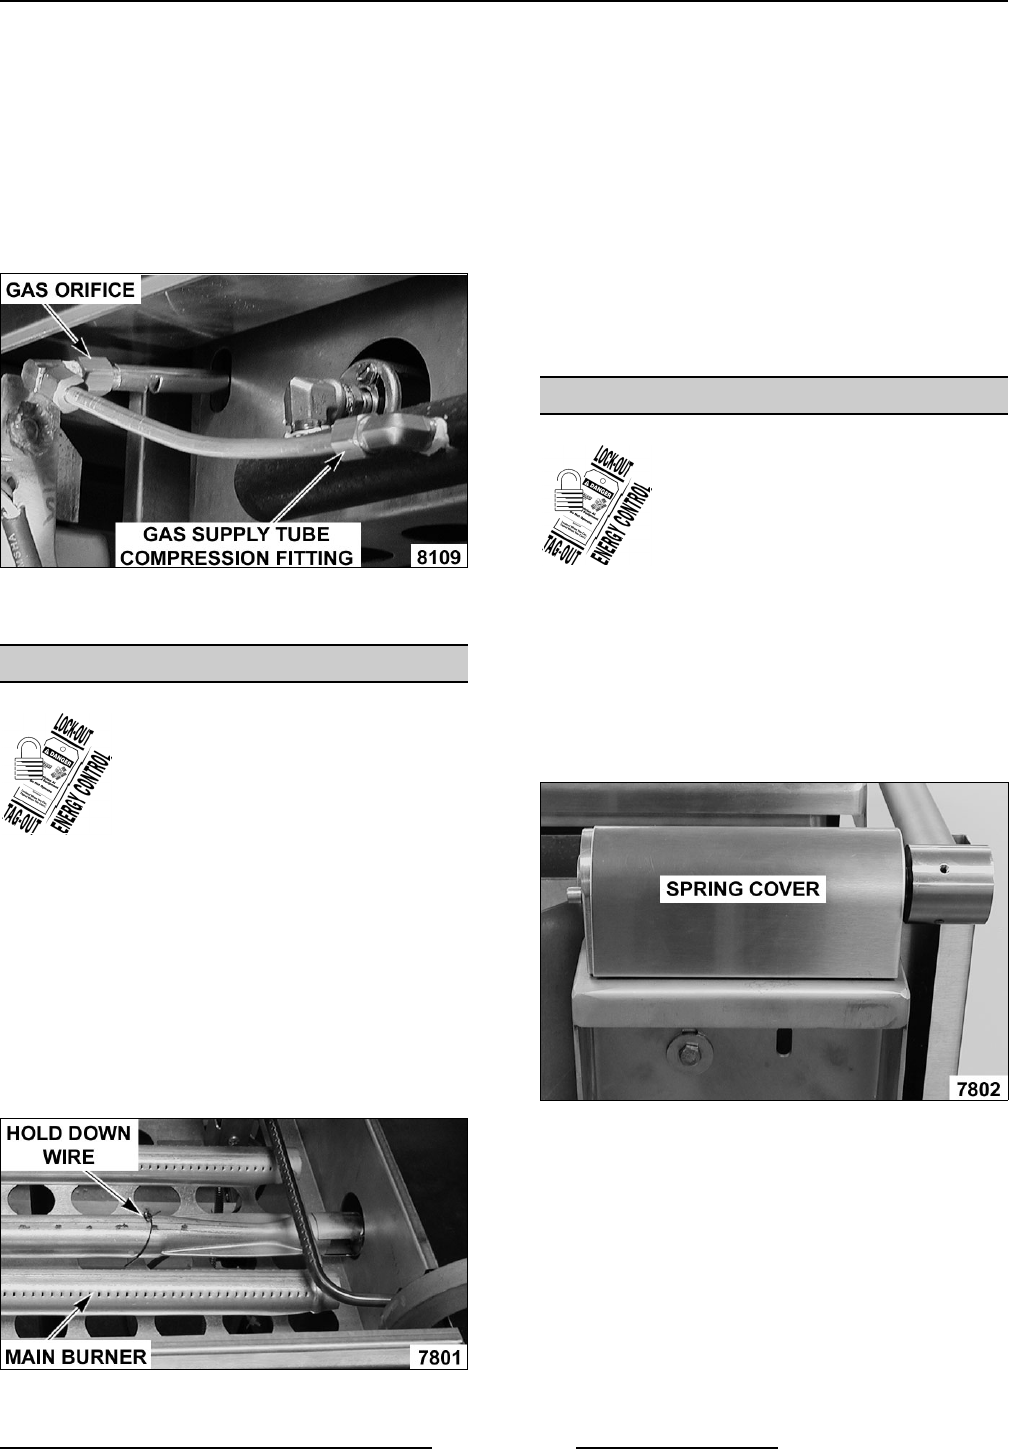
4. To remove gas orifice for inspection or
cleaning, disconnect the gas supply tube
compression fitting at the manifold.
5. Remove gas orifice from elbow fitting.
CAUTION: If orifice is clogged with debris, clean
with air or non-flammable liquid only.
6. Reverse procedure to install and check for
proper operation.
MAIN BURNERS
WARNING: DISCONNECT THE
ELECTRICAL POWER TO THE
MACHINE AND FOLLOW LOCKOUT /
TAGOUT PROCEDURES.
WARNING: SHUT OFF THE GAS SUPPLY
BEFORE SERVICING THE UNIT.
WARNING: ALL GAS JOINTS DISTURBED
DURING SERVICING MUST BE CHECKED FOR
LEAKS. CHECK WITH A SOAP AND WATER
SOLUTION (BUBBLES). DO NOT USE AN OPEN
FLAME.
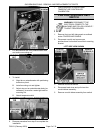
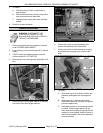
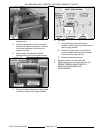
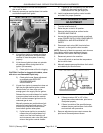
1. Raise the pan to the full tilt position.
2. Remove the hold down wire from main burner.
3. Lift burner at rear to clear the locating pin hole
and slide burner toward the rear of burner box
pan to clear the orifice.
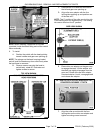
4. To remove gas orifice for inspection or
cleaning, remove the gas orifice from the elbow
fitting.
CAUTION: If orifice is clogged with debris, clean
with air or non-flammable liquid only.
5. Reverse procedure to install and adjust air
shutter as outlined under MAIN BURNERS.
NOTE: When installing, ensure locating pin is in the
hole for proper
positioning and hold down wire is re-
attached.
LID SPRINGS
WARNING: DISCONNECT THE
ELECTRICAL POWER TO THE
MACHINE AND FOLLOW LOCKOUT /
TAGOUT PROCEDURES.
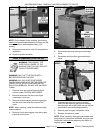
1. Lower the lid to the full down position.
NOTE: For spring tension to be set correctly, both
the left and right side springs must be replaced.
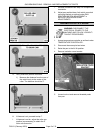
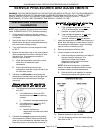
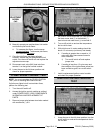
2. Remove spring covers by prying up at the
bottom. The covers are held in place by tabs on
the bottom of cover.
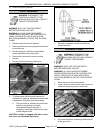
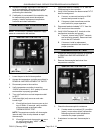
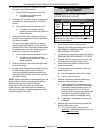
3. Place a 1 5/8" wrench on the lid spring lock nut
and apply a downward force until locking pin
can be removed. Continue to hold lock nut in
place.
Caution: Do not release wrench while locking pin
is removed or damage to the braising pan may
occur.


