Special offers from our partners!

Find Replacement BBQ Parts for 20,308 Models. Repair your BBQ today.
GAS BRAISING PANS - SERVICE PROCEDURES AND ADJUSTMENTS
F25121 (February 2003) Page 20 of 32
2. Ignition control module is energized and trial
for ignition starts (90 seconds).
A. Verify 24VAC between terminals 5 & 6.
1) If voltage is not present, see
schematic diagram.
3. Pilot valve (PV) contacts close to energize the
pilot valve coil, allowing gas flow to the pilot
burner.
A. Verify 24VAC between terminals 2 & 3.
1) If voltage is not present, replace
ignition control module and check for
proper operation.
4. At the same time, spark voltage is sent from
terminal 9 to the ignitor/flame sense electrode
and sparking begins.
The pilot burner lights, pilot flame is sensed,
spark voltage from terminal 9 is removed and
sparking stops. Main valve (MV) contacts close
to energize main valve coil, allowing gas flow
to the runner tube and main burners.
A. Verify 24VAC between terminals 1 and 2.
1) If voltage is not present, replace
ignition control module and check for
proper operation.
5. With pilot burner lit, the runner tube lights and
main burners light.
6. As long as the temperature controller is calling
for heat and the ignition control module is
sensing a sufficient flame sense current, the
pilot valve (PV) and main valve (MV) contacts
will remain closed.
NOTE: If pilot burner does not immediately light, the
ignition control module continues sparking for 90
seconds, then locks out power to the gas
combination valve (pilot valve and main valve
remain closed). The module remains locked out
until the on/off switch is cycled to reset the system
re-start the ignition trial cycle.
GAS MANIFOLD PRESSURE
ADJUSTMENT
WARNING: SHUT OFF THE GAS SUPPLY
BEFORE SERVICING THE UNIT.
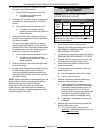
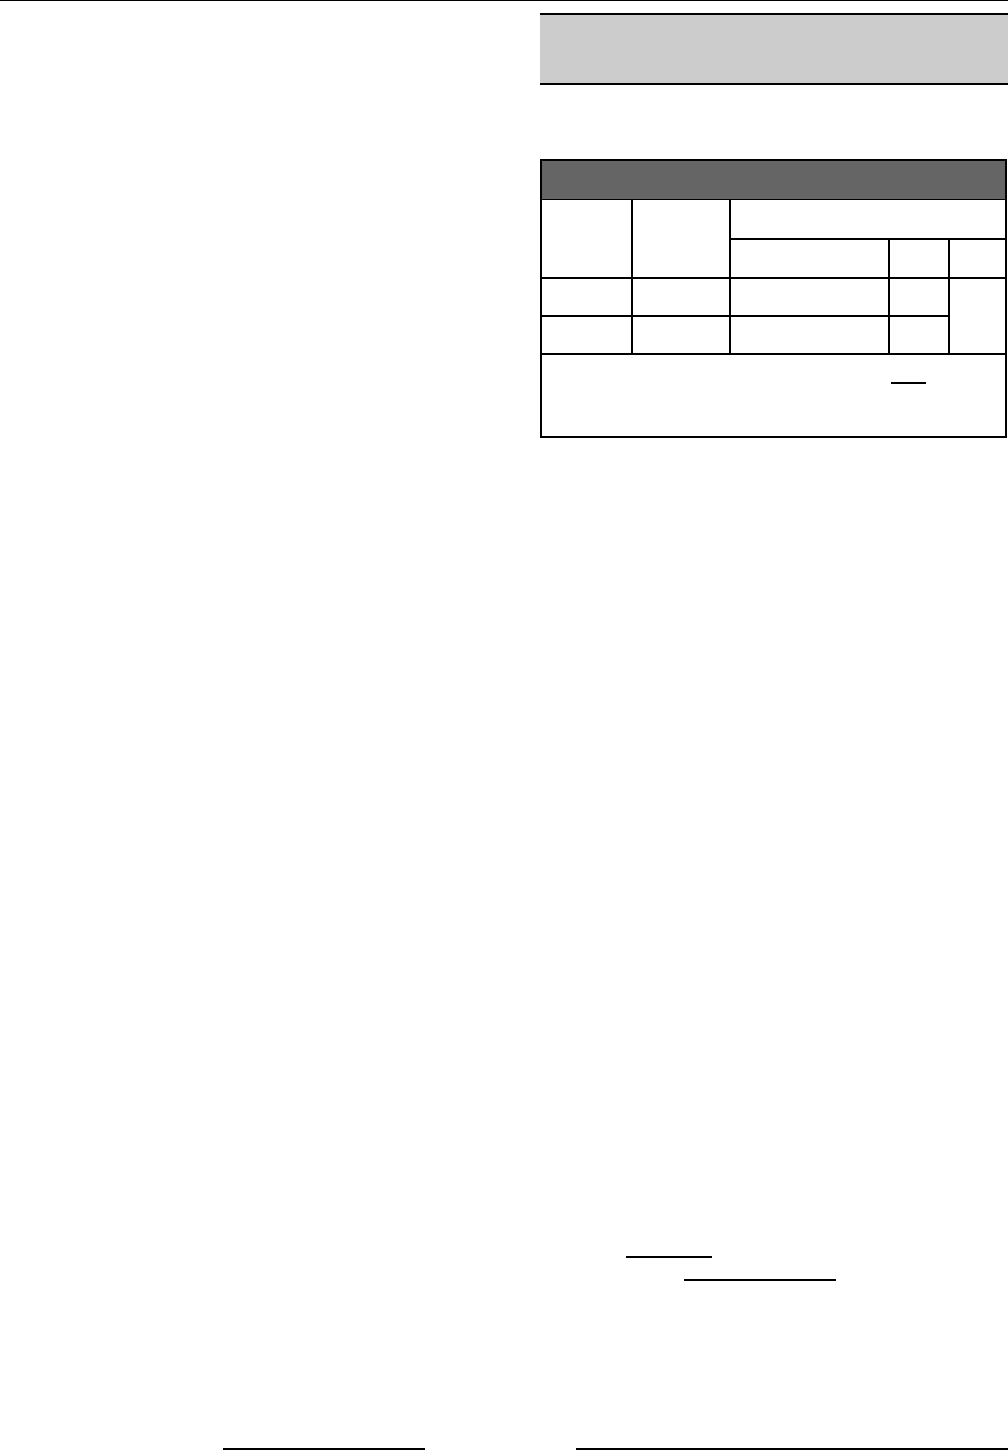
GAS PRESSURE (INCHES W.C.)
Gas
Type
Manifold
Line
Recommended Min Max
Natural 3.7 7.0 5.0
14.0
Propane 10.0 11.0 11.0
NOTE: If the incoming line pressure is less
than
the minimum stated, then the manifold pressure
cannot be set correctly.
1. Lower the pan to the full down position.
2. Remove front panel as outlined under COVERS
AND PANELS in REMOVAL AND
REPLACEMENT OF PARTS.
3. Access the gas combination valve as outlined in
REMOVAL AND REPLACEMENT OF PARTS.
4. Remove 1/8" NPT pipe plug on the outlet side
of the gas valve (manifold pressure tap).
5. Install a hose barb adaptor at the port and
attach a manometer.
6. Turn gas supply, gas combination valve and
on/off switch to on.
A. Set the temperature dial to call for heat.
B. Verify main burners light.
7. Observe manometer pressure reading and
compare to the gas pressure table.
A. If other appliances are connected to the
same gas line, turn them all on and check
manometer pressure reading again. If a
pressure drop of 1/2" W.C. or more is
observed, then the gas supply needs to be
checked by the gas line installer or the
local gas company for adequate sizing.
B. If adjustment is necessary, continue with
procedure.
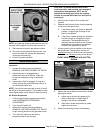
8. Remove adjustment screw cap to access the
pressure adjustment screw.
A. To increase pressure, turn the screw
clockwise
. To decrease pressure, turn the
screw counterclockwise
.


