Special offers from our partners!

Find Replacement BBQ Parts for 20,308 Models. Repair your BBQ today.
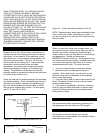
6. Attach twin lid side "Stay Cool" handles using
5/16" X 3/4" bolt and star washer, tighten securely.
7. Slide grease tray into slot at top rear of pedestal.
Tray must be tilted up before inserting in.
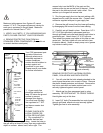
8. If you purchased a LC base kit you will need to
attach the tank strap to the back of the cart. Attach as
follows: Screw one of the #8 X 1/2" S.S. screws into
the left hand nut that is pre-attached at the midpoint of
the back of the pedestal so that it remains 1/4" out.
Push the other #8 X 1/2" S.S. screw through tank
strap. Screw this assembly into the pre-attached nut
at the right hand side of the midpoint of pedestal.
Tighten so that tank strap can still be raised up.
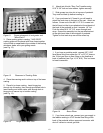
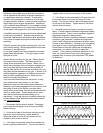
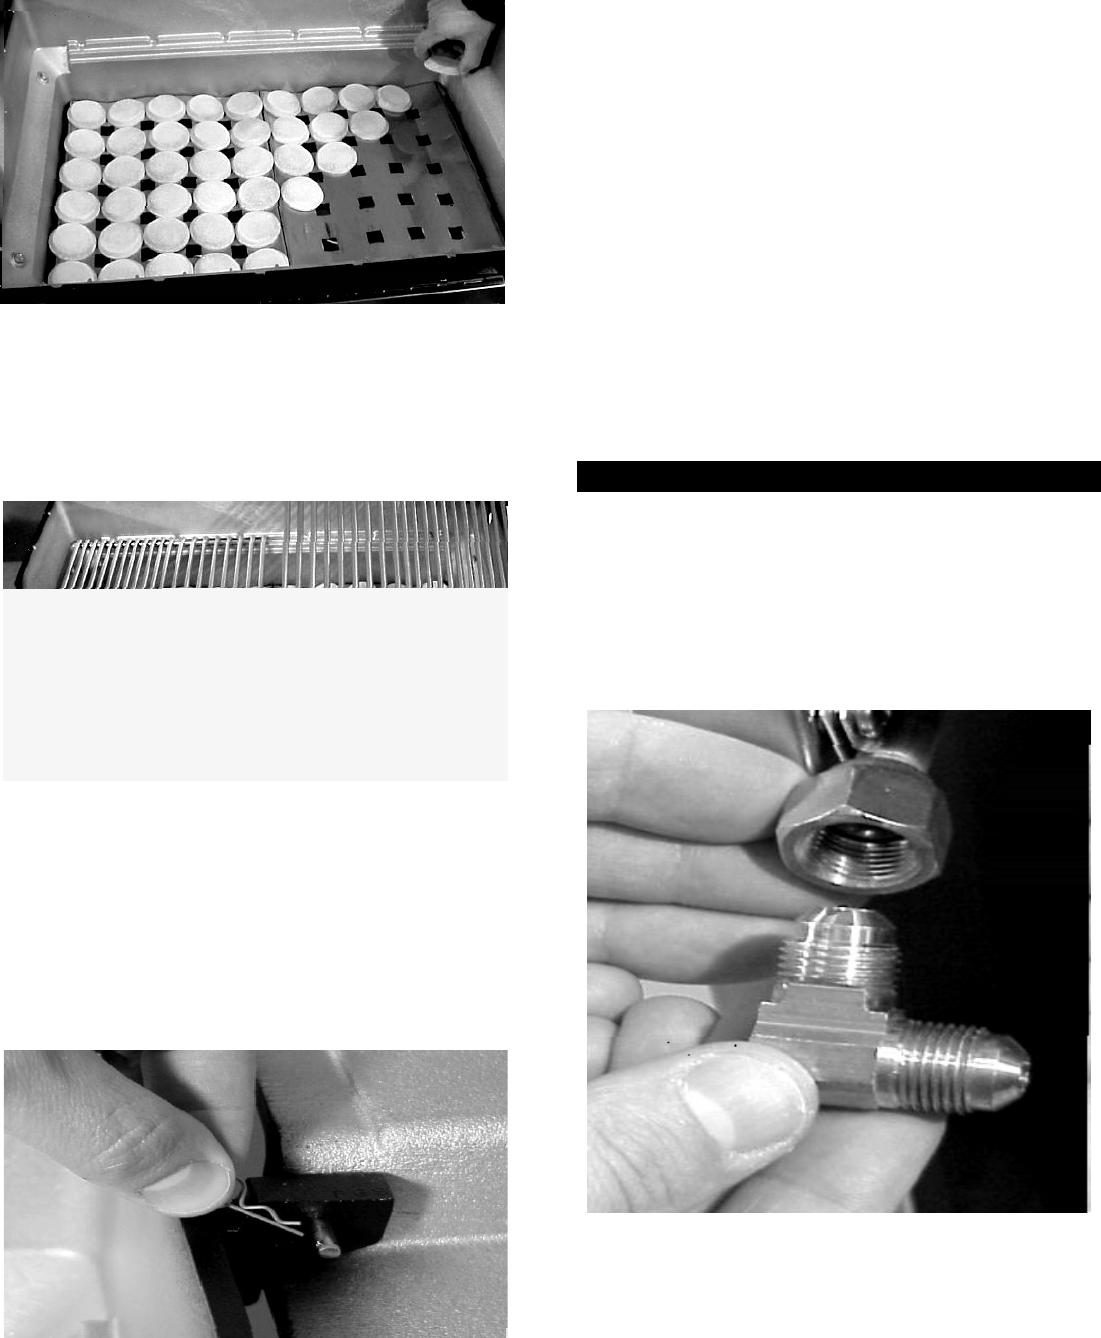
Figure 11 Proper placement of rock grates and
"Moon Rok II"
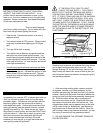
3. Place cooking grids in casting, "VARI GRID"
cooking grids can be placed with close tines together
in the middle or separated to the outside of the casting
whichever better suits your grilling needs
BE SURE TO START THESE SCREWS SLOWLY
AND CAREFULLY TO ENSURE YOU DO NOT
CROSS THREAD THE NUT OR SCREW.
(see Fig. 12).
CONNECTING GAS SUPPLY
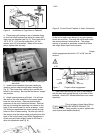
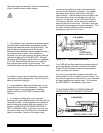
1. If you have a portable model, connect 3/8" X 3/8"
flare elbow fitting from either the 16" or 20" LP hose or
the 12 foot gas hose to flare fitting on the feedline at
back of pedestal (see Figs.14,15, &16). This is a brass
to brass connection. DO NOT USE ANY PIPE
SEALER. DO NOT CROSS THREAD. TIGHTEN
SECURELY.
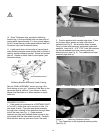
Figure 12 Placement of Cooking Grids
4. Place the warming rack in slots on top of the lower
casting.
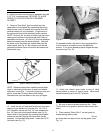
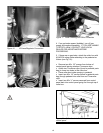
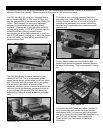
5. Place lid on lower casting. Insert hinge pins
through top lid casting, then through pre-drilled hole in
lower casting and attach cotter pins through hole in
hinge pins to secure top to bottom casting
(see Fig. 13).
Figure 14 Brass Elbow
2. If you have natural gas, connect your gas supply to
the feedline ending in a 3/8" female flare fitting at the
back of the pedestal with an approved connector with
shut off valve at a natural gas stub.
Figure 13 Hinge Pins/Cotter Pins
18


