Special offers from our partners!

Find Replacement BBQ Parts for 20,308 Models. Repair your BBQ today.
9. TEST ALL FITTINGS FOR LEAKS. BEFORE
ATTEMPTING TO LIGHT GRILL, BE
CERTAIN BOTH CONTROL PANEL
VALVES ARE IN THE OFF POSITION.
TURN GAS SUPPLY ON AT THE SOURCE
AND CHECK ALL CONNECTIONS WITH A
SOLUTION OF 50% LIQUID SOAP, 50% WATER.
SOLUTION CAN BE SPRAYED ON WITH A SPRAY
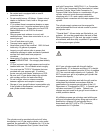
BOTTLE OR PAINTED ON ALL CONNECTIONS
WITH A BRUSH. IF BUBBLES APPEAR, TURN OFF
GAS, TIGHTEN FITTINGS AND TRY AGAIN.
NEVER CHECK FOR LEAKS WITH A MATCH OR
FLAME.
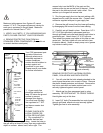
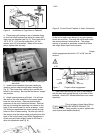
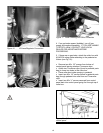
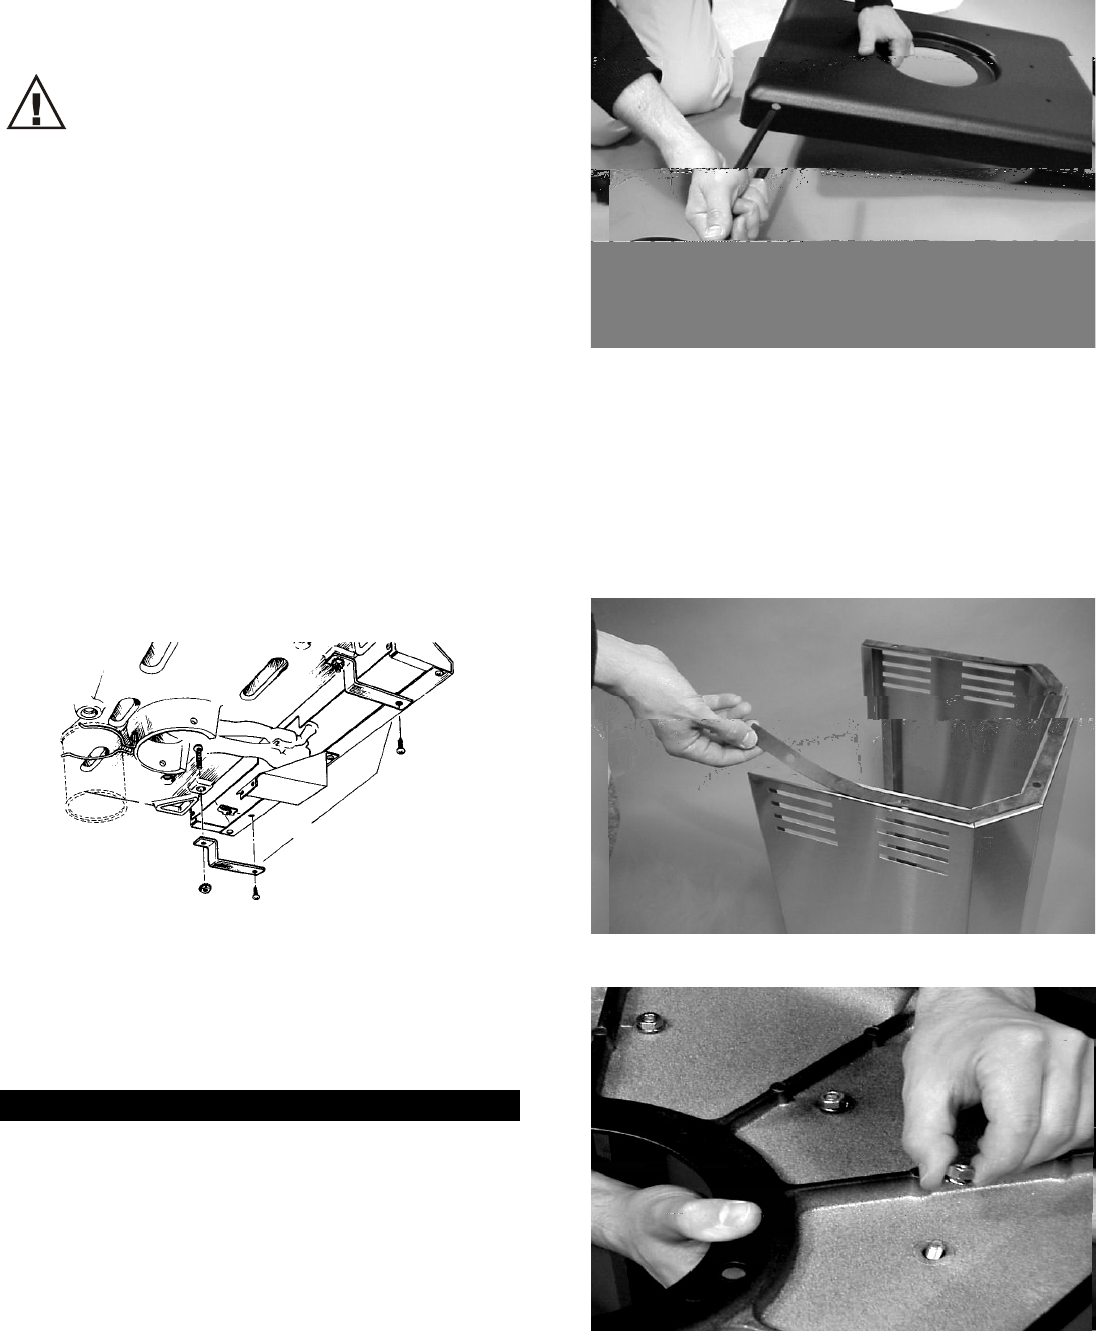
Figure 1 Wheel Assembly
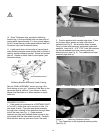
10. Place Tinnerman clips, provided in stiffening
bracket bag, in both pre-drilled holes on lower side of
control panel (approximately 2" in from outside edges).
Put #10 screw through control panel stiffener then into
Tinnerman clips (see illustration below).
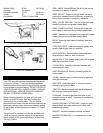
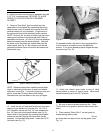
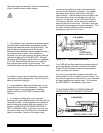
2. Position pedestal with notched edge down. Place
the 2-piece rubber gasket and align with holes in
pedestal (see Fig. 2). Set aluminum base, inverted,
lining up holes with previously positioned gasket and
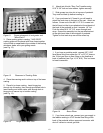
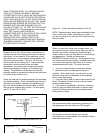
pedestal. Insert the 6 - 5/16" X 3/4" bolts with washers
up through pedestal into base securing with lock
washer and nut (see Fig. 3). Turn pedestal and base
assembly right side up.
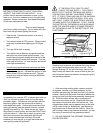
11. Lightly push down on front edge of control panel,
while pushing machine screw through hole in bottom of
casting, through stiffening bracket. Attach lock washer
and nut. Repeat on other side of control panel (see
illustration below).
STIFFENING BRACKETS
Stiffening Bracket Attached to Lower Casting
Figure 2 Rubber Gaskets on Bottom of Pedestal
See the FINISH ASSEMBLY section on page 18 to
finish setting up your grill. Attaching Collar Box on the
permanent post is optional, if you choose to attach,
please note that there is no lower member to attach
collar box.
PATIO BASE/CART TO GRILL HEAD ASSEMBLY
IF YOU PURCHASED A NATURAL FLAT BASE
PROCEED TO STEP 2.
1. If the model you purchased is a PORTABLE CART
(LP or NAT), attach axle cap to one end of axle. Put
one wheel on axle. Push axle and wheel assembly
through hole in sidewall of the base then through other
side of the base (see Fig. 1). Stand pedestal
assembly on edge with installed wheel square on the
ground and slide the other wheel over axle. Carefully
drive the other axle cap onto end of axle. Set aside.
Figure 3 Attaching Pedestal to Base
3. Clip Cage Nuts to top of pedestal matching holes
(See Fig. 4).
15


