Special offers from our partners!

Find Replacement BBQ Parts for 20,308 Models. Repair your BBQ today.
6
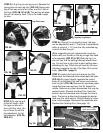
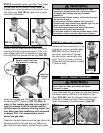
FIG. 2B
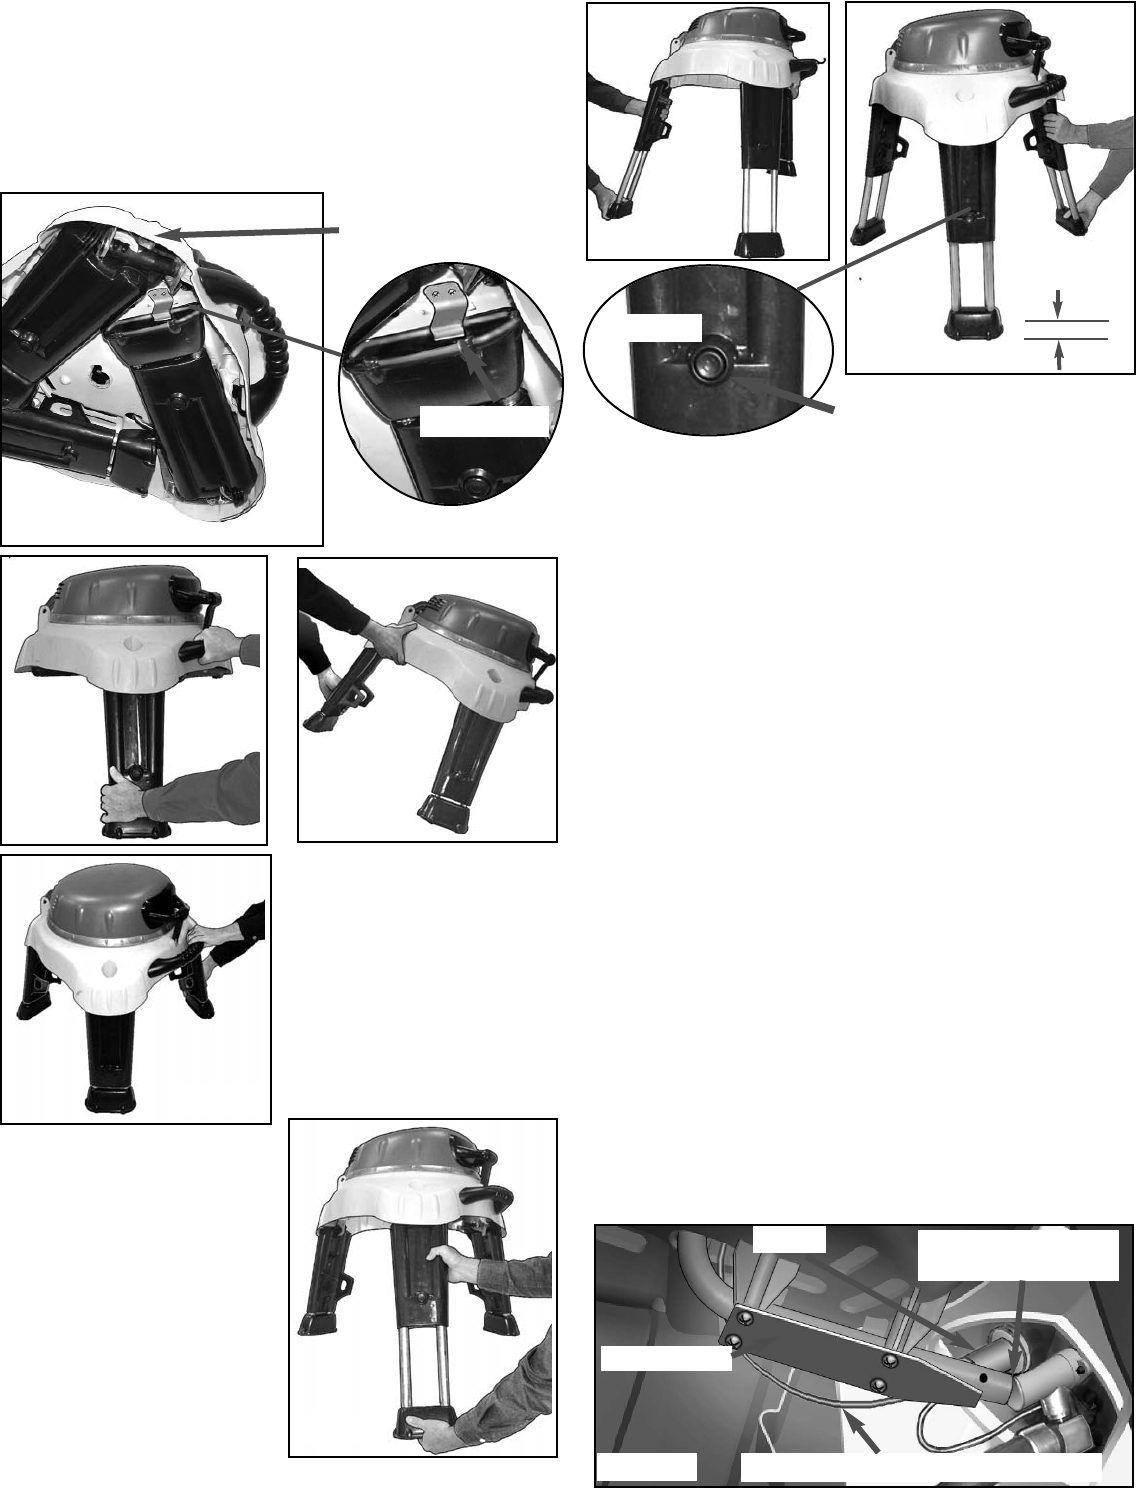
STEP 2) Lift grill up at one leg mount. Release the
spring lever at each leg foot. (FIG. 2A) Swing each
leg all the way out one at a time, and let it rest on
the floor. (FIG. 2B, 2C & 2D) The last leg will allow
the grill to stand by itself. This is the lower height
for use.
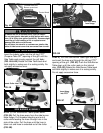
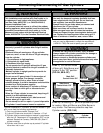
STEP 3) To use the grill
at the full height, slide
the legs out one at a
time until they stop. You
do not have to use the
leg adjustment for full
leg extension. (FIG. 3A,
3B & 3C)
Depress Leg Button
Fig. 3A
FIG. 3C
FIG. 3B
STEP 4) If the grill is not standing level, the legs
can be adjusted to level it. There are 3 adjustments
within a range of 1 1/4” from the fully extended leg
in which to level the grill.
While supporting the grill, depress the round leg
button with your thumb on the leg or legs that need
to be adjusted. (FIG. 3C & 3D) Slide the leg in or
out until you find the setting that best allows level-
ing. You will hear a light click at each setting when
extending the leg. Check the grill level by the level
indicator located to the left of the Main Grill control
knob. (See FIG. 1 page 5)
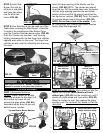
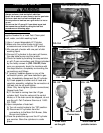
STEP 5) Unlatch the hood and remove the Grid.
Disconnect the Electrode wire underneath the bowl.
(FIG. 4A) At a point directly opposite the control
knob, lift up the Bowl Pan and burner and remove
from the grill. (FIG. 4B) Remove the styrofoam pads
inside the bowl area and any that fall toward the
middle. Remove any other accessories that may be
packed inside. Reinstall the Bowl Pan. Insert the
burner tube and electrode wire through the hole in
body. The burner guide should engage the burner
tube over the valve nozzle. Check visually to make
sure it does engage. Reconnect the electrode wire.
Replace the Cooking Grid. (See page 16)
FIG. 3D
FIG. 2D
FIG. 2C
Spring Lever
FIG. 2A
1 1’4”
Leg Pinch area
Disconnect Electrode Wire from Ignitor
FIG. 4A
Ignitor
Burner guide
Burner tube engaged
over valve nozzle


