Special offers from our partners!

Find Replacement BBQ Parts for 20,308 Models. Repair your BBQ today.
12 Operator’s Manual
Preparation
LEAK TESTING
All factory-made connections have been thoroughly tested for gas leaks.
However, shipping and handling may have loosened a gas tting.
CAUTION: TEST ALL FITTINGS FOR LEAKS BEFORE USING
YOUR GAS GRILL.
TEST THE CYLINDER VALVE FOR LEAKS EACH TIME
THE CYLINDER IS FILLED.
TEST FOR LEAKS EVERY TIME YOU CONNECT A GAS
FITTING.
DO NOT SMOKE!
NEVER TEST FOR LEAKS WITH A LIGHTED MATCH
OR OPEN FLAME.
TEST FOR LEAKS OUTDOORS.
To test for leaks:
1. Extinguish any open ame or cigarettes in the area.
2. Be sure that cylinder valve and appliance valves are “off’.
3. Connect LP gas cylinder. See “Hose and Regulator”.
4. Prepare a soap solution of one part water, one part liquid
detergent.
5. With a full gas cylinder, open cylinder slowly.
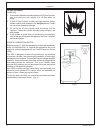
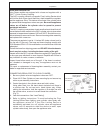
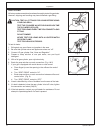
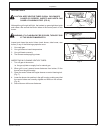
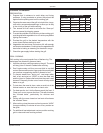
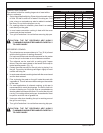
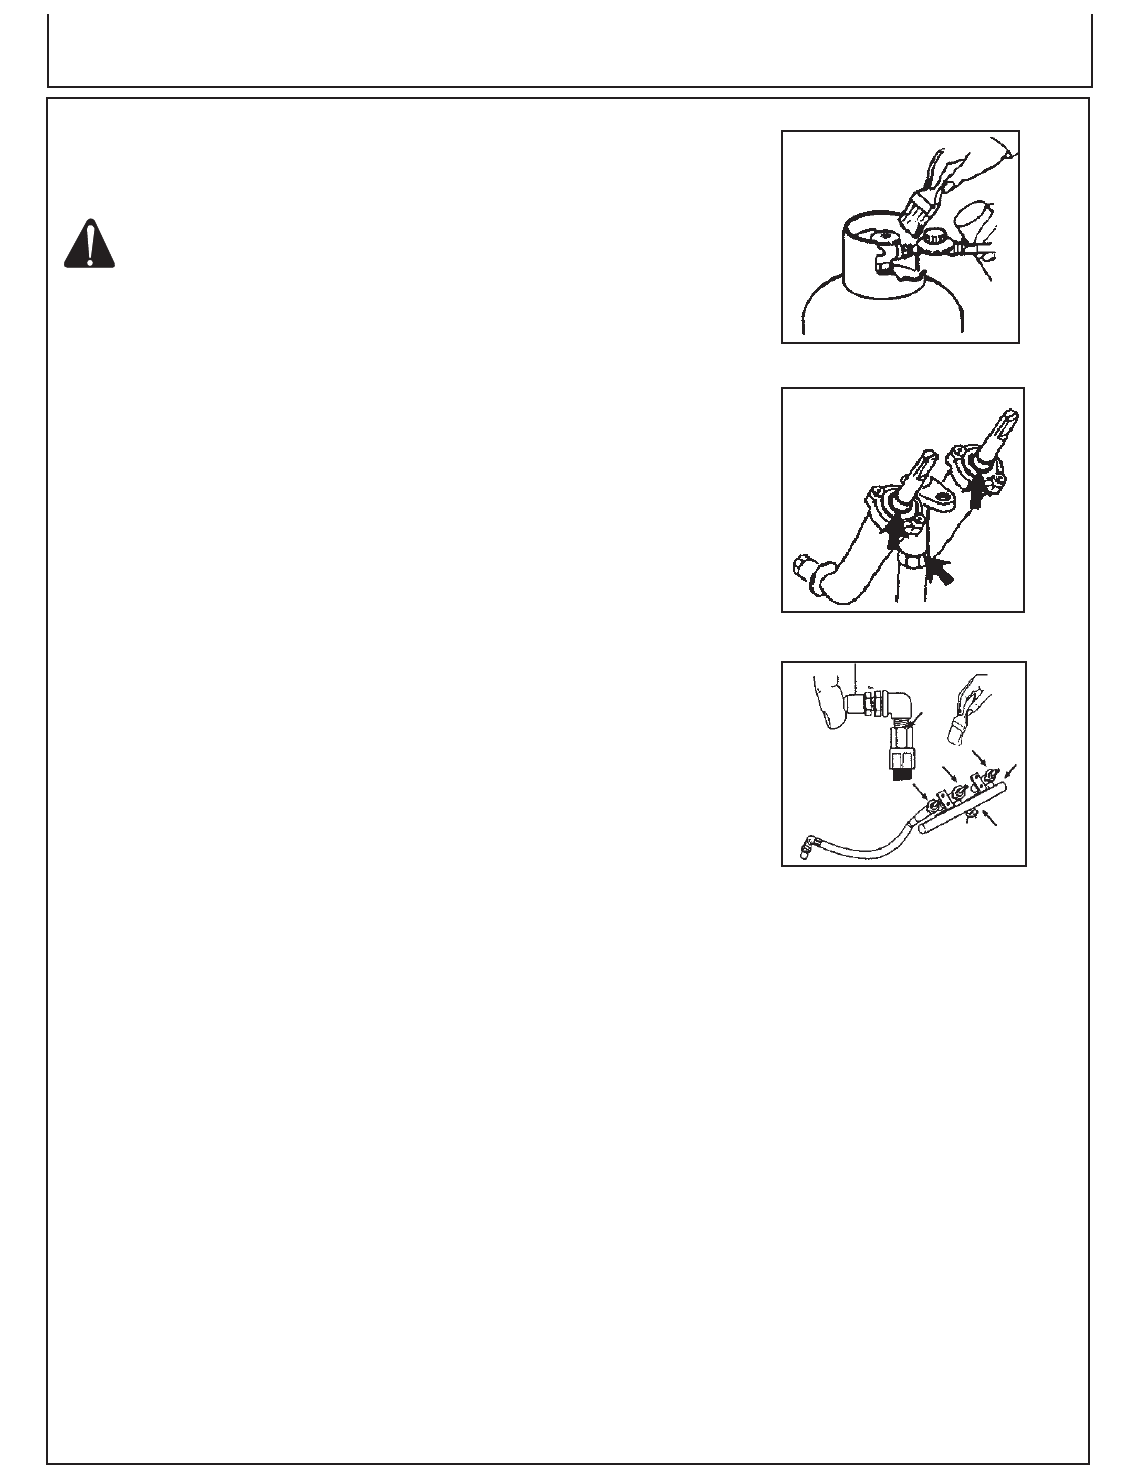
6. Brush the soap solution on each connection. (Fig. 4 & 5)
7. If your grill is equipped with a side burner or rear burner:
a. Place nger tip over the opening in the orice at the end of
hose.
b. Turn “SIDE”/“REAR” control to “HI”.
c. Brush soap solution on each connection between orice and
control valve. (Fig. 6)
d. Turn “SIDE”/“REAR” control to “OFF”.
8. A leak is identied by a ow of bubbles from the area of the leak.
9. If a leak is detected, close the gas cylinder “shut-off’ valve, tighten
the connection and retest (Step 5).
10. If the leak persists, contact your grill dealer for assistance. Do not
attempt to operate appliance if a leak is present.
Fig. 4
Fig. 5
Fig. 6


