


Special offers from our partners!

Find Replacement BBQ Parts for 20,308 Models. Repair your BBQ today.
14
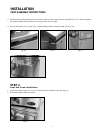
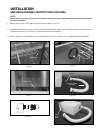
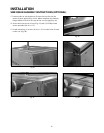
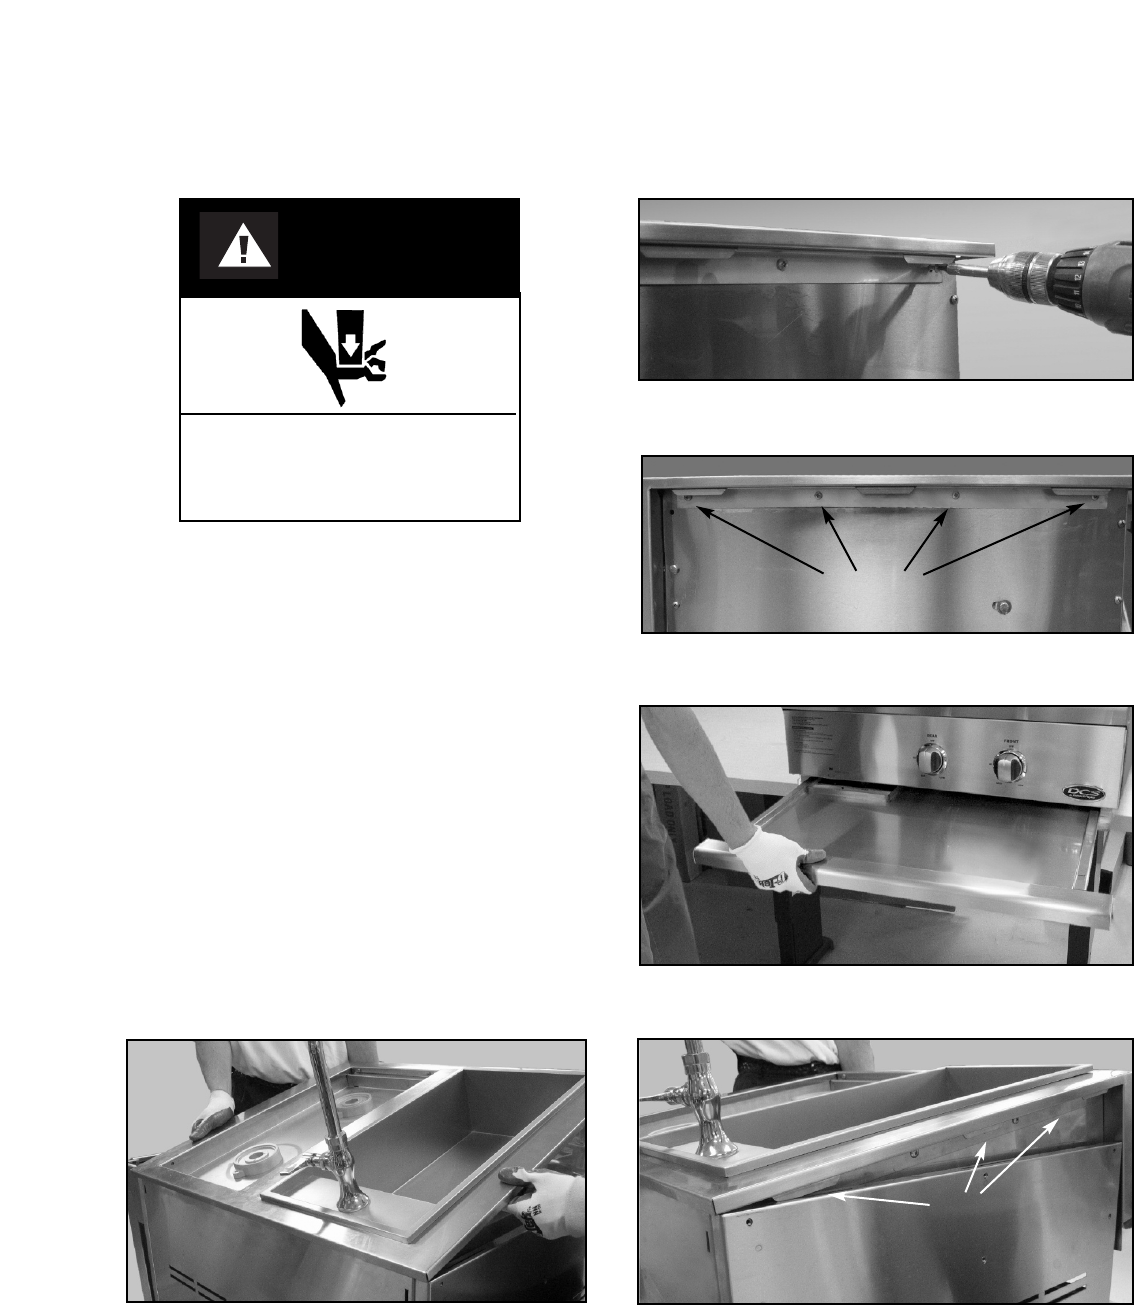
B. Install the bracket tab on both sides of the
appliance head using 8 of the 10-24 x 1/2” screws.
Install each bracket with 4 screws on each side of
the outdoor appliance head (Fig. 39 and 40).
Fig. 39
Fig. 40
SCREWS
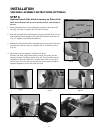
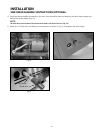
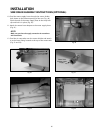
9. Place head onto cart (2 persons required)
A. Remove drip tray/pan (Fig. 41) and other
removable components (to lighten the load) such
as grates, top burner caps and components for
easier handling.
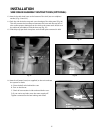
B. Two persons required to lift head. To place the
head on cart, place rear of head over the rear of
the cart first (Fig. 42), then allow the rear side
tabs to first locate in the slots on the top of the
cart sides. The other tabs will locate in the
middle and front slots as the head is lowered
into position on the cart (Fig. 43).
Fig. 41
Fig. 42
Fig. 43
TABS
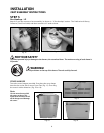
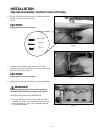
WARNING!
Beware of pinch points and sharp
edges to avoid injury to arms and
hands.
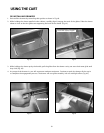
INSTALLATION
SINK DRAIN ASSEMBLY INSTRUCTIONS (OPTIONAL)