Special offers from our partners!

Find Replacement BBQ Parts for 20,308 Models. Repair your BBQ today.

18
CONFIGURING THE LID FOR AUTOMATIC
OPENING AND CLOSING
The unit is shipped in this confi guration, but if you have
confi gured it for manual operation and wish to use the
automatic open/close function again, follow this procedure
to confi gure for automatic operation:
1. Follow steps 1-4 on the previous page except
screw in the locking bolt in step 3.
2. Switch the receiver to the AUTO position (see
SYNCHRONIZING TRANSMITTER AND
RECEIVER instructions below.
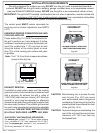
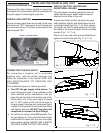
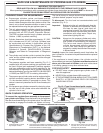
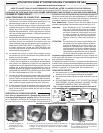
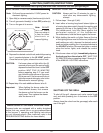
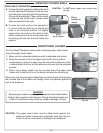
Fig. 18-3
TURNING ON THE TRANSMITTER
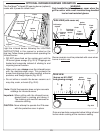
The transmitter has a AUTO/OFF switch, a sync. switch
and an indicator LED on it. The AUTO/OFF switch must
be in the Auto position for the remote transmitter to
control the motorized oven lid.
INSTALLING/CHANGING THE BATTERIES IN THE
TRANSMITTER
Slide open the battery access door on the back of
the Power Hood remote. Remove the 12-volt camera
battery and replace it. Close the access door and
follow the instructions on synchronizing the remote
below.
SYNCHRONIZING TRANSMITTER AND
RECEIVER
The fi rst time you turn on the transmitter or after
changing batteries in the transmitter, it is necessary
to synchronize the transmitter with the receiver.
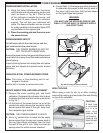
To do this, use a pen to press in the synch button on
the receiver (Fig. 18-2). The green LED will begin to
fl ash. While the LED is fl ashing, press either the up or
down button on the remote transmitter. The LED will go
out. Then press the On/Off button on the transmitter.
The units are now synchronized. Test this by
commanding the lid up or down as appropriate.
The units may be synchronized at any time.
Fig. 18-2
Sync. button
Green LED
AUTO/OFF
switch
DOWN
UP
ON/OFF
Fig. 18-1
Locking bolt
Hinge bolt
OPTIONAL POWERHOOD


