Special offers from our partners!

Find Replacement BBQ Parts for 20,308 Models. Repair your BBQ today.
10
ÖÖ
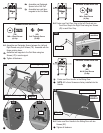
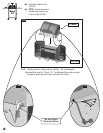
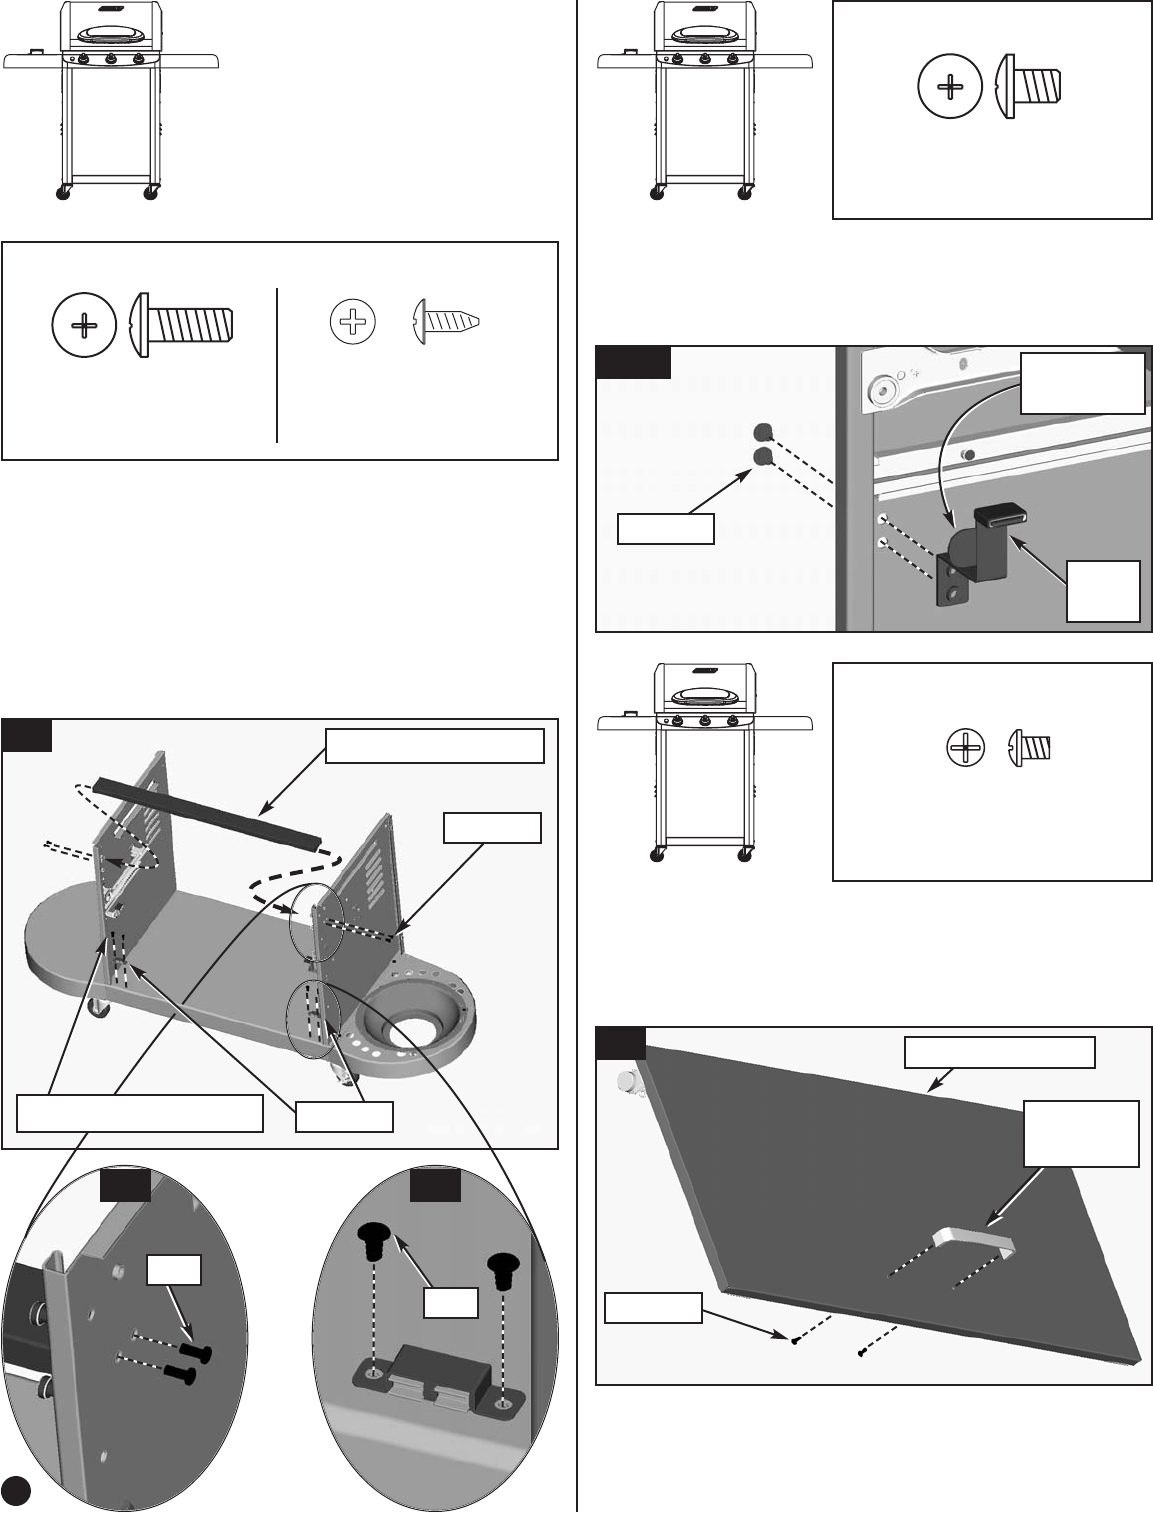
Assemble one Rectangle
Spacer to the Grill Cart.
ÖÖ
Assemble two small door
magnets to the Cart Base.
Step
4
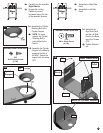
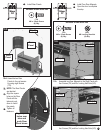
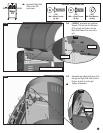
4-A. Assemble one Rectangle Spacer between the Left and
Right Panels using four Screws (TN). Assemble with the
flange pointing down.
ÖÖ
Assemble two magnets to the Cart Base using two
Screws (VP) in each magnet.
ÖÖ
Tighten all fasteners.
Hardware shown actual size
(TN)
M6 x 15mm Screw
(4) Qty.
4-A
Front
Rectangle Spacer
4-C4-B
TN (x4)
VP (x2 each magnet)
TN
Step
6
ÖÖ
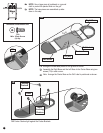
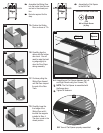
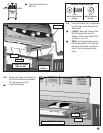
Fasten one Door Handle to the Sliding Door.
ÖÖ
NOTE: M4 x 5mm Screws are factory installed into the
Handle.
Hardware shown actual size
(EZ)
M4 X 5mm Screw
(2) Qty.
6-A. Fasten one Door Handle to the Sliding Door with two
Screws (EZ).
ÖÖ
Tighten all fasteners.
6-A
DOOR
HANDLE
SLIDING DOOR
(VP)
Self Tapping Screw
(4) Qty.
VP
Magnet
EZ (x2)
Step
5
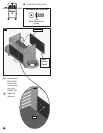
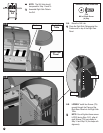
5-A. Fasten one Front Door Stop to the Left Panel and one
Front Door Stop to the Right Panel using two Screws
(JD) in each Door Stop.
5-A
Hardware shown actual size
(JD)
M6 x 8mm Screw
(4) Qty.
JD (x2)
Door
Stop
Note Tab
Location


