


Special offers from our partners!

Find Replacement BBQ Parts for 20,308 Models. Repair your BBQ today.
Assembly/Set up
(cont.)
8
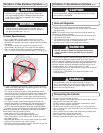
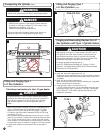
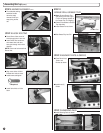
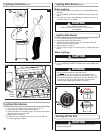
STEP 1
BOTTOM & SIDE PANELS
■ Install three screws from the top and three Hex nuts from below as
shown for each side panel.
■ Tighten screws.
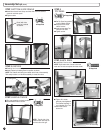
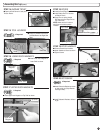
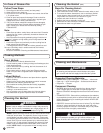
STEP 3
MIDDLE DIVIDER
■ Turn over assembly so wheels are down.
■ Install Middle Divider as shown.
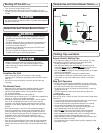
STEP 2
CASTERS
■ Carefully turn over assembly.
■ Install Casters by threading them into position as shown.
NOTE: The Casters with locking arms attach to the front of the assembly.
Tank caddy location is on left when assembly is viewed from front.
Locking Arm
Front of Assembly
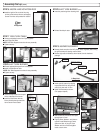
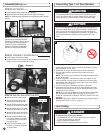
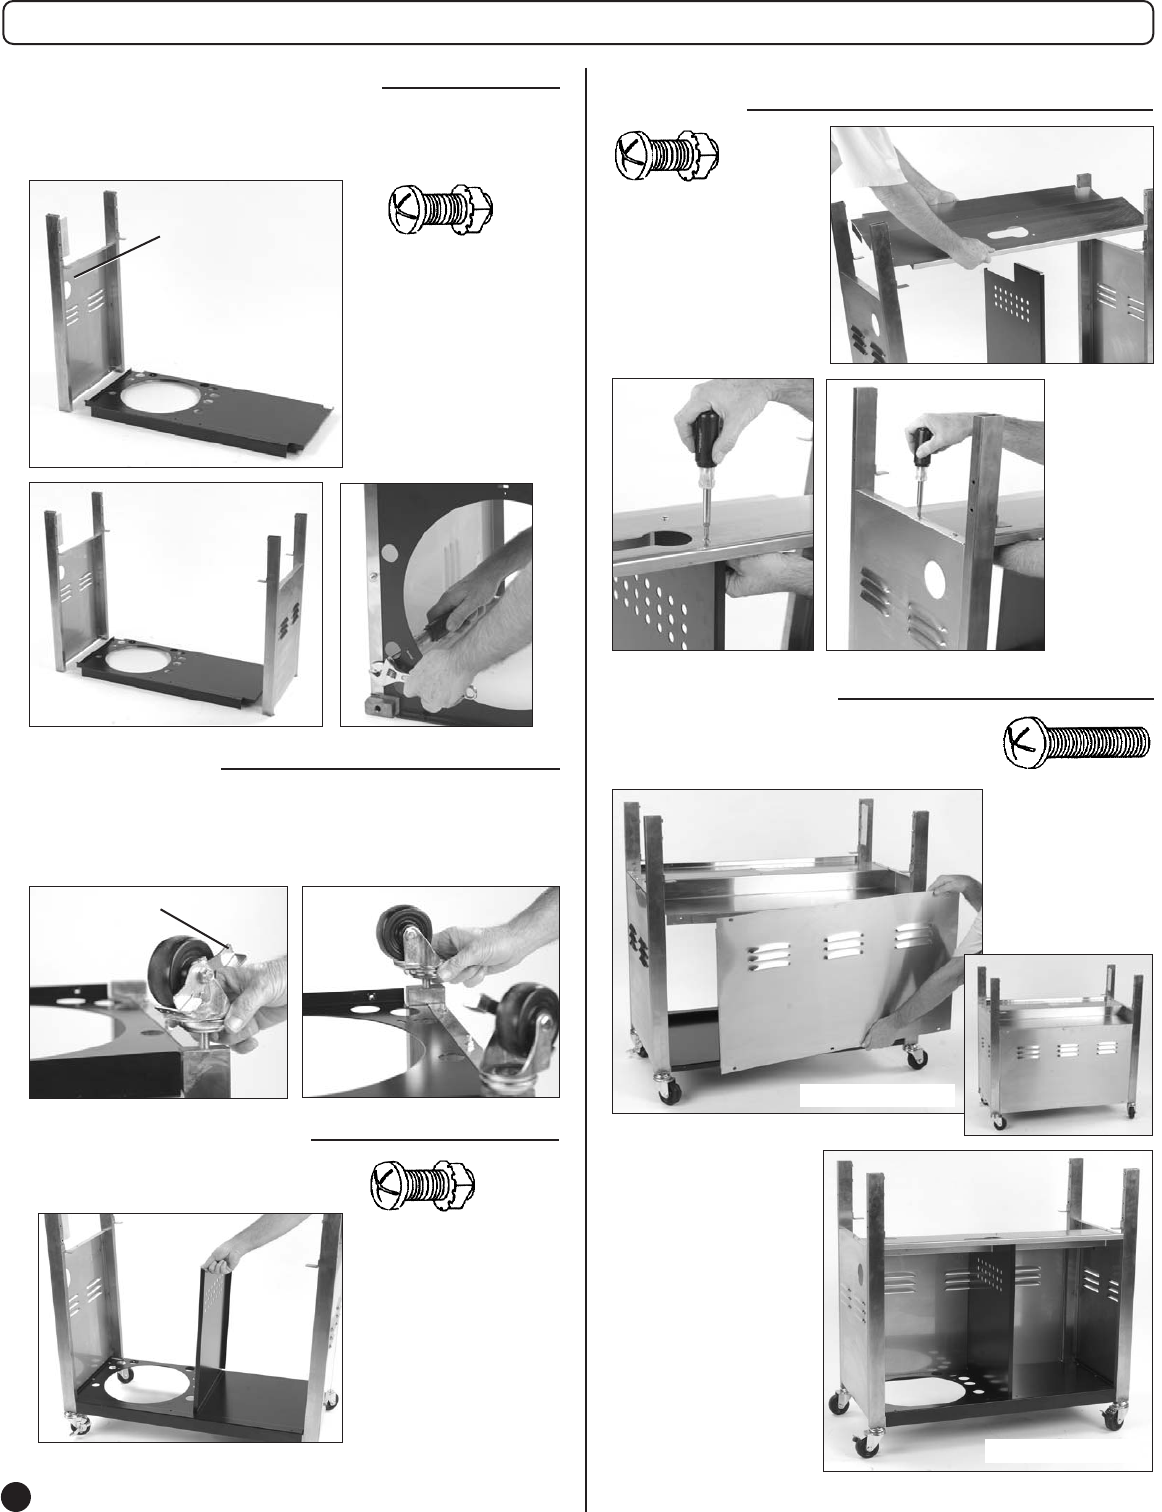
STEP 5
BACK PANEL
■ Install Back Panel as shown.
NOTE: Top & bottom row of screw holes have
weld nuts. No nuts are required for these screws.
■ Tighten ALL screws
previously hand-tightened.
The Cabinet Assembly is
now complete. Only Front
Casters have locks to
secure unit.
Panel with hole
must be installed
as shown.
STEP 4
TOP PANEL
■ Set Top Panel into position
on top of Middle Divider.
■ Align holes and hand-
install 2 screws.
■ Install screws where Top
Panel joins to Sides.
■ Tighten screws.
6 Required
2 Required
NOTE: The tall side of the
middle divider should be on
the front side of the grill.
6 Required
6 Required
Front of Assembly
Back of Assembly